background image

1 - 6

GRUNDIG

Service

General Section

ST 03

7

With the video recorder, satellite receiver or games
console on, tune channel 99 to the output following
steps 

1-5

in the 

TUNING IN SECTION

on pages

4 to 5.

When using the 0/AV mode the on screen display can
be adjusted to indicate whether a video recorder,
external decoder or auxiliary source (e.g. a games
console or satellite receiver) is connected. Follow the
steps below selecting first either AV1 or AV2 input
as required.

Step 1
Press 

0/AV

on the remote control.

Step 2
Press 

TUNE

on the remote control. The display will

show 3 options;  

(vcr)

DEC

(decoder) 

AUX

(satellite receiver or games console).

Step 3
Further pressing of 

TUNE

allows the desired symbol

TUNE to be highlighted in yellow.  When the required
symbol is highlighted the setting will automatically store
after five seconds.

STANDBY AND CHANNEL
CONFIRMATION

STANDBY MODE

When the television is in standby it can be switched on
by pressing either 

P+

or 

P-

or by pressing the channel

number required, e.g. 

1

for BBC 1. Alternatively press

STANDBY

.

CONFIRMATION OF CHANNEL SELECTED

Whenever a new channel is selected the top left hand
corner of the screen will confirm the channel number
selected for approximately 5 seconds.

8

To confirm or check the channel being watched
without changing channel, press 

i

.  The channel

number selected will be displayed in the top left hand
corner of the screen for approximately 5 seconds.

Note : Pressing 

i

will confirm the channel details at the

bottom of the screen.

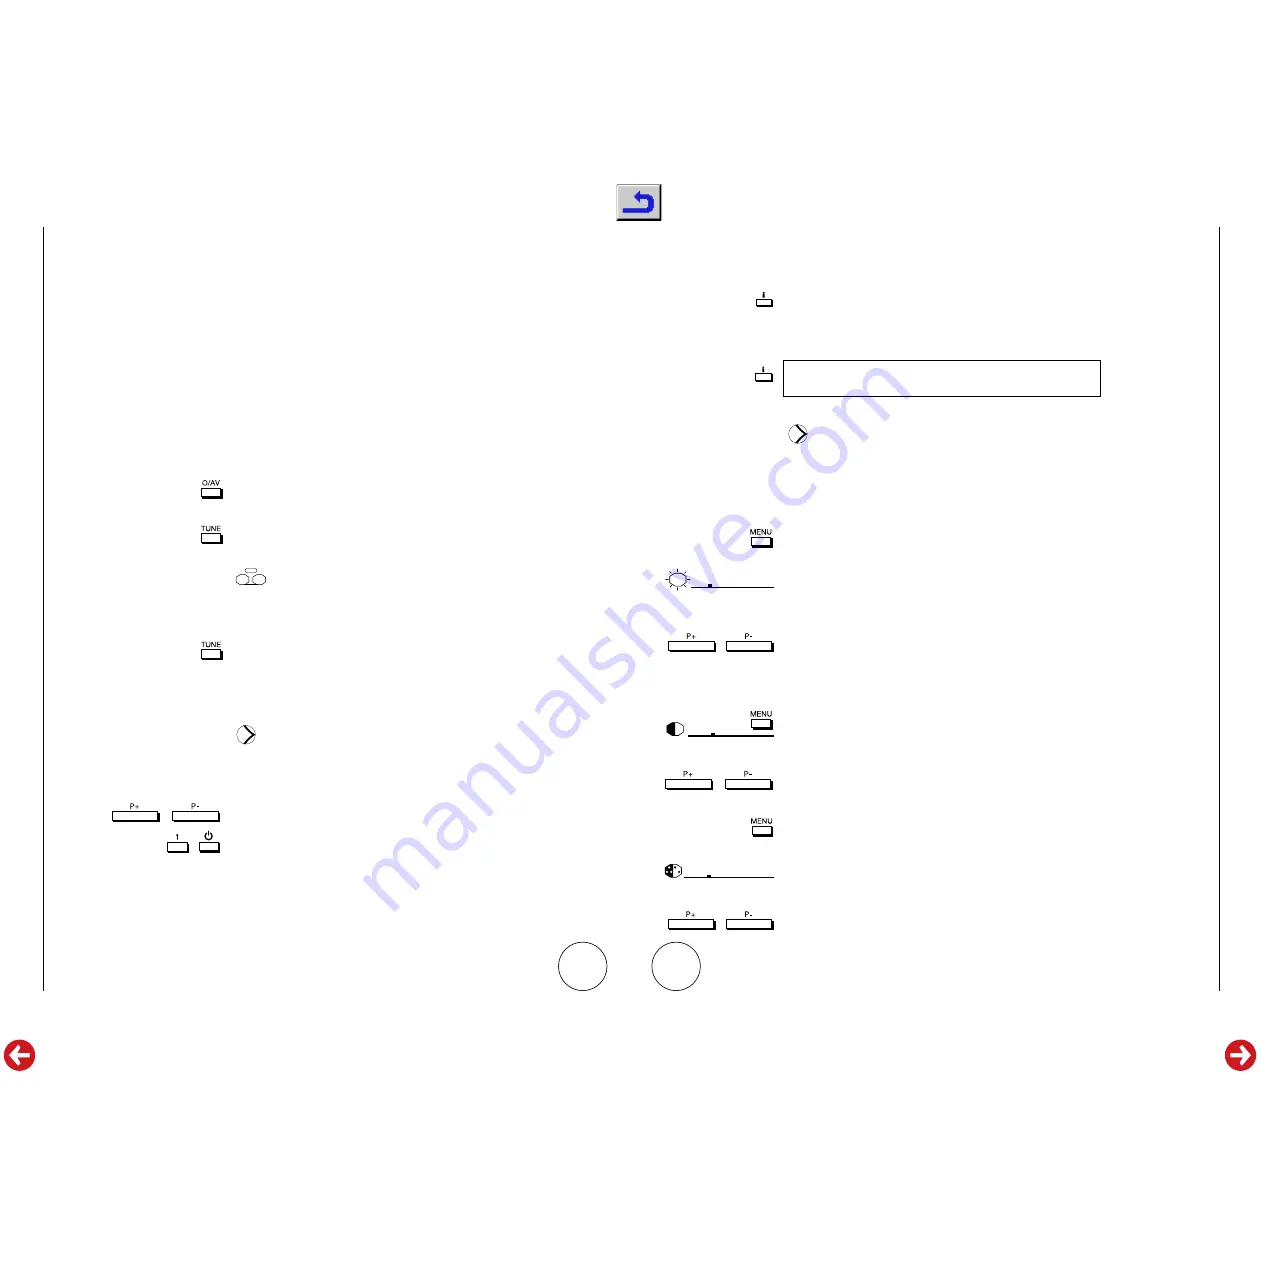
PICTURE ADJUSTMENT

Your Grundig television set allows control of
brightness, contrast and colour. To make any picture
adjustments follow this procedure :

BRIGHTNESS CONTRAST AND COLOUR

Step 1
Press 

MENU

.

The brightness symbol will be displayed with a cursor
which indicates the current brightness setting.

Step 2
With the cursor on screen adjust the brightness by
using 

P+

or 

P-

. The cursor moves to indicate the

change. The new setting is automatically stored.

Step 3
To change the other settings, with the brightness
control on screen, press 

MENU

. The brightness symbol

before the cursor will change to the contrast setting.

Step 4
Adjust the contrast by using 

P+

or 

P-

.

Step 5
With the contrast setting on screen press 

MENU

again.

The contrast symbol before the cursor will change to
the colour setting.

Step 6
Adjust the colour setting to your liking by using 

P+

and 

P-

.

Summary of Contents for ST 03

Page 1: ...rungen vorbehalten Printed in Germany Service Manual Sach Nr Subject to alteration VK 221 0596 Service Manual Part No 72010 019 10 SERVICE MANUAL D Btx 32700 GT 2005 77250 056 61 GCC 1261GB GT 2105 77...

Page 2: ...picture tube and thus the developing X radiation depends on the precise adjustment of the A power supply Aftereveryrepairofthepowersupplyunitorthehorizontaldeflection stage it is imperative that the E...

Page 3: ...o stereo O Selects language in dual language Nicam transmissions Selects mono sounds P Accesses menu Q Accesses audio selections R Selects tuning mode S Selects auxiliary input Remote Control TRC 1 Op...

Page 4: ...text by allowing fast access to highlighted pages and by linking many related pages for easy access The key to Fasttext is four colour coded prompts at the bottom of each teletext page These red green...

Page 5: ...at steps 2 3 4 and 5 until all channels are tuned in To exit the tuning screen press TV 6 x2 FINE TUNING After following the TUNING instructions you should have a clear picture on all channels subject...

Page 6: ...Whenever a new channel is selected the top left hand corner of the screen will confirm the channel number selected for approximately 5 seconds 8 To confirm or check the channel being watched without c...

Page 7: ...e left or right TV speaker with P or P Note If no further buttons are pressed the audio selection screen will disappear within 5 seconds and any changes made will be stored STEREO WIDE SELECTION Your...

Page 8: ...THE SLEEP TIMER Should you fall asleep whilst watching television or leave the television set on unattended your Grundig Television set will automatically switch into standby 10 minutes after the end...

Page 9: ...the circuit diagram giving the specific type of SAW to be fitted in the 601 position for each system 2 1 1 SECAM L L option If the chassis is fitted with SECAM L L the addition of SAW450 is required...

Page 10: ...MHz ceramic resonator across the oscillator pins 31 and 32 with two 100pF capacitors C507 and C508 to ground from each pin The timing for all functions performed by the microcontroller including I2 C...

Page 11: ...4 905 are the dark light current sense transistors and feed the dark current sense on IC800 20 for auto grey scale 10 1 Auto Grey Scale Whenthevideooutputtransistorisdrivenwithpeakwhitewhichequals max...

Page 12: ...26 119 J061 126 159 J062 129 133 J063 129 104 J064 130 109 J065 131 119 J066 135 132 J067 136 59 J068 136 61 J069 138 119 J070 140 132 J071 143 119 J072 150 14 J073 149 12 J074 150 21 J075 153 18 J076...

Page 13: ...00 LNK701 LNK600 F101 SW100 C816 C840 C817 C818 IR500 PL500 VR700 CT401 CT400 CF400 CF401 L651 L604 L401 TC400 SAW450 SAW600 PL501 D500 L100ALT C100 C301 C105 C502 C833 C109 C804 C813 C108 C501 C500 C...

Page 14: ...C661 C654 C653 C652 C140 C305 C806 C203 C119 C110 C113 C815 C602 C414 C419 C812 C701 C455 C706 C411 C702 C704 C400 C401 C412 C703 C407 C402 C415 C417 C556 C557 C555 C552 C836 C805 C507 C508 C506 C505...

Page 15: ...13 R458 60 114 R459 107 110 R461 99 100 R462 99 105 R463 106 110 R500 270 108 R501 270 111 R502 270 115 R503 270 117 R504 268 120 R505 201 123 R506 204 120 R507 207 118 R508 207 121 R509 220 123 R510...

Page 16: ...2KV 10 R CD_R NF MUR C315 379 TABLE_CRT MKP 160V 5 C301 10n 10 X7R C305 27n 250V 368 MKT 5 P C303 DE CD_B 10 1n 1KV C304 100n 10 Z5U C320 100n 10 Z5U C321 DE CD_B 10 33p 250V NF_PALI C313 100n X7R 10...

Page 17: ...1KV NF DE C121 100n 10 Z5U C118 10n X7R 10 NF C140 470p 500V CD_B DE 10 MUR NF_PALI C134 10n 10 400V STEREO 368 MKT P C131 150p 5 COG NF C135 3 OUT GND IN L7805CV IC102 1 2 3 6K8 CFP 20 VR100 2V4 5 IT...

Page 18: ...C405 TABLE_SYS MKT 50V 5 C406 4n7 X7R 10 NF_SECAM_LL C407 COG 5 470p A V C703 100n Z5U 5 C409 COG 5 1n SECAM_LL C412 COG 5 68p MONO_PALBG_SECDK C401 5 68p COG MONO C400 COG 5 470p A V C704 X7R 10 4n7...

Page 19: ...UT2 IN2B VSS VDD IN2A IN1A BIAS EXT2 OUT1 EXT1 IN1B SS SC VSS VDD CK MC44140 IC801 1 2 3 4 5 6 7 8 9 10 11 12 13 14 15 16 CURRENT REF MC44002 R Y I P B Y I P Y2 I P RED I P GREEN I P BLUE I P FAST S W...

Page 20: ...F MURATA FL1 1 2 3 4 5 6way_WIRE_HOLDER MOLEX 51052 2 5mm PL2 1 2 3 4 5 6 DMA_SYNC XTAL_OUT XTAL_IN TESTIO1 ANA_IN2 ANA_IN ANA_IN1 AVSUP AVSS MONO_IN VREFTOP SC1_IN_R SC1_IN_L ASG1 SC2_IN_R SC2_IN_L A...

Page 21: ...5 C44 C47 C48 L40 C51 J25 SJ02 SJ01 SJ03 R59 R57 R55 R56 R52 R53 R54 R51 R47 R49 R48 R50 R46 R42 R45 R43 R38 R2 R40 R28 R24 R23 R22 R20 R18 R19 R17 R21 R16 R15 R14 R13 R1 R25 R5 R6 R12 R11 R10 R8 R9 R...

Page 22: ...c TR900 b e c TR901 b e c TR902 b e c TR905 b e c TR903 b e c TR904 LNK901 C906 C N 9 0 0 R900 R910 R905 R916 R912 R914 R904 R902 R909 R907 R917 251004 02 CSSK R903 R906 R908 R913 R901 R911 R920 C904...

Page 23: ...UF 10 C 818 8672 167 270 SMD KERKO 0805 0 1UF 10 C 819 8672 160 126 SMD KERKO 0805 22PF 5 NP C 820 8672 167 279 SMD KERKO 0805 0 047UF 10 C 821 8672 167 253 SMD KERKO 0805 3900PF 10 C 822 8672 167 270...

Page 24: ...05 18 KOHM 5 R 805 8706 100 057 SMD R 0805 220 OHM 5 R 806 8706 100 069 SMD R 0805 680 OHM 5 R 807 8706 100 057 SMD R 0805 220 OHM 5 R 808 8706 100 069 SMD R 0805 680 OHM 5 R 809 8706 100 057 SMD R 08...

Page 25: ...806 8672 167 254 KEFQ 0805 4700PF 10 C 807 8672 167 758 KEFQ 0805 0 01 UF 10 C 808 8452 967 169 ELKO AMMO5 33UF 35V C 809 8672 167 270 KEFQ 0805 0 1 UF 10 C 812 8672 167 758 KEFQ 0805 0 01 UF 10 C 813...

Page 26: ...700 007 446 KSW 0207 75 OHM 5 R 710 8706 100 097 R CHIP 0805 10 KOHM 5 R 712 8706 100 097 R CHIP 0805 10 KOHM 5 R 713 8706 100 097 R CHIP 0805 10 KOHM 5 R 714 8706 100 097 R CHIP 0805 10 KOHM 5 R 716...

Reviews: