Grundig M 70-281/8 IDTV/LOG User Manual Download Page 10

k

10

Changing the Pictur

e

The picture settings

You can carry out four different picture settings
consecutively.

You can select the four picture settings 

k

»

During the day «, » In the evening «, » Soft « and »
Picture settings Personal « with the red button.

» During the day «, » In the evening « and » Soft «
are “permanent” picture settings which cannot be
changed. Select the appropriate picture setting
according to the time of day or picture appearance.

Setting personal selection data

If you want to make an individual picture setting
you must select and call up the » Picture settings
Personal « with the red 

k

button.

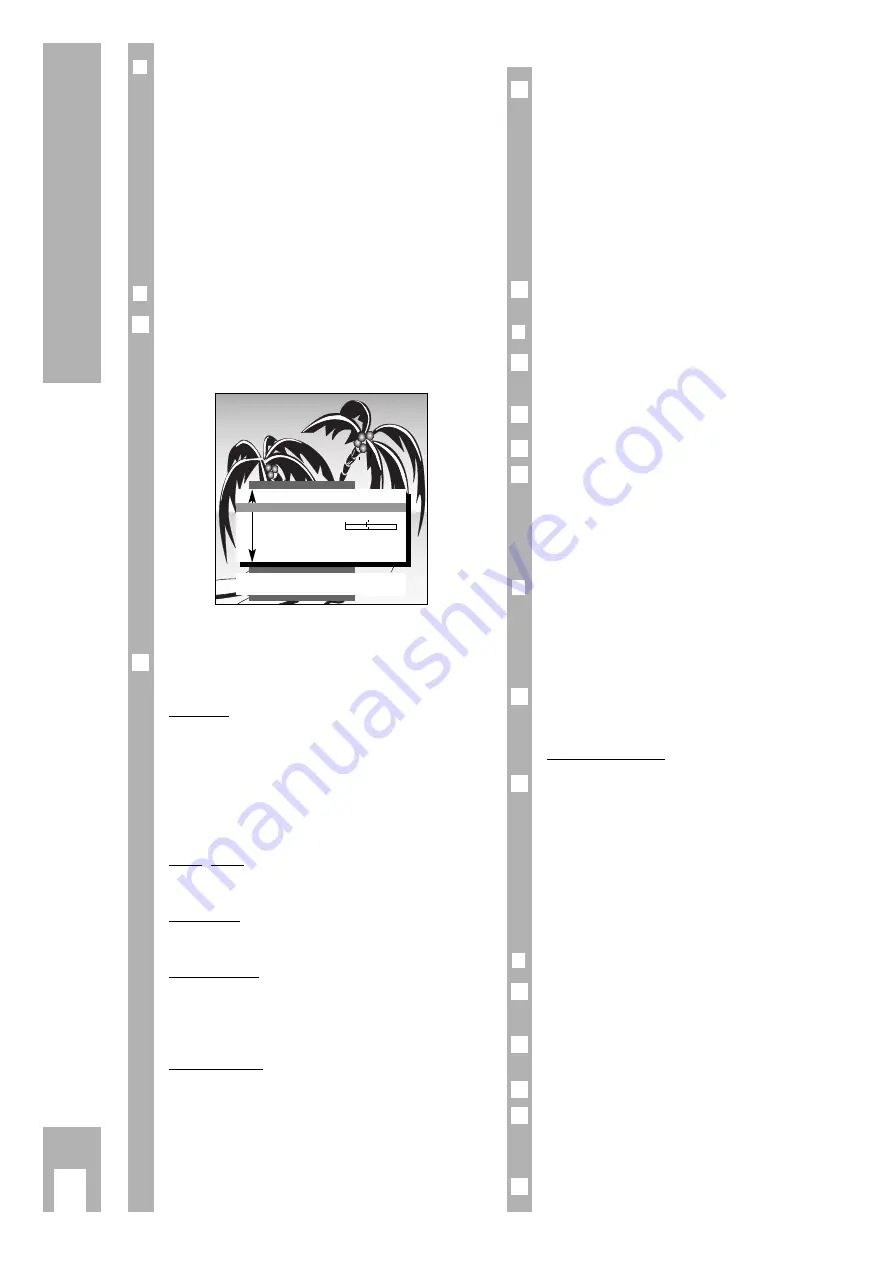
The indication » Picture settings « appears.

The picture settings can be corrected as required.

Select and change » Contrast «, » Sharpness «, 
» White bal.«, » Perfect Clear« or » Noise reduct.«.

Contrast

The set has been tested with a maximum contrast
in order to check the reliability of all components.
Regardless of the location of the set or the bright-
ness of the room (ambient light), it is a good idea to
reduce the contrast somewhat, in order to obtain
the subjectively best picture.

Sharpness

You can set the picture definition as you wish.

White bal.

You can give the colour a slight red or blue tone.

Perfect Clear

Enlargens the contrast range. The contrast is
increased in the darker areas of the picture, depth
and definition of the picture are improved.

Noise reduct.

The snow reduction improves the picture quality  in
case of poor TV/video signal sources .
Furthermore, colour disturbances caused by exter-
nal systems (cross-colour) are reduced which
occur on fine black & white vertical lines. 

2

1

Only the picture quality of the presently selected
programme is changed. See the chapter, » Comfort
Functions – Service «, for how to change the noise
reduction for all programmes.

You can choose between three entries:
Off/Weak = with good picture quality
Autom. = with slightly snowy picture
High!

= should be used only with heavily disturb-

ed picture since tracers may occur with
rapid movements.

Exit the function with the 

1

TXT

button.

Adjusting brightness and colour contrast

Press the appropriate » – « (Minus) or » + « (Plus)
button until the required value has been set.

Change the »Brightness« with the 

®

button.

Change the »Colour« with the 

button.

With video recorder playback in NTSC recording
mode, in addition to the colour contrast the colour
tone (tint) can be corrected Select » Tintkorrektur «
with the 

¢

AUX

button and then reset with the

button.

Picture format switching 16:9 

If a recorded PALplus programme is relayed to the
TV set with a video recorder, camcorder or a PAL-
plus decoder, the picture format must be switched
to 16:9.

Press the 

¢

E

button until the indication » 16:9 «

appears.

Panorama Zoom

Press the 

¢

E

button until the indication » Pan-

orama Zoom « appears.

As long as the » Panorama Zoom « operating mode
is displayed as a guide to the user on the lower
edge of the screen, the picture height can be adju-
sted by pressing the 

or 

]

key, so that any

black stripes remaining on the uppper or lower
edge of the screen disappear.

Correcting colour registration

You can correct the colour if it does not match the
picture

Call up the » DIALOG CENTER « with the 

h

and the

G

buttons.

Select and call up » SERVICE «.

Call up and change » Colour match «.
Only the colour registration of the currently 
selected channel will be changed.

Exit the function with the 

1

TXT

button.

4

3

2

1

6

1

1

3

2

1

6

1

6

Picture settings

TXT

TV-picture

Contrast

F

■■■■■■■■

E

Sharpness

■■■■■■■■■■

White bal.
Perfect Clear

Off

Noise reduct.  P  

1

Auto

Summary of Contents for M 70-281/8 IDTV/LOG

Page 1: ...COLOR TELEVISION M 70 281 8 IDTV LOG...

Page 2: ...re definition white balance perfect clear and noise reduction 10 Adjusting brightness and colour contrast 10 Picture format switching 16 9 10 Correcting colour registration 10 Special Functions 11 Sel...

Page 3: ...that you observe the following points when setting it up w Ideal viewing distance is 5x the length of the TV screen diagonal Light from external sources falling on the TV the screen will impair the pi...

Page 4: ...and following this G button The DIALOG CENTER is displayed Select the AUTOMATIC PROGRAMMING line with the p or the P button and confirm with the G button Select the Complete reprogramming when chan gi...

Page 5: ...1 6 6 1 6 Brief instruction k 5 w After the search procedure the set switches to channel position 1 and the Page Brief instruc tions is displayed If a Grundig videorecorder with Megalogic system is p...

Page 6: ...ART Change name Move 6 6 Return Change channel Delete TXT TV picture AUX Decoder Prog Name Chan Decoder AV 1 ARD C 06 2 ZDF C 34 3 BR 3 C 59 4 RTL C 36 5 SAT1 C 40 6 PRO7 C 21 7 RTL2 C 53 8 PREM C 12...

Page 7: ...information in the dialogue line If you want to select a special channel press the F button and then the p or P button Indication C for channel changes to S for special channel Press the E button and...

Page 8: ...orwards 1 2 3 p Sequential programme selection reverse 3 2 1 or P p Moving cursor up down x c Volume or x c Moving cursor left right G Changing and activating various functions Displaying and deleting...

Page 9: ...quality we recommend switching the sound to Mono Select Sound and Mono or Stereo If the audio of a certain programme is to be constantly in mono enter MO after the third character as the station name...

Page 10: ...lected programme is changed See the chapter Comfort Functions Service for how to change the noise reduction for all programmes You can choose between three entries Off Weak with good picture quality A...

Page 11: ...ppears when a Grungid videorecorder with Megalogic is plugged in With Megalogic Info information from each videorecorder mode can be displayed e g play record fast forward etc 6 1 6 1 6 1 6 2 1 SPECIA...

Page 12: ...unction with the 1 TXT button The set switches to the TV picture Freeze frame If you want to look at a certain picture for a longer period of time the picture from the currently running programme can...

Page 13: ...ust be selected e g Premiere analog external digital internal Canal plus analog external digital internal Be sure to read your decoder operating manual carefully Your authorized dealer will be pleased...

Page 14: ...struction What do the symbols on this line mean Display with AUX button duration of indication approx 5 secs Select function with the F or E button Call up function with the G button Enlarge cha racte...

Page 15: ...eturn to the index on Page 100 with the h button 6 5 4 3 2 6 1 6 Teletext is a service free of charge provided by the TV stations which is delivered with the TV signal it is processed by the TV set an...

Page 16: ...r E button to select the symbol H and confirm with the G button The selected teletext page number appears in the symbol line 155 0001 for example Select the Subpage by always entering four digit numbe...

Page 17: ...2 1 Updating a teletext page bypassing the waiting time The teletext editorial staff updates certain teletext pages You will thus receive the latest information on currency rates or the most recent sp...

Page 18: ...tly what kind of external unit you wish to connect the menu AUDIO VIDEO INPUTS lets you know to which sockets you must connect them You will be guided in simple and understandable terms through the ne...

Page 19: ...ollows The video recorder must be connected to the mains supply Switch on the TV set Call up the DIALOG CENTER with the h and G buttons Select and confirm AUTOMATIC PROGRAM MING 2 1 6 6 1 2 1 AV1 AV2...

Page 20: ...me stations whose channels are carried by cable or SAT equipment code scramble their program mes A decoder can unscramble such a program me Connecting a decoder and a satellite receiver You have alrea...

Page 21: ...18 RGB switching voltage earth 19 Video output 20 Video input 21 Shielding earth The product fulfils the requirements of the following EU guidelines 73 23 EEC Guideline concerning electrical operating...

Page 22: ...ermanent color spots switch off the TV set with the mains switch and switch back on after after 10 minutes problem with terrestrial magnetic field change appliance position picture is there no sound v...

Page 23: ......

Page 24: ...GRUNDIG AG D 90762 F RTH Printed in Germany k GRUNDIG P P GRUNDIG P P 7 0 3 8...

Reviews: