


50
5
Select »Current Antenna« with »
CH
Ľ
« or »
CH
Ń
« and press
»
ľ
VOL
« or »
ı
VOL
« to select the first antenna.
Notes:
If you only have one antenna, you cannot make any changes
here.
6
Select »Satellite Name« with »
CH
Ľ
« or »
CH
Ń
« and press
»
ľ
VOL
« or »
ı
VOL
« to select the satellite at which the
antenna is directed.
Notes:
If several antennas are connected, set »Current Antenna« to
»2« and assign this antenna to the satellites.
7
Select »LNB Type« with »
CH
Ľ
« or »
CH
Ń
« and press
»
ľ
VOL
« or »
ı
VOL
« to enter the LNB type.
8
Select »TP« with »
CH
Ľ
« or »
CH
Ń
« and press »
ľ
VOL
« or
»
ı
VOL
« to select the transponder.
Notes:
Press the green button to edit the transponders. Press the yellow
button to add a new transponder.
9
Select »Search Type« with »
CH
Ľ
« or »
CH
Ń
« and press
»
ľ
VOL
« or »
ı
VOL
« to select the type of search.
Notes:
If you select »None«, no channel search is performed for the
selected satellite.
10
Select »FTA/CAS type« with »
CH
Ľ
« or »
CH
Ń
« and press
»
ľ
VOL
« or »
ı
VOL
« to select the FTA/CAS type.
Notes:
If you select »All« or »CAS«, you can select the CAS system
after pressing the green button.
11
Select »Search Current ANT« or »Search All ANT« with »
CH
Ľ
« or »
CH
Ń
« and press »
OK
« to start the search.
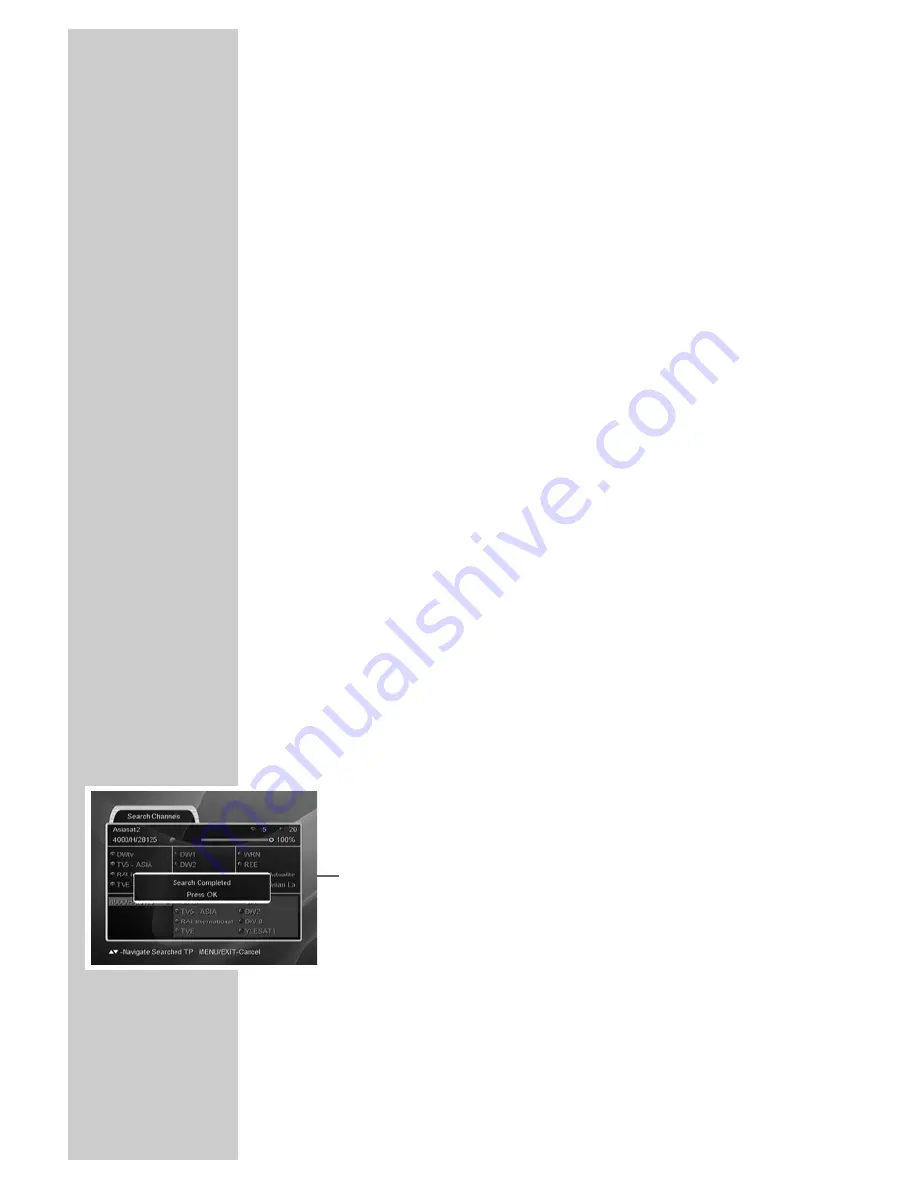
– The »Search channels« page appears.
– After the search, the following message appears: »Search
Completed Press OK«.
12
When the message »Search Completed Press OK« appears,
press »
OK
« and then »
EXIT
«.
– The menu disappears from the screen.
ANTENNA SETTINGS
__________________________________


