ENGLISH
64
RESETFUNCTIONS
----------------------------------------------------------------------------------------
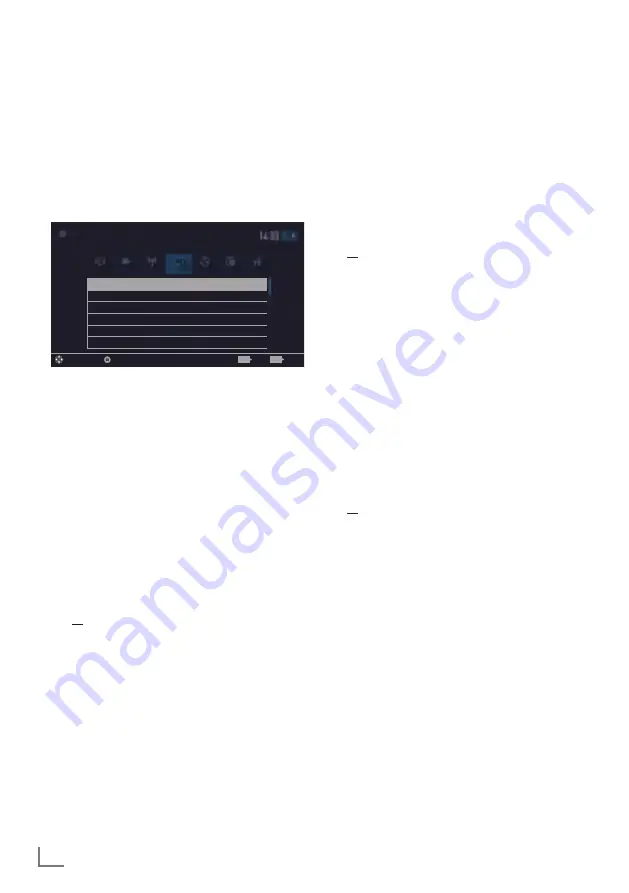
1
Open menu with »
MENU
« button.
2
Select menu item »Settings« with »
V
«, »
Λ
«,
»
<
« or »
>
« and press »
OK
« to confirm.
3
Select the menu item »TV« with »
>
« or »
<
«
and press »
OK
« to confirm.
4
Select the line »About« with »
V
« or »
Λ
«
and press »
OK
« to confirm.
Product Info
TV Name
Smart Inter@ctive 4...
Software Updates
Restore Factory Defaults
Reset Chanel History
Country
Other
Picture
Tuesday
xx xxx xxxx
Source
Timer
Sound
Network
TV
Parental
Settings > TV > About
Change Area
Select
Exit
Back
BACK
EXIT
Note:
7
Additional operations are explained in the
following sections.
Resettingthetelevisiontoits
originalstate
This function enables you to delete the station
lists and all custom settings.
1
From the »About« menu use »
V
« or »
Λ
«
to select the line »Restore Factory Defaults«
and press »
OK
« to confirm.
– Warning screen will be displayed.
2
Select push button »Yes« with »
<
« or »
>
« to
confirm the security query;
or
select push button »No« with »
<
« or »
>
« to
cancel deletion process.
– In a short while »Installation Guide« is
displayed.
3
Continue the settings as described in the
chapter on first installation and searching
for channels on page 20.
Deletingchannelhistory
This function allows you to delete channel his-
tory stored in the Main menu.
1
From the »About« menu use »
V
« or »
Λ
« to
select the line »Reset Channel History« and
press »
OK
« to confirm.
– Warning screen will be displayed.
2
Select push button »Yes« with »
<
« or »
>
« to
confirm the security query;
or
select push button »No« with »
<
« or »
>
« to
to cancel the function.
3
Press »
BACK
<
« to go back one menu
level or press »
EXIT
« to end the setting.
Restoringselectedimages
This function allows for returning a modified im-
age for initial screen and/or Radio screen saver
to its factory settings.
1
Select »Restore Selected Image« in »About«
menu with »
V
« or »
Λ
« and press »
OK
« to
confirm.
– Warning screen will be displayed.
2
Select »Yes« to confirm the security question;
or
Select »No« to cancel and press »
OK
« to
confirm.


