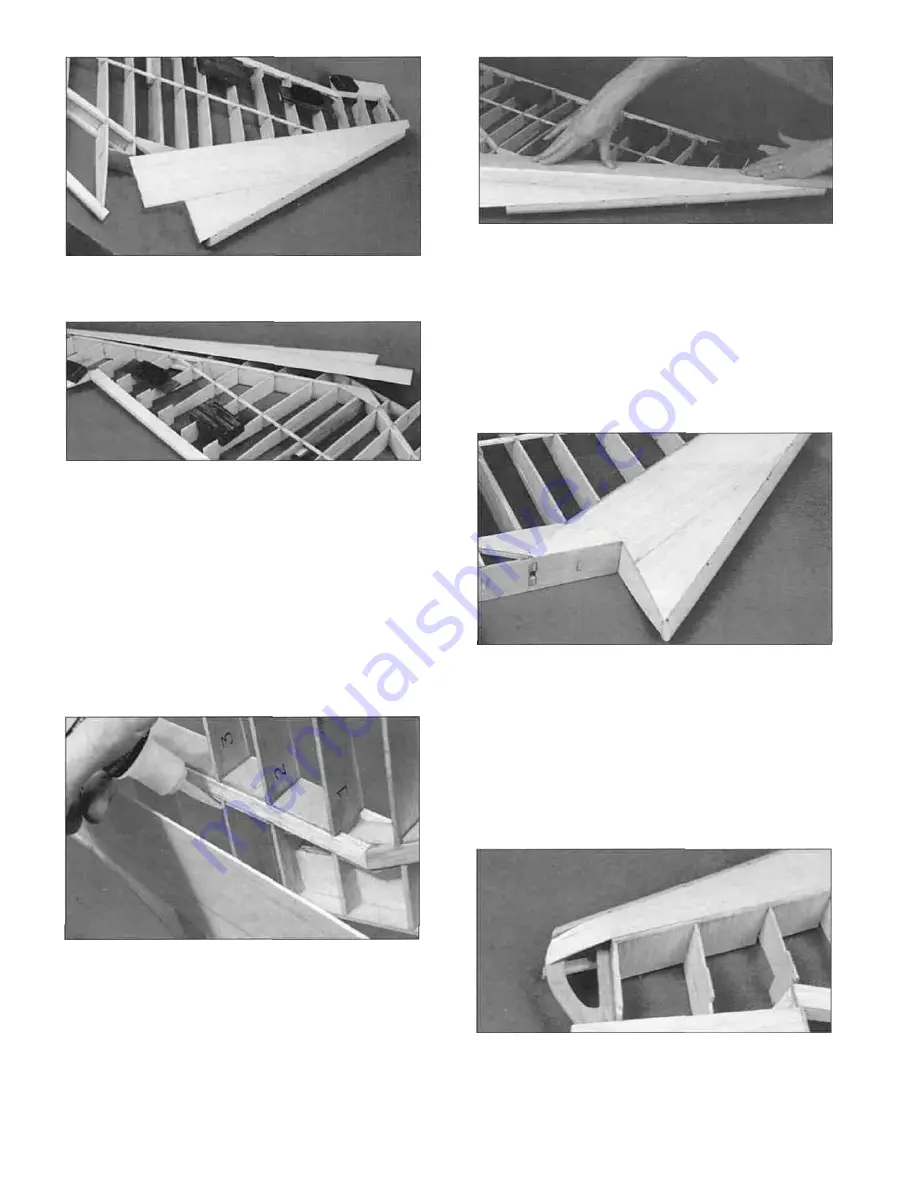
D 6. Hold the sheeting tightly against the LE at
a slight angle so it sits down on the LE of the ribs.
the ribs and spars while the glue cures. It is
important to keep the wing flat during this process
as the LE sheeting will start to "lock" the wing
together.
Use thin CA to glue the sheeting to the LE only.
Do not glue it to the ribs or to the LE past rib 10
yet.
D 8. Trim the root end of the sheeting flush with
the centerline of the wing, rib 3 and the wing front
plate. Cut the LE off flush with rib 3.
D 7. Tilt the wing up, with the LE down, and
apply a drop of thick (slow curing CA) to each rib.
Hold the wing at an angle so the glue will drip
down and coat the edge of each rib. Apply a line
of glue to the f r o n t edge of the spar and
immediately place the wing on your flat work
surface. Replace the weights or pins to keep the
wing jig tabs against the work surface. Press the
sheeting down into place and use a piece of wood
(an aileron works OK) to hold the sheeting against
D 9. Wet the tip portion of the LE sheeting and
allow it to soak for a few minutes. Bend the
sheeting down against the wing tip and glue it in
place. Trim the sheeting even with the edge of the
tip.
34
Summary of Contents for F-15 EAGLE
Page 7: ...6 DIE CUT PATTERNS ...
Page 53: ...TWO VIEW DIAGRAM ...


