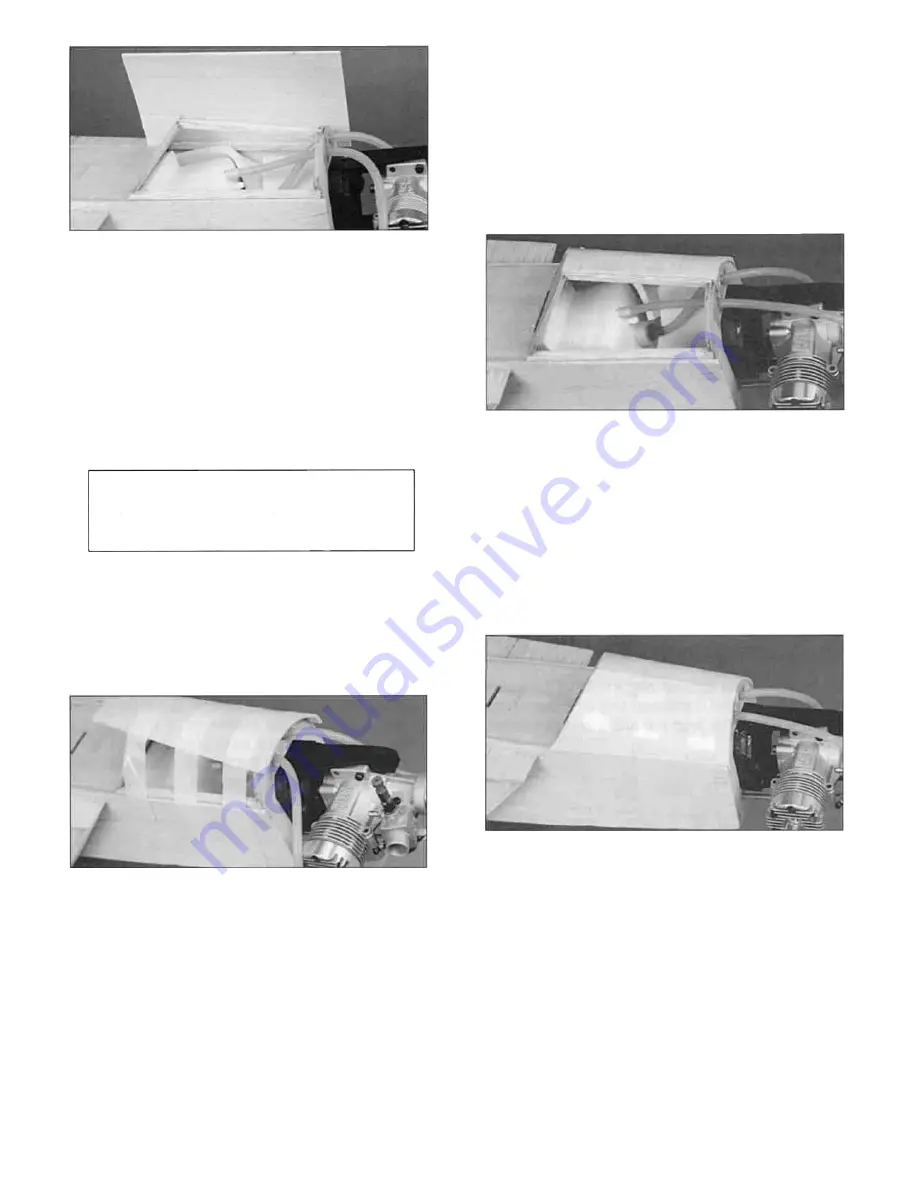
sheeting to the firewall or dash past the top
stringer If your tape is waterproof, you can wet
the sheeting after the tape is applied to help the
sheeting bend.
D 14. Cut the 3/32" x 3 x 12" balsa sheet
(F154F28) in half to make two 6" long pieces
Glue one piece of sheeting to the left fuse side and
bottom stringer so it overlaps the firewall by
approximately 3/8".
NOTE - The technique described
in the next step will be very helpful
throughout your modeling career.
D 16. Trim the sheeting flush with the dash and
the firewall. Cut the excess sheeting off at the
middle of the top stringer. Be very careful so you
don't cut the fuel tubing when trimming the
sheeting around the firewall. Glue the sheeting
to the top stringer with thin CA.
D 15. Cut three or four 12" long pieces of
strapping tape and securely stick them down on
the nose sheeting so they extend down across the
fuse side and around to the bottom of the fuselage.
Carefully pull the two outside pieces of tape
around to the other fuse side Stick them to the
fuse side making sure the sheeting is bending
nicely and lying against the firewall and the dash.
Pull the remaining piece of tape around and stick it
to the fuse side The tape should keep the wood
from splitting Now apply thin CA to glue the
sheeting to the dash and the firewall Do not glue
it to the top stringer yet. Also do not glue the
D 17. Install the right side nose sheeting using
the same technique described above, except after
you bend the sheeting into place, mark where it
needs to be cut to fit against the left side sheeting.
Release the tape and peel it back a couple of
inches so you can cut the sheeting to its correct
width. Replace the tape and bend the sheeting
into position. Make sure it is lying in place
correctly. If not, trim it again until it does lie
properly. Glue the sheeting to the firewall, the
dash and the top stringer. Trim and sand the
sheeting flush with the dash and the firewall. If it
takes several tries to get the sheeting to fit well,
you should replace the tape Once it loses its
stickiness, the wood will start to crack.
21
Summary of Contents for F-15 EAGLE
Page 7: ...6 DIE CUT PATTERNS ...
Page 53: ...TWO VIEW DIAGRAM ...


