❏
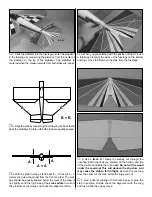
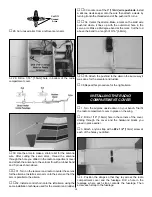
1. Locate the left and right Wing Panel and Wing Joiner.
Test fit the two wing halves to the wing joiner. Once you are
satisfied with the fit, glue the wing joiner into the right wing
panel with 6-minute epoxy. Set it aside to cure. Note: Be sure
to remove any epoxy that squeezes out before it cures.
❏
2. After the glue has cured, apply 6-minute epoxy to the
other end of the joiner and the root ribs. Press the two wing
halves together. Use masking tape to hold the two wings
together while the glue cures.
❏
3. After the glue has cured apply the self adhesive wing
tape to the wing joint.
❏
1. Trim away the covering on the wing saddle.
❏
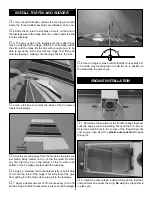
2. Locate six triangle wood blocks. Glue them in place
on the inside of the fuselage flush with the wing saddle in the
locations shown in the photograph.
(These blocks provide
additional surface area when we glue the wing to the
fuselage. Placement is not critical as long as three are
placed on each side).
❏
3. Place masking tape on the fuselage, one piece ahead
of the wing saddle and one piece behind the wing saddle.
Make a mark on each piece of tape exactly at the center of
the fuselage.
WING INSTALLATION
WING ASSEMBLY
5


