background image

14 / 16

3974.32_MP_V1

Setting the Kingpad




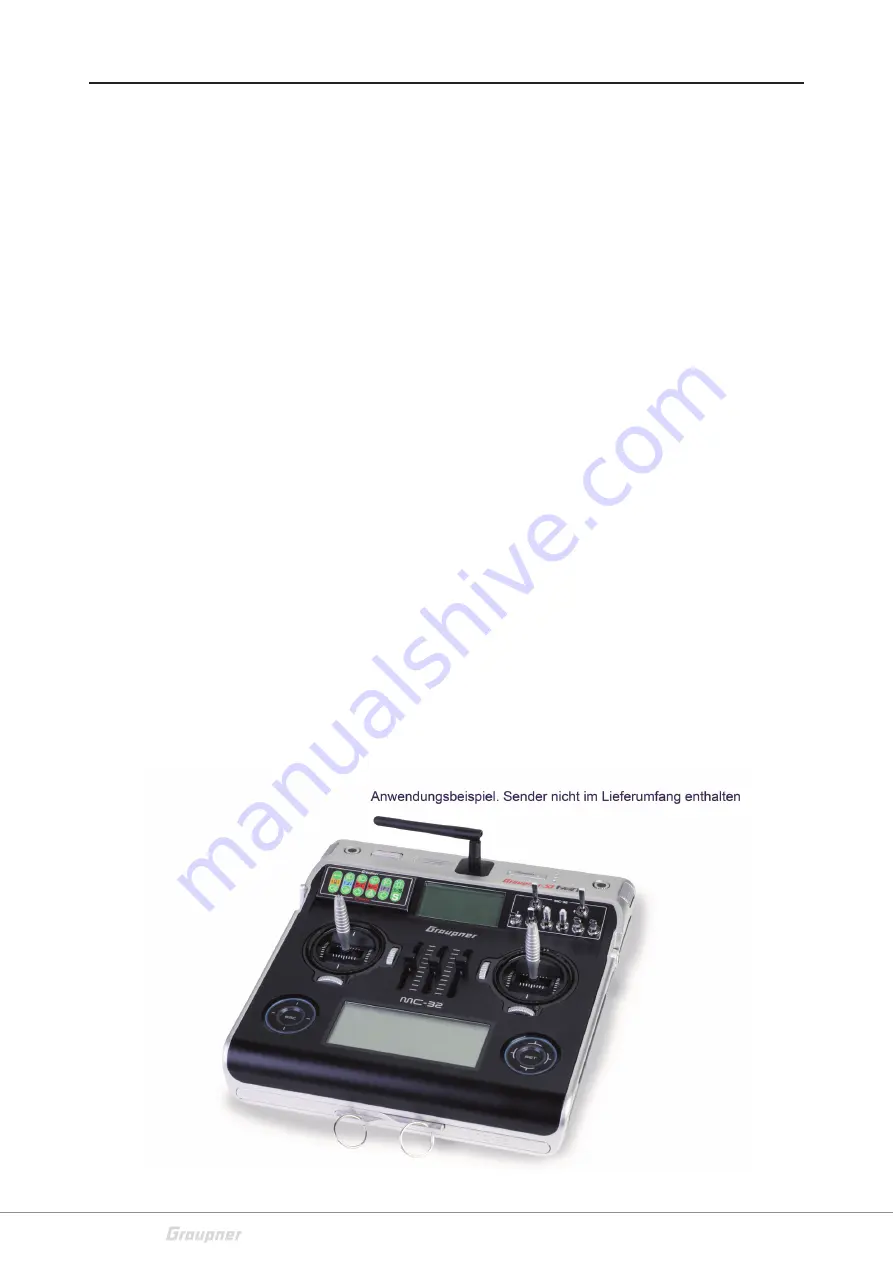
A co-ordination between the Graupner / Kingpad mc Edition and 
the Graupner central module must take place so that the perfect 
function is guaranteed. Proceed as follows:




Make sure there is a connection between the remote control 
and the receiver.




Connect the steering channel to the "Kingpad" input on the 
Graupner central module!




Press the white Prog button on the Kingbus central module for 
more than 2 seconds until the yellow LED flashes in a second 
rhythm




Push the upper left button. As confirmation for a detected key, 
the Prog-LED on the KBCM goes off and remains off when pres-
sed!




Release the button. The Prog-LED flashes again and the next key 
can be read.




Press the individual keys one after the other; starting from top 
left to right and then bottom left to right!




After the twelfth key (S), the flashing key must be pressed again. 
This will cause the Kingbus central module to automatically exit 
programming mode and return to normal mode. 




The Kingpad is now set and it can be used

Summary of Contents for Kingpad mc-32 Edition

Page 1: ...EN No 3974 32 Bus system control pad for installation in the Graupner mc 32 transmitter Kingpad mc 32 Edition Manual C o p y r i g h t G r a u p n e r S J G m b H...

Page 2: ...2 16 3974 32_MP_V1...

Page 3: ...l data 7 Characteristics 7 Symbols explication 8 Safety notes 8 For your safety by handling the transmitter 9 Declaration of conformity 10 Product description 10 Notes on environmental protection 11 C...

Page 4: ...4 16 3974 32_MP_V1...

Page 5: ...www graupner de to be always uptodate with the products and firmwares This product complies with national and European legal require ments To maintain this condition and to ensure safe operation you m...

Page 6: ...opment of all products we reserve the right to change the item its technology and equip ment Target group The item is not a toy It is not suitable for children under 14 The ins tallation and operation...

Page 7: ...tter Glue pads Connector type 5 poles XH Note You will find the technical description of the required Kingbus cent ral module on www graupner de directly at the product page No 3975 Characteristics 11...

Page 8: ...ackaging material lying around this could be a dangerous toy for children Persons including children with reduced physical sensory or mental capabilities or lack of experience or knowledge or not capa...

Page 9: ..._MP_V1 For your safety by handling the transmitter WARNING Also while programming the transmitter make sure that a connec ted motor cannot accidentally start Disconnect the fuel supply or drive batter...

Page 10: ...e product is conform to EU norms WEEE Reg Nr DE 42466037 Product description The Kingpad KP is made with the SMD technology With this module the Graupner Kingbus lighting system can be controlled This...

Page 11: ...t any special care In your own interest please protect the model from dust dirty and humidity Warranty certificate The Graupner Henriettenstrassee 96 73230 Kirchheim Teck grants from the date of purch...

Page 12: ...Kingpad input on the Graupner central module Driving and steering channel must continue to remain connected to the central module as well First remove the built in switches and the aluminum trim boar...

Page 13: ...plugged into the white XH plug as shown below The 5 pin XH connector can now be plugged into a free slot The installation of the hardware is complete The Kingpad is assigned to a receiver channel via...

Page 14: ...entral module for more than 2 seconds until the yellow LED flashes in a second rhythm Push the upper left button As confirmation for a detected key the Prog LED on the KBCM goes off and remains off wh...

Page 15: ...Press again to switch it off again But it can also be switched off by appropriate steering deflection and return to the middle position In addition an active turn sig nal is turned off by activating...

Page 16: ......

Reviews: