5
Cutting Plotter Controller
OPS664
Use Keyboard .. Enables the cutter pen to be moved when one of the arrow keys (
) on the keyboard is pressed. If an arrow key is pressed together with
the keyboard's [Shift] key, the cutter pen moves slowly.
If an arrow key is pressed together with the keyboard's [Ctrl] key, the
cutter pen moves quickly. If a horizontal direction arrow key and a
vertical direction arrow key (for example ( ) or ( ) are pressed at
the same time, the cutter pen moves in the corresponding diagonal
direction.
Note: If both the horizontal direction keys or both the vertical direction keys are
pressed at the same time, the cutter pen will not move.
Note: This function can only be used when the plotter is in the Ready status.
Note: The F6 function key on your keyboard can also be used to perform this
setting.
Origin............... Use this button to specify the origin point.
Move the cutter pen to the position where you wish to set the origin,
and then press the [Origin] button to specify that position as the origin
point.
Note: The F5 function key on your keyboard can also be used to perform this
setting.
Cross Cut......... Cuts the medium laterally at the current point.
If you wish to perform cutting at another position, use the (s) or (t)
POSITION keys to feed the medium to that position.
Note: If a cut sheet is loaded in the cutting plotter, the "LOAD MEDIA" message
will be displayed on the plotter's LCD.
Note: This function can only be used with the FC7000 Series plotters.
Design Orientation
............ Specifies the orientation of the medium that was set in the application
software used for the cutting operation.
If the medium is used horizontally (Landscape) for the design, select
the right-hand image. If the medium is used vertically (Portrait) for the
design, select the left-hand image.
Media Orientation
............
When the Registration Marks function has not been enabled
Specifies the direction of plotting/cutting with respect to the medium.
If the right-hand image is selected, the lower-right position when you
are facing the plotter becomes the origin point. Plotting/cutting is
performed in the media feed direction towards the back of the plotter. If
you are cutting text that is longer than the width of the roll being used,
select this orientation.
If the left-hand image is selected, the lower-left position when you are
facing the plotter becomes the origin point. When viewed from the
front of the plotter, cutting is performed in the same direction as it was
designed in the software, and so operation is more intuitive.
When the Registration Marks function has been enabled
Specifies the direction according to how the printed design should be
loaded in the plotter.
If the design should be loaded from the right-hand edge, select the
right-hand image. If the design should be loaded from the top edge,
select the left-hand image.
Registration Marks
............ Click the checkbox to enable this function when you want to
perform cutting on top on a design that was printed out on a printer.
Registration marks for the reading operation must be printed together
with the design.
Search Marks .. IIf the checkbox has been clicked to enable the Search Marks function,
auto detection of the registration marks is performed at the start of the
cutting operation.
If the marks are detected correctly, the plotter starts cutting. The plotter
uses this function to search for registration marks within the specified
area by moving from the current pen position towards the center of the
loaded medium. If there are no registration marks in the immediate
vicinity, the search function may not operate correctly. If this happens,
click the Search Marks checkbox once again to deselect it, move the
pen to the first registration mark position, and then click the [Read
Marks] button to perform registration mark reading.
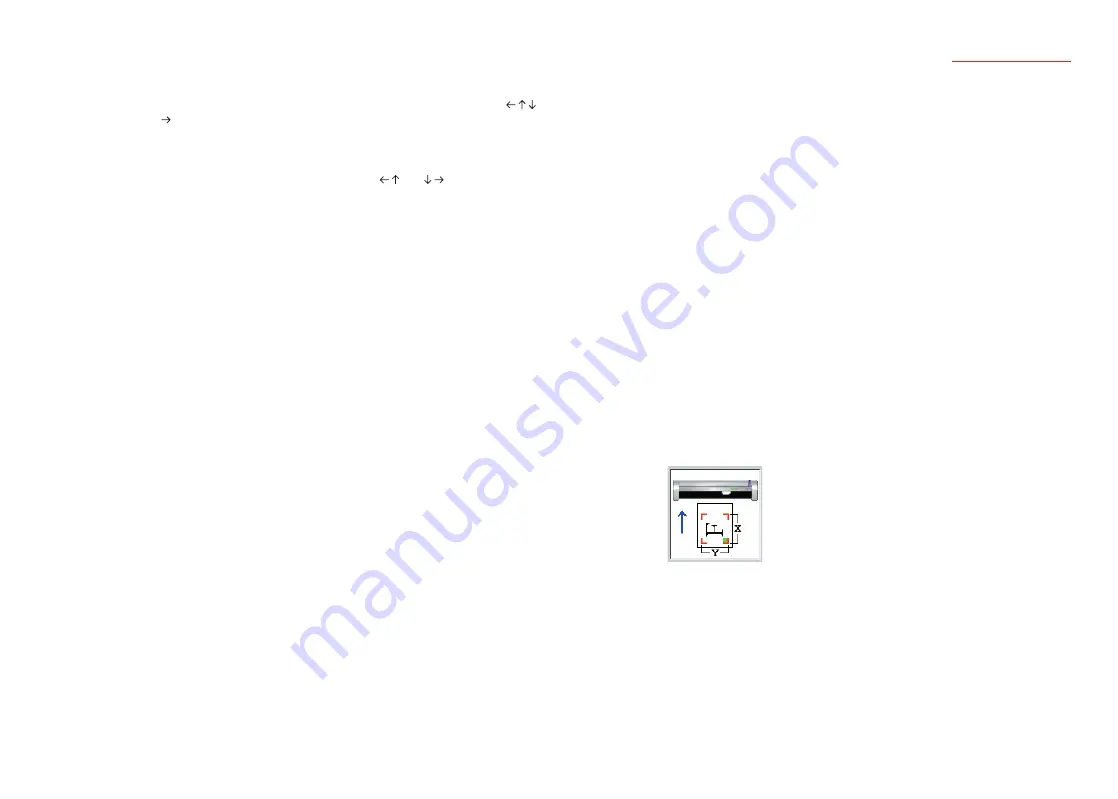
Note: The first registration mark position is the area shaded in green in the
drawing of the plotter that is displayed on the Controller screen.
Note: Registration marks are reference marks that are used to align the plotter's
cutting positions with images that were printed out on a printer. These
registration marks are printed around the edges of the design. The plotter
uses a registration mark sensor to read the positions of the registration
marks and to correct any discrepancies in the positioning or size.
Registration marks are shaped like one corner of a square, and are
positioned around the edges of the printed image.
Note: When using registration marks, try to avoid printing any images near or
within the registration mark areas.
Note: When using registration marks, we recommend that you use an inkjet
printer. If a laser printer is used for output, the printed image may become
distorted due to paper skew, and may cause misalignment of the cutting
position.


