7
308854
Grounding
Grounding
WARNING
Improper installation or alteration of the grounding
plug will result in a risk of electric shock, fire or
explosion that could cause serious injury or death.
1.
Models 232160 through 233163, 232171 require a
120 Vac, 60 Hz, 10A circuit with a grounding
receptacle. Models 232164, 232173 requires a 230
Vac, 50 Hz, 10A circuit with a grounding recep-
tacle. Model 232166 requires a 100 Vac, 50 Hz,
15A circuit with a grounding receptacle. See Fig. 2.
Fig. 2
Grounded
Outlet
Model 232164
9286A
2.
Do not alter ground prong or use adapter.
3.
A 1.5 mm
2
by 90 m extension cord may be used
with this equipment.
Motor Brush Replacement
NOTE:
Replace brushes worn to less than 1/2 in.
Brushes wear differently on each side of mo-
tor, check both sides. Brush Repair Kit 222157
is available for Models 232164, 232173 and
Brush Repair Kit 220853 is available for Mod-
els 232160 through 232163, 232166, 232171.
Spring clip, 110816, may be purchased sepa-
rately.
Motor Brush Removal
1.
Read
General Repair Information
; page 4.
2.
Relieve pressure
;
page 4.
3.
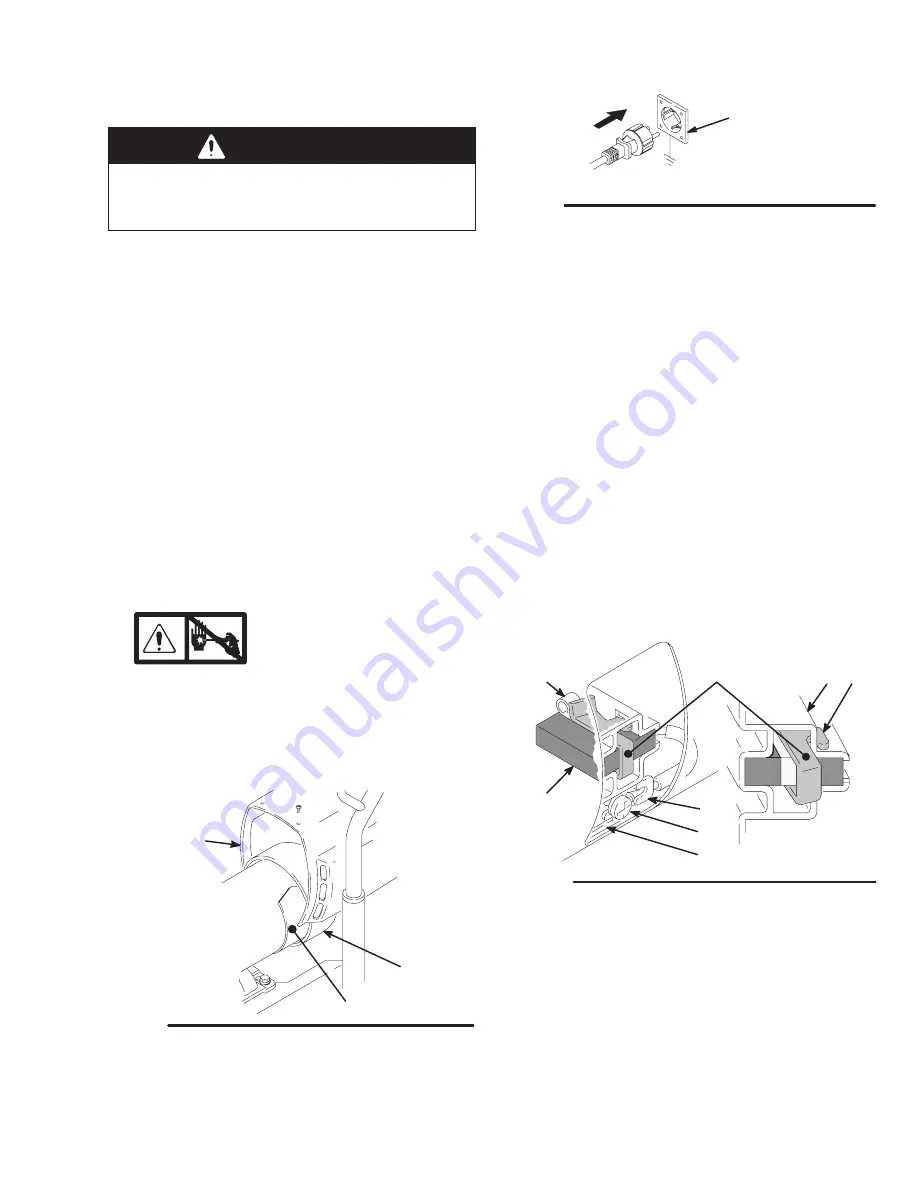
Fig. 3. Remove motor shield (14). Remove in-
spection covers (B) and gaskets on each side of
motor.
(Continued on page 8)
A
B
14
Fig. 3
7703B
4.
Fig. 4. Push in 110816 spring clip (A) to release
hooks (B) from brush holder (C). Pull out spring
clip.
5.
Fig. 4. Loosen terminal screw (D). Pull brush lead
(E) away, leaving motor lead (F) in place. Remove
brush (G) and spring (H).
Fig. 4
H
E
D
F
G
A
01227
B
C
6.
Inspect commutator for excessive pitting, burning
or gouging. A black color on commutator is normal.
Have commutator resurfaced by a qualified motor
repair shop if brushes wear too fast.


