background image

Graco Inc. P.O. Box 1441 Minneapolis, MN 55440-1441

Copyright 2003, Graco Inc. is registered to I.S. EN ISO 9001

309915D

Operation

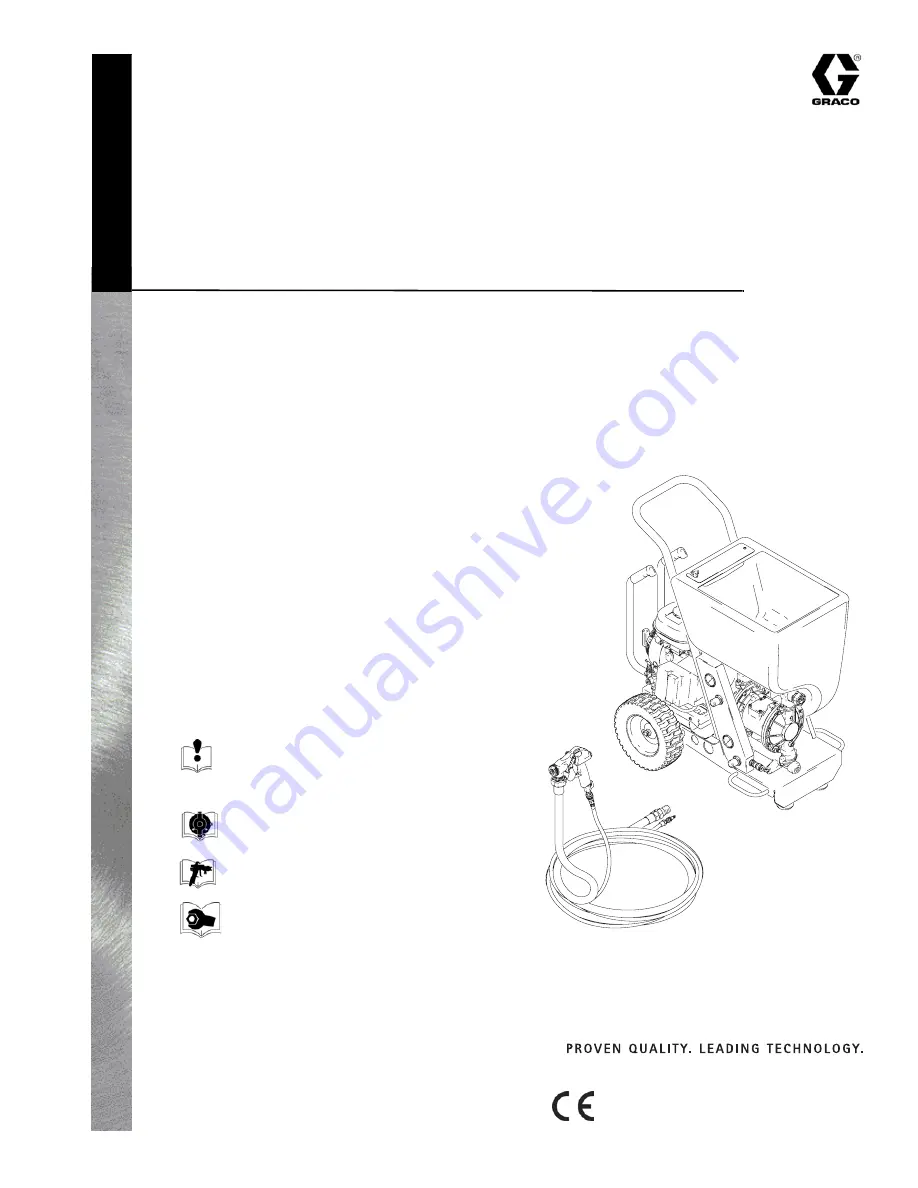
TexSpray GTX™ 2000

US Patents D502,532; 7,114,664

- For Water-Based Materials Only-

Model: 248082

Sprayer with Graco Trigger Gun

120 psi (8.27 bar) Maximum Working Air Pressure
120 psi (8.27 bar) Maximum Working Fluid Pressure

Model: 248083

Sprayer with Graco Flex Gun

120 psi (8.27 bar) Maximum Working Pressure
120 psi (8.27 bar) Maximum Working Fluid Pressure

Model: 248084

Sprayer with Graco Pole Gun

120


psi (8.27 bar) Maximum Working Pressure

120 psi (8.27 bar) Maximum Working Fluid Pressure

Read all warnings and instructions.

308479

310616 model 248082
308603 model 248083 and 248084

309916

WLE

Summary of Contents for TexSpray GTX 2000 248082

Page 1: ...si 8 27 bar Maximum Working Air Pressure 120 psi 8 27 bar Maximum Working Fluid Pressure Model 248083 Sprayer with Graco Flex Gun 120 psi 8 27 bar Maximum Working Pressure 120 psi 8 27 bar Maximum Working Fluid Pressure Model 248084 Sprayer with Graco Pole Gun 120 psi 8 27 bar Maximum Working Pressure 120 psi 8 27 bar Maximum Working Fluid Pressure Read all warnings and instructions 308479 310616 ...

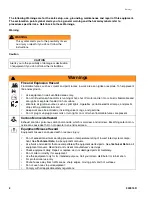
Page 2: ...amps and plastic drop cloths potential static arc Keep work area free of debris including solvent rags and gasoline Do not plug or unplug power cords or turn lights on or off when flammable fumes are present Carbon Monoxide Hazard Exhaust contains poisonous carbon monoxide which is colorless and odorless Breathing carbon mon oxide can cause death Do not operate in an enclosed area Equipment Misuse...

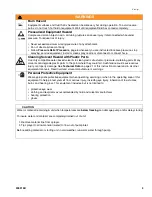
Page 3: ...tic parts to the point where they could fail Such failure could cause serious injury or property damage See Technical Data on page 21 of this instruction manual and in all other equipment manuals Read fluid and solvent manufacturer s warnings Personal Protective Equipment Wear appropriate protective equipment when operating servicing or when in the operating area of this equipment to help protect ...

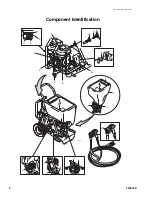
Page 4: ...ComponentIdentification 4 309915D Component Identification WL E 8 7 1 0 3 5 6 4 9 ...

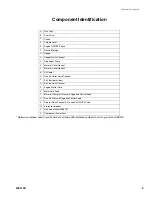
Page 5: ...ge G Hopper H Hopper Quick Connect J Diaphragm Pump K Material Outlet Option 1 L Material Outlet Option 2 M Air Cooler N Gun Air Outlet Quick Connect P Air Filter both sides Q Air Line Quick Connect R Engine Starter Cord S Motor Lock Knob T Material Pump Air Pressure Gage and Control Knob U Gun Air Pressure Gage and Control Knob V Sprayer Quick Connect Air In and Air ON OFF Valve W Pressure Unload...

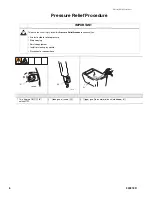
Page 6: ...w this Pressure Relief Procedure whenever you Are instructed to relieve pressure Stop spraying Service equipment Install or clean spray nozzle Disconnect or connect hose 1 Turn Engine ON OFF E switch OFF 2 Open gun air valve 23 3 Trigger gun Spray material back into hopper G TI3037A OFF ON E TI 23 ti3903a G ...

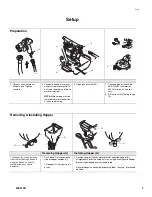
Page 7: ... Removing Installing Hopper Removing Hopper G Installing Hopper G The hopper G can be removed from cart for cleaning and when using the Siphon Kit 248112 available from your Graco distributor 1 Push down 2 latches on each side of hopper coupler H Lift hopper G straight up off of unit 2 Position coupler H over material outlet and slide hopper G straight down over the fitting as far as it will go ma...

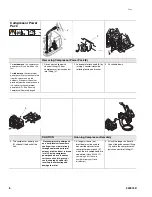
Page 8: ...TION Running Compressor Remotely 4 The compressor power pack Z slides off the back of the cart Place compressor power pack on a hard level surface where cooling air can circulate freely through cooler and a minimal amount of dirt and dust is drawn into it Placing compressor power pack on a soft uneven surface such as dirt grass or sand can plug air cooler M resulting in overheating and damage to m...

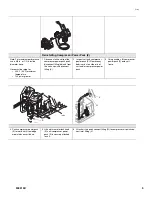
Page 9: ...ir quick disconnect fitting V 2 Inspect cart and compressor power pack Z Remove any debris or dirt on side rails of cart and or compressor power pack 3 Using handles lift compressor power pack Z onto cart frame 4 Push compressor power pack Z forward until front edge meets tabs on cart base 5 Lift and turn motor lock knob S until compressor power pack Z is securely attached to cart 6 Attach air lin...

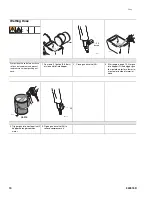
Page 10: ...iters of clean water into hopper 2 Close gun air valve 23 3 Start engine page 15 Aim gun into hopper G and trigger gun to circulate water for a few min utes to wet inside of material hose 4 Trigger gun into waste pail until hopper no longer contains water 5 Open gun air valve 23 to relieve compressor air water ti3898a closed ti4005a 23 ti3903a WASTE ti4290a TI 23 ...

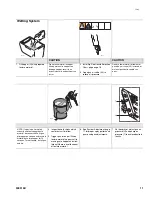
Page 11: ... can occur NOTE If spraying a simulated acoustic and coarse aggregate material disconnect hose at gun prime pump and hose and circulate material back into hopper for 10 seconds Turn off pump Install gun and tip 4 Inspect hose for kinks which could restrict fluid flow 5 Trigger gun into a pail When texture material appears at tip move gun to hopper and circu late until there is a solid stream of te...

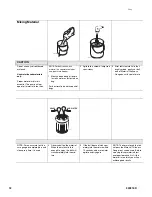
Page 12: ...s thor oughly mixed gently set ball end of Material Thickness Gauge on surface of mixture NOTE For an accurate test be sure gauge is completely dry and clean every time it is used 4 Observe ball on the material When the material is thin enough to spray the ball will sink completely into the mix ture 5 If the ball does not sink com pletely into the mixture within 10 seconds add more water agitate a...

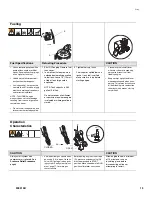
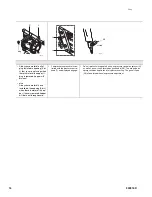
Page 13: ...en fuel cap firmly Fuel vapor or spilled fuel can ignite If any fuel is spilled make sure are is dry before starting engine Close black fuel shutoff lever whenever you are transporting sprayer to prevent fuel from flooding engine Keep sprayer upright and level when operating and when trans porting This prevents crankcase oil from leaking into combustion chamber which makes start up very difficult ...

Page 14: ... in hop per If hose is removed hopper will drain out through pump Compressor air pressure is con trolled with the pressure control knob T and displayed on gage Gun air pressure is regulated using air pressure control on sprayer U as well as gun air valve located on gun handle 23 The site gage on sprayer enables duplication of air pressure setting The gun air valve 23 allows for additional air pres...

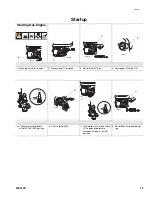
Page 15: ...ngine E switch ON 5 Flip up pressure unloader valve W to START position 6 Pull starter cord R 7 After motor starts move choke C to open and pressure unloader W down to RUN position 8 Set throttle D to desired set ting TI3062A B TI3067A C TI3064A D TI3065A OFF ON E W ti3909a Start Run ti3316a R W ti3909a Start Run C ti3961a TI3064A D ...

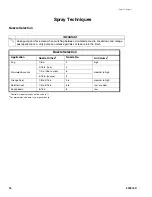
Page 16: ...etween simulated acoustic knockdown and orange peel applications A dirty pump can release particles of texture into the finish Nozzle Selection Application Nozzle Orifice2 Nozzle No Air Volume1 Fog 1 8 in 3 high Simulated Acoustic 3 16 in fine 4 medium to high 1 4 in fine to med 6 5 16 in coarse 8 Orange Peel 1 8 to 3 16 in 3 4 medium to high Splatter Coat 1 4 to 5 16 in 6 8 low medium Knock down ...

Page 17: ...r applications consider size of aggregate in material and coarseness of spray pat tern Remember the larger the nozzle the larger the pattern See Nozzle Selection page 16 More air produces a finer finish less air a coarser finish When adjusting flow adjustment nut B release trigger C then adjust If adjusting while triggered needle will turn but provide no adjustment If flow adjustment nut will not ...

Page 18: ...n tip to prevent material from backing up needle Pressure will build up in system when you stop triggering gun To prevent material surge at beginning of spray pattern when you first pull trigger point gun away from surface you are spraying hold gun away from surface and gradually work your way closer to it trigger gun as little as possible Engage trigger lock D to hold trigger open and reduce fati...

Page 19: ...rly for storage If water freezes in sprayer damage may occur Inn cold weather store sprayer where it will not freeze When you have finished spraying 1 Relieve Pressure page 6 2 Fill material hopper with 2 4 gallons of clean water 3 Spray inside material hopper to circulate water through gun and hose While circulating water use gun to clean mate rial hopper Spray water into waste bucket to empty ma...

Page 20: ... Pump Lubricate Remove hose from pump air inlet and add 2 drops of machine oil to air inlet after every 500 hours of operation or monthly Flush Before storing Thread Connections Before each use check to make sure all connections are tight and leak free Every two months retorque all threaded connections Compressor Air Filter Clean Monthly Unloader Muffler Clean Monthly Gun Clean After each use Add ...

Page 21: ...Gas capacity 0 95 US gallons 3 6 liters Oil capacity 0 63 US quarts 0 60 liters Hopper capacity 17 US gallons 64 liters Maximum deliver with texture material 4 0 gpm 15 14 lpm Dimensions Length 38 in 965 mm with handles Width 24 in 610 mm Height 40 in 1016 mm Weight With hoses or gun 185 lb 83 91 kg Without hoses and gun 165 lb 74 84 kg Without hoses and gun and compressor power pack 90 lb 40 82 k...

Page 22: ... WARRANTIES EXPRESS OR IMPLIED INCLUDING BUT NOT LIMITED TO WARRANTY OF MERCHANTABILITY OR WARRANTY OF FITNESS FOR A PARTICULAR PURPOSE Graco s sole obligation and buyer s sole remedy for any breach of warranty shall be as set forth above The buyer agrees that no other remedy including but not limited to incidental or consequential damages for lost profits lost sales injury to person or property o...

Reviews: