background image

Warnings

313444E

3

Warnings

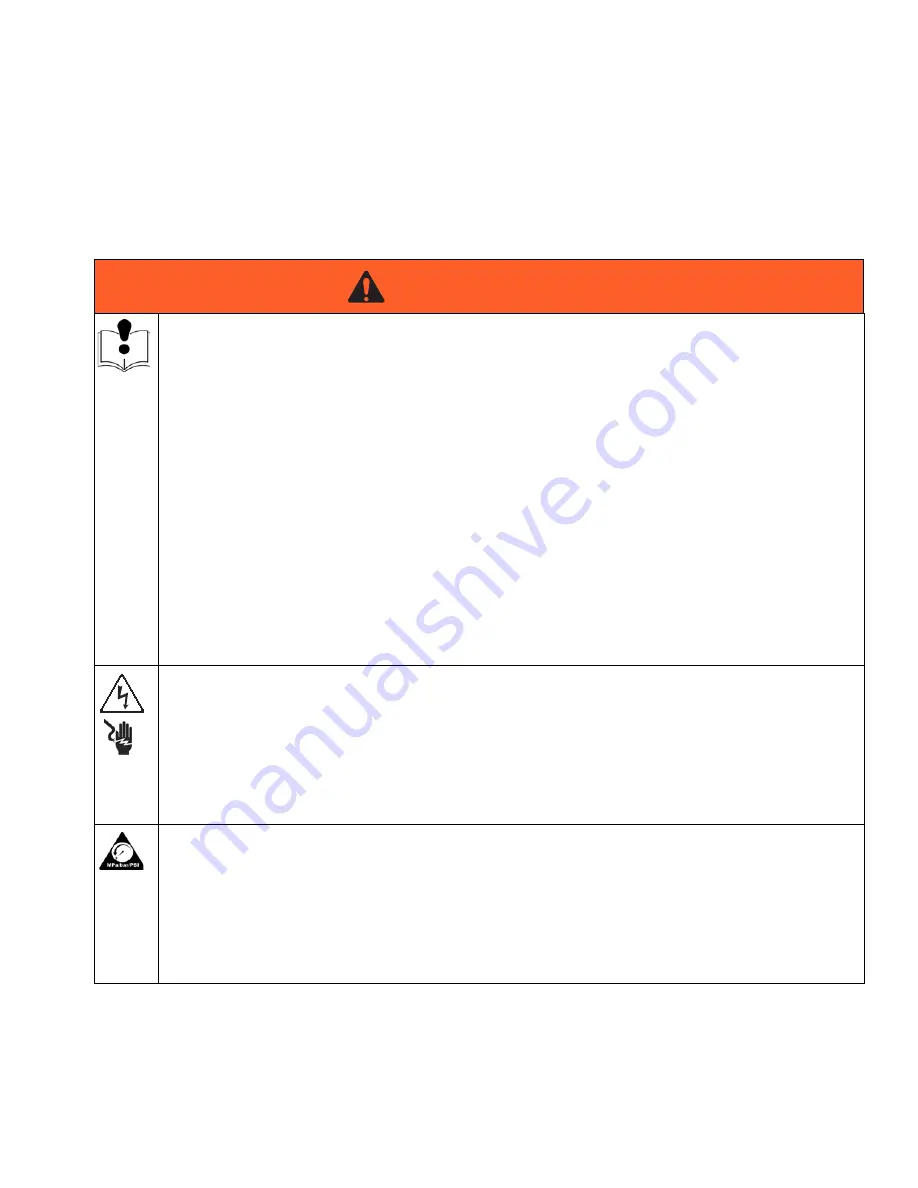
The following warnings are for the setup, use, grounding, maintenance, and repair of this equipment. The exclama-
tion point symbol alerts you to a general warning and the hazard symbols refer to procedure-specific risks. When 
these symbols appear in the body of this manual, refer back to these Warnings. Product-specific hazard symbols and 
warnings not covered in this section may appear throughout the body of this manual where applicable.

WARNING

EQUIPMENT MISUSE HAZARD 

Misuse can cause death or serious injury.

• Do not operate the unit when fatigued or under the influence of drugs or alcohol.
• Do not exceed the maximum working pressure or temperature rating of the lowest rated system 

component. See 

Technical Specifications

 in all equipment manuals.

• Use fluids and solvents that are compatible with equipment wetted parts. See 

Technical 

Specifications 

in all


equipment manuals. Read fluid and solvent manufacturer’s warnings. For 

complete information about your material, request MSDS forms from distributor or retailer.

• Check equipment daily. Repair or replace worn or damaged parts immediately with genuine 

manufacturer’s replacement parts only.

• Do not alter or modify equipment.
• Use equipment only for its intended purpose. Call your distributor for information.
• Route hoses and cables away from traffic areas, sharp edges, moving parts, and hot surfaces.
• Do not kink or over bend hoses or use hoses to pull equipment.
• Keep children and animals away from work area.
• Comply with all applicable safety regulations.

ELECTRIC SHOCK HAZARD 

Improper grounding, setup, or usage of the system can cause electric shock.

• Turn off and disconnect power at main switch before disconnecting any cables and before servicing 

equipment.

• Connect only to grounded power source.
• All electrical wiring must be done by a qualified electrician and comply with all local codes and 

regulations.

PRESSURIZED EQUIPMENT HAZARD 

Fluid from the gun/dispense valve, leaks, or ruptured components can splash in the eyes or on skin and 
cause serious injury.

• Follow 

Pressure Relief Procedure

 in this manual, when you stop spraying and before cleaning, 

checking, or servicing equipment. 

• Tighten all fluid connections before operating the equipment.
• Check hoses, tubes, and couplings daily. Replace worn or damaged parts immediately.

Summary of Contents for Spindl-Gard 24B219

Page 1: ...ds greater than 250 000 DN For professional use only Models Page 2 320 psi 2 2 MPa 22 bar Maximum Working Pressure Components Electric motor driven pump 0 8 gallon 3 liter plastic reservoir Air oil dispensing module Optional programmable timer controller Important Safety Instructions Read all warnings and instructions in this manual before using the equipment Save these instructions ...

Page 2: ... cu in stroke Remote no timer Timer Included AC Models Only 24 VDC 115 VAC 230 VAC 1 2 3 4 5 6 7 8 Plugged 0 025 0 0015 0 049 0 0030 0 082 0 0050 24B219 X X X X 24H681 X X X X 24R127 X X X X 24V204 X X X X 24V531 X X X X 258295 X X X X X 258301 X X X X 258347 X X X X X 25A202 X X X X 25A209 X X X X 564445 X X X X 25C264 X X X X 25C265 X X X X X 26C419 X X X X 26C521 X X X X ...

Page 3: ... equipment daily Repair or replace worn or damaged parts immediately with genuine manufacturer s replacement parts only Do not alter or modify equipment Use equipment only for its intended purpose Call your distributor for information Route hoses and cables away from traffic areas sharp edges moving parts and hot surfaces Do not kink or over bend hoses or use hoses to pull equipment Keep children ...

Page 4: ... the instructions on the following pages Refer back to this page as needed A Purge Plug B Manual Run Reset Button C Pump ON LED D Power ON LED E Alarm LED F 1 4 18 Air Regulator Inlet NSPF G Air Oil Delivery Line H AIr Flow Adjustment Screw J Oil Pressure Gauge K Air Oil Mixing Block A B C D E J F H G K ...

Page 5: ...is manual page 13 Grounding The equipment must be grounded Grounding reduces the risk of static and electric shock by providing an escape wire for the electrical current due to static build up or in the event of a short circuit Electrical Connections All Models 1 Verify all power to the system is disconnected 2 Remove enclosure cover from top of pump 3 Install electrical cable through connector lo...

Page 6: ...ch 0 63 cm 1 Connect incoming air line to the 1 4 18 NPSF inlet F 2 Connect air oil delivery line from the air oil mixing block K to the bearing point Air Flow Data Chart The tube size from the air oil mixing block K to the bearing is critical for proper air and oil delivery to the bearings Refer to the Air Flow Chart below for orifice and corresponding delivery tube sizes and the resulting airflo...

Page 7: ...6 bar and 0 41 MPa 4 13 bar Refer to Air Flow Chart page 6 for setting guidelines 4 Air flow is supplied on a constant basis to the air oil mixing block Adjust the air regulator to achieve the required air pressure as follows a Fill the reservoir with spindle oil b Press the manual run button B c Loosen the purge plug A on the air oil mixing block assembly K d Press the manual run button B until o...

Page 8: ...hour are required 60 12 5 set the pause time to 5 minutes NOTE Do not exceed 20 minutes Pause off time Work on Time FIG 2 and FIG 3 The Work on Time is set using the DS2 dipswitches NOTE A Work on Time of 20 seconds will normally be sufficient Prelube FIG 2 and FIG 3 J1 is used to Yes or No When set to Yes the lube cycle will immediately power up Pressure Switch FIG 2 and FIG 3 For timer models J2...

Page 9: ...ur NOTE Do not exceed 20 minutes Pause off time Monitor Time FIG 3 Set the Monitor Time to 20 seconds This will allow suffi cient time for the system pressure to rise piston distrib utors to fire and the oil pressure switch to close Cycle Switch FIG 3 Set Cycle Switch oil pressure switch transition to 1 Pressure Switch FIG 3 For timer models J2 must be set to the monitored posi tion ...

Page 10: ...he set Work Time a fault is registered causing a red Alarm LED E to light The Fault Alarm contacts to transfer The Pump ON LED C and pump turn off Other System Faults NOTE If a fault occurs press the Manual Run Rest but ton to clear the fault and restart the pump The pump will not start until the fault is cleared Startup Procedure 1 Verify the pressure regulator set point for the air oil mixing bl...

Page 11: ...Parts 313444E 11 Parts 1 3 9 14 25 19 2 23 7 15 5 30 26 29 8 27 17 6 33 20 23 ti128633 4 6 10 24 4 13 12 11 ...

Page 12: ...pindl Gard 1 20 CLAMP strain relief 1 21 CONNECTOR tap splice wire 22 16 AWG not shown 2 22 558900 REGULATOR assy psi switch spindl 1 23 557324 CLIP half 1 4 tube stl 2 24 PLUG dry seal 1 8 NPTF 2 25 563489 ELEMENT filter integral 10 MIC 1 26 561031 BLOCK inlet Spindl Gard 1 27 561032 BLOCK outlet Spindl Gard 1 29 563130 BLOCK Spindl Gard 0 0015 model 24B219 2 model 258347 2 model 25C264 3 model 2...

Page 13: ...up to 2500 SUS ISO 460 Lubrication Output 0 0015 0 0030 and 0 005 inch3 per cycle 0 025 0 049 and 0 082 cm3 per cycle Air Cleanliness Requirements 5 micron 40 F Dew point 5 micron 4 C Dew point Lubrication Filtration Requirements Filter to a minimum level recommended by the Society of Automotive Engi neers SAE which corresponds to the ISO Standard 4406 ratings specifica tions of ISO 18 14 Control ...

Page 14: ...airs will be made at a reasonable charge which charges may include the costs of parts labor and transportation THIS WARRANTY IS EXCLUSIVE AND IS IN LIEU OF ANY OTHER WARRANTIES EXPRESS OR IMPLIED INCLUDING BUT NOT LIMITED TO WARRANTY OF MERCHANTABILITY OR WARRANTY OF FITNESS FOR A PARTICULAR PURPOSE Graco s sole obligation and buyer s sole remedy for any breach of warranty shall be as set forth ab...

Reviews: