684-001
7
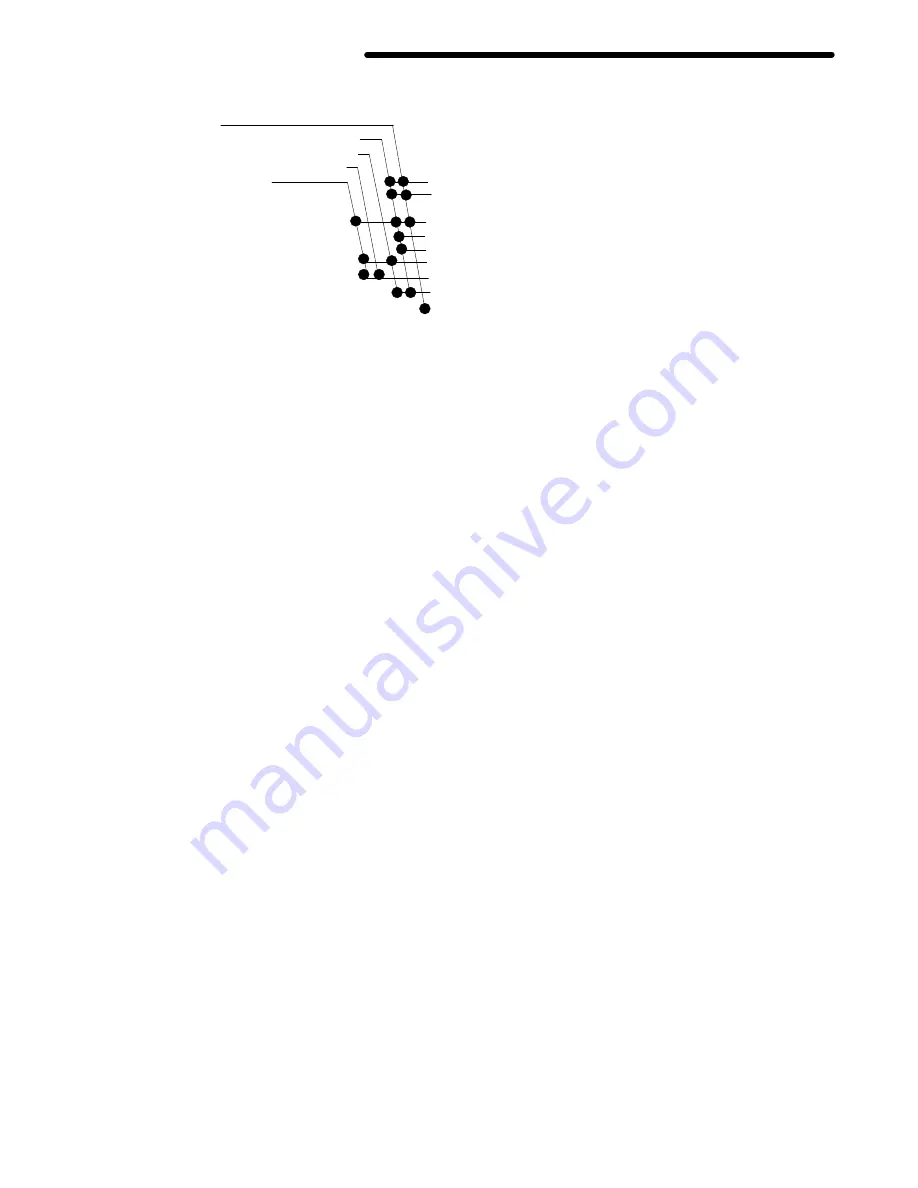
TROUBLESHOOTING CHART
What’s Wrong
Pump fails to operate
Pump operates but - output low on both strokes
- output low on down stroke
- output low on up stroke
Erratic or accelerated operation
Restricted line or inadequate air supply
Clear; increase.
Insufficient air pressure - closed or
clogged air valves, etc.
Open, clean.
Exhausted fluid supply
Refill
Obstructed fluid line, valves, gun, etc.
Clear *
Worn throat packing (8)
Replace
Held open or worn fluid intake valve
Clear, service
Held open or worn fluid piston or packing Clear, service
Damaged fluid pump riser tube o-rings (12)
Replace
Damaged air motor
Service - see
307-043
* Relieve pressures and disconnect fluid line. Turn on air; if pump starts, the line, etc. is clogged
Check all other remedies before disassembling pump
Displacement Pump Service
Use all parts of repair kit 948-147 when servicing
the pump.
Remove the pump from the fluid container and
operate it until as much of the material has been
pumped out as possible.
Shut off the air to the pump by closing the
regulator and opening the bleed-type master air
valve, and relieving the fluid pressure by triggering
the automatic dispensing valve. Remove the air
and fluid hoses from the pump.
Intake Valve
1. Remove retaining pin (28) from connecting rod
(26). Release clamp (7) to remove foot valve
cylinder (18) from pump cylinder (2).
2. Slide priming piston (27), foot valve poppet
(23), foot valve packing (29), poppet spring
(30), bearing (10) and foot valve stop (16) off
the connecting rod (26). Clean and inspect the
parts.
3. Release clamp (7) holding the retainer housing
(22) to the air motor base. Slide the pump
cylinder (2) down from the air motor. Pull the
displacement rod (3) out of the connecting rod
(21). Push the displacement rod out through
the bottom of the pump cylinder (2).
4. Remove the connecting rod (26) by removing
the retaining pin (25) and the o-ring (20) and
pulling the connecting rod (26) from the
displacement rod (3).
5. Release clamp (7) to take the retainer housing
(22) off of the pump cylinder (2). Remove
packing housing (24), bearing (17) and packing
(8) from housing retainer (22).
6. Clean and inspect all of the parts. Replace the
parts as necessary. The rubber parts that are
damaged or cut must be replaced, as any
damaged parts will harbor micro-organisms.
Reassemble the pump in the reverse from
disassembly. Sanitize all parts (see
CLEANING PROCEDURE, page 2). Lubricate
the o-rings, throat packing and piston seal with
waterproof sanitary lubricant when reassembly.
NOTE: When reinstalling the housing (22), the
hole must be slanting down.
Summary of Contents for 5:1 Monark 952-793
Page 9: ...684 001 9 PARTS DRAWING ...


