background image

312888D

Operation - Parts  

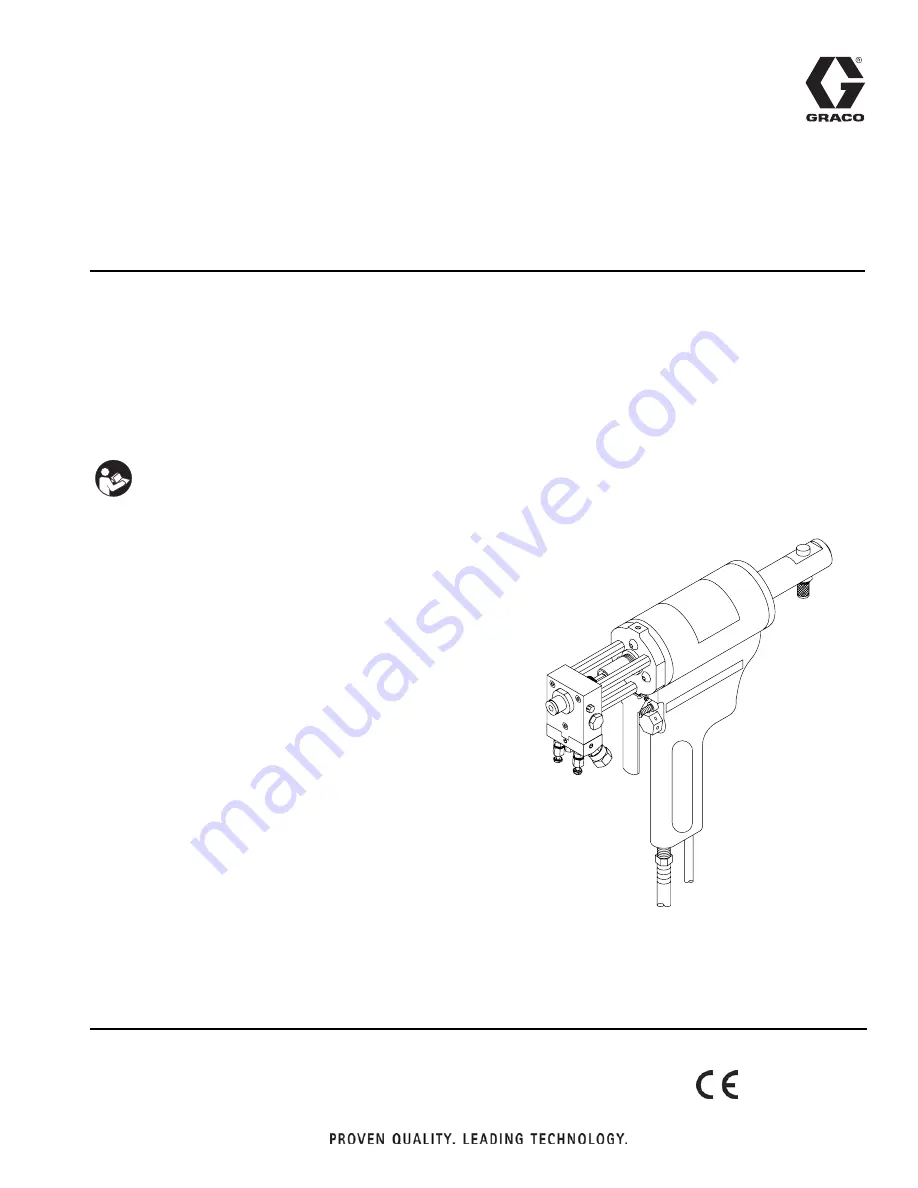
AR Pour Gun

For use with non-flammable polyurethane foams. 
Not for use in explosive atmospheres.

Part No. 255828

2000 psi (13.8 MPa, 138 bar) Maximum Working Pressure  

Important Safety Instructions

Read all warnings and instructions in this manual. 
Save these instructions.

Summary of Contents for 255828

Page 1: ...with non flammable polyurethane foams Not for use in explosive atmospheres Part No 255828 2000 psi 13 8 MPa 138 bar Maximum Working Pressure Important Safety Instructions Read all warnings and instruc...

Page 2: ...Maintenance 13 Gun Service Kits 13 Daily Cleaning Procedure with Gun Service Kit 13 Daily Cleaning Procedure without Gun Service Kit 14 Flush Gun 14 Trigger Gun While Disconnected 14 Troubleshooting...

Page 3: ...when operating servicing or when in the operating area of the equipment to help protect you from serious injury including eye injury inhalation of toxic fumes burns and hearing loss This equipment inc...

Page 4: ...oved from system Keep a working fire extinguisher in the work area EQUIPMENT MISUSE HAZARD Misuse can cause death or serious injury Do not operate the unit when fatigued or under the influence of drug...

Page 5: ...ressure especially if agitated To reduce frothing minimize preheating in a circulation system Changing Materials When changing materials flush the equipment mul tiple times to ensure it is thoroughly...

Page 6: ...N Rear Impinger P Screen Screw Mounting Screw Q R Port Closure Screw R Gun Block S Resin Seal Retainer T Spacer U Resin Seal Screw V O ring W Resin Packing X A Port Closure Screw Y Gun Block Screen Z...

Page 7: ...y stop The SERVICE CLOSED position permits both material inlet ports to remain closed when gun is triggered Engage Safety Stop To engage safety stop push in and turn clockwise to CLOSED rear detent po...

Page 8: ...ut 2 Close manual valves by turning fully clockwise Removal and Installation Remove Coupling Block 1 Set safety stop to SERVICE CLOSED 2 Disconnect air hose 3 Close both manual valves 4 Remove couplin...

Page 9: ...with grease Install Coupling Block Replace nicked damaged or worn coupling block gas kets 1 With gaskets in place fit coupling block to gun block 2 Insert coupling block mounting screw and use 5 16 i...

Page 10: ...ck 6 Close both manual valves 7 Pressurize the A and R chemical hoses and check for leaks See Proportioning Unit manual 8 Bleed air from chemical hoses a Hold coupling block with exit ports pointed in...

Page 11: ...r hose and the proportioning unit is at desired temperature and pressure CAUTION Sluggish valving rod action may result in valving rod sticking in open position when fluid pressure is applied Always h...

Page 12: ...to SERVICE CLOSED and close manual valves Relieve pressure before cleaning or repairing gun If fluid in hose and proportioner is still under pressure follow Pressure Relief Procedure in your Proportio...

Page 13: ...0 psi Do not exceed 100 psi 0 7 MPa 7 bar 7 Open one manual valve on service block 8 Connect air to gun Set safety stop to OPEN 9 Hold gun against grounded waste container 10 Trigger gun and 1 Quart G...

Page 14: ...ent 11 Remove iso check valve gasket using gasket removal tool 611 12 Using check valve removal tool 612 remove iso check valve 13 Clean all parts with solvent then blow dry with com pressed air and r...

Page 15: ...t coming out of gun Filter screens are clogged Flush gun See Flush Gun page 14 Poor spray pattern Materials in proportioner are too vis cous Check with material supplier for rec ommended temperature r...

Page 16: ...attern control tip cleanout tool to clean inside walls of tip Flush tip and clean surrounding external surface 6 Set pattern control tip and front impinger and pack ing aside Screen Screw and Port Clo...

Page 17: ...y rotate case a quarter turn counterclockwise to remove case from locking col lar 3 Cover open end of air cylinder with hand protected by a cloth and depress gun trigger 4 Disconnect airline to gun Pu...

Page 18: ...mately a quarter rotation until retainer case snaps into position Coupling Block and Check Valves Disassembly 1 Follow Pressure Relief Procedure page 12 2 Use 5 16 in nut driver to remove coupling blo...

Page 19: ...aner 5 Inspect seating surface area around center hole within throat for damage Use a soft object such as a wooden stick or soft brush to clean surface 6 Use impinger cleaning brush 608 to clean both...

Page 20: ...to remove the gun block and soak it in gun cleaner 1 Follow Pressure Relief Procedure page 12 2 Remove the pattern control tip and front impinger see Pattern Control Tip page 16 3 Remove coupling blo...

Page 21: ...mine if there are resin leaks at front Iso surface of throat 6 Set safety stop to SERVICE CLOSED and then pull trigger to determine if weepage occurs in this position 7 If weepage is observed in eithe...

Page 22: ...Repair 22 312888D...

Page 23: ...91 33 C 1 1800 299977 34 C 1 299992 34 C 1 2400 299980 46 B 1 299995 46 B 1 3000 299978 36 C 1 299993 36 C 1 3600 None 46 C 1 299996 46 C 1 4500 299982 48 C 1 299997 48 C 1 6000 299983 58 C 1 299999 5...

Page 24: ...Parts 24 312888D Auto AR C Gun 255827 1 6 12 3 2 4 17 14 5 36 33 37 7 19 29 32 41 31 15 8 13 22 23 40 9 34 35 18 24 25 21 27 39 19 26 28 11 10 20 44 43 38...

Page 25: ...ng 1 19 299475 RETAINER 1 20 299960 CYLINDER air assy 1 21 299962 ROD valving 1 22 297312 COLLAR lock 1 23 296136 SLEEVE 1 24 299966 RETAINER spring case assy 1 25 297313 SPRING die heavy duty 1 26 29...

Page 26: ...26 312888D Gun Handle Assembly 256213 206 230 213 232 212 211 210 209 208 205 207 205 202 205 216 210 215 214 234 217 233 231 219 228 235 203 201 201 229 224 220 204 221 203 203 222 218 227 226 223 22...

Page 27: ...14 WIRE gun harness assy 1 220 299936 MANIFOLD air 1 221 299937 SCREW 2 56 x 7 16 phms 4 222 299938 COVER 1 223 299939 PLATE rear cover 1 224 299940 GASKET pilot valve 1 225 15M966 BOARD assy 1 226 29...

Page 28: ...ITTING swivel 1 4 npt x 5 JIC 1 604 607 611 609 606 612 Ref Part Description Qty 601 117642 TOOL nut driver 1 602 117661 PIN vise 1 603 118665 TUBE grease 4 oz 1 604 285763 TOOL throat wrench 1 605 KI...

Page 29: ...Part Description Qty 701 299961 CYLINDER air assy AR D 1 702 297141 SLEEVE AR D 375 1 703 299968 SPRING die heavy duty medium 1 704 285755 SEAL 375 resin retainer 1 705 285756 SEAL 375 resin screw 1...

Page 30: ...Electrical Diagram 30 312888D Electrical Diagram 2 452 3 30 3 37 4 2 452 30 3 4 6 30 3 2 15 34 4 6 2 5 5 2 5 4 2 3 6 6 ti12351a...

Page 31: ...Component Resin Inlet Size 6 JIC Length 12 5 in 318 mm Height 9 5 in 241 mm Width 2 8 in 71 mm Weight 6 7 lbs 3 0 kg Wetted Parts Stainless Steel Zinc Plated Carbon Steel Black Oxide Coated Carbon St...

Page 32: ...sclose any defect in material or workmanship repairs will be made at a reasonable charge which charges may include the costs of parts labor and transportation THIS WARRANTY IS EXCLUSIVE AND IS IN LIEU...

Reviews: