

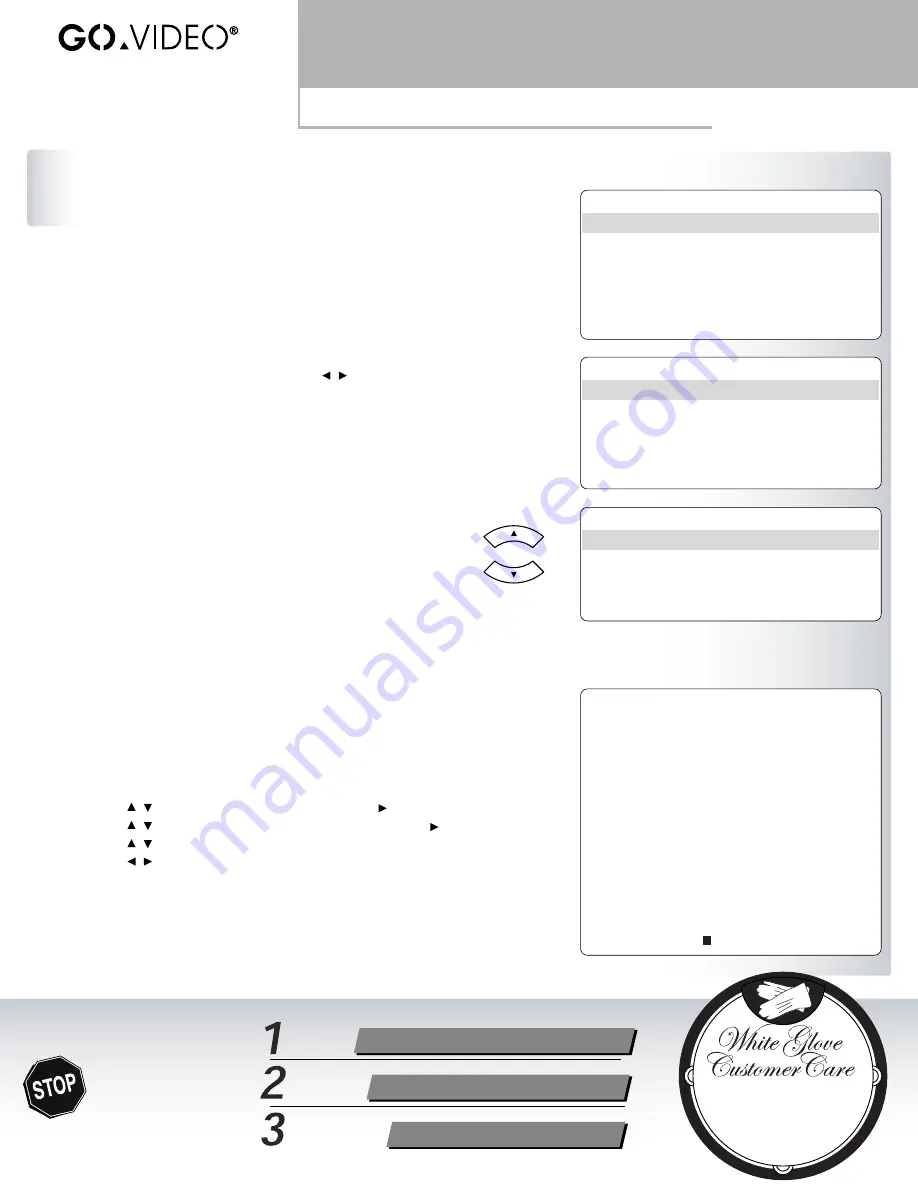
1 Load Disc
• Load a blank
DVD-R
or
DVD-RW
into the disc tray.
2 Initialize Disc
• If you are using a blank DVD-R disc, the disc will initialize automatically in
Video Mode
.
• If you are using a blank DVD-RW disc, the “Disc Initialize” menu appears,
prompting you to select a mode. Use the / buttons to select
VR Mode
or
Video Mode
, then press ENTER.
• Disc initialization may take a few minutes to complete.
3 Set Record Mode
• Press REC MODE to set the
Record Mode
to XP, SP, or LP.
• The amount of free space on the disc appears on the on-screen display.
4 Set Record Source
•
Use the CH +/– buttons to select the channel you want to record.
• If you are recording from a camcorder or other external device,
press INPUT to select AV1 (rear audio/video input), AV2 (front
audio/video input), or DV (front DV IN input).
5 Start/Stop Recording
• Press REC to start recording.
• When recording is complete, press STOP. A message appears for a few
moments while the DVD RVCR stops recording and adds the new title
to the disc menu.
• Press DISC MENU to view the contents of your recorded disc.
6 Finalize/Unfinalize Discs
If you want your recorded discs to be compatible with other DVD players, you
MUST finalize them:
1
Press SETUP on the remote control.
2
Use the / buttons to select “DISC”, then press .
3
Use the / buttons to select “DISC Finalize”, then press .
4
Use the / buttons to select “Finalize”, then press ENTER.
5
Use the / buttons to select “OK”, then press ENTER.
• Disc Finalization may take a few minutes to complete.
• Once you have finalized a DVD-R, you cannot record anything else on the
disc.
• You can erase and rerecord a DVD-RW by choosing “Unfinalize” from the
“DISC Finalize” menu.
Quick Reference
DVD Recording
VR3930
STEP-BY-STEP DVD RECORDING
With your DVD RVCR powered on and connected to your TV, follow
these steps to make your first DVD recording. Italicized terms are defined at right:
Questions?
DO NOT RETURN
THIS PRODUCT TO
THE STORE!
Our “White Glove” Customer
Service Professionals are
Ready to Help!
Call Us!
1-800-736-7679
E-Mail Us!
Visit Our
Web Site!
www.govideo.com
DVD Recording Terms
DVD-R
• Write Once
• Discs initialize in “Video
Mode” only
• Discs must be finalized in
order to play on other DVD
players
• Discs cannot be “Unfinalized”
Recordable Discs
DVD-RW
• Rewritable
• Discs initialize in “Video
Mode” or “VR Mode”
• Discs must be finalized in
order to play on most DVD
players
• Discs can be “Unfinalized”
Video Mode
• Limited editing features
• Widely compatible with
older DVD players as well
as DVD-RAM recorders
DVD-RW Recording Formats
VR Mode
• Extensive editing features
(e.g., add chapters, mark
commercials, trim
camcorder footage, etc.)
• Compatible with newer
DVD players only
1
Insert the source tape (the VHS tape you
want to copy) into the VCR deck.
2
Insert a blank DVD-R or DVD-RW disc
in the DVD disc tray.
3
Press VCR on the remote control to
select VCR mode.
4
Press COPY to display the “Copy to
DVD” menu.
5
Set the
Record Mode
to XP, SP, or LP.
6
Select “Copy” then press ENTER.
• Copying will stop automatically when
the VHS tape ends.
• To stop copying at any other time,
press STOP
Quality Setting
•
XP
(High Quality)
•
SP
(Standard Quality)
•
LP
(Low Quality)
Record Modes
Record Time/Disc
*
~1 hour/disc
~2 hours/disc
~4 hours/disc
* Actual recording time will vary depending on program content.
ONE-TOUCH COPY
VHS TO DVD
On your first recording,
call us, and we’ll walk
you through it. Free.
CH+
CH–


