2019 | Confidential and Proprietary | Do not distribute
1. What you’ll need
Everything you need to get started installing the lock is in the box. Check that you have all the parts.
You’ll also need some tools:
●
Phillips screwdriver or a power drill with Phillips bit
To connect the lock to the Nest app and the internet, you’ll need from the customer:
●
A compatible phone or tablet (check the requirements
●
Wi-Fi network password
INSTALL THE NEST X YALE LOCK
2. Remove the lock
●
First, remove the current lock and strike plate if there is one already installed on the door. You may need
a different screwdriver or wrench to fit the lock’s hardware. Re-drill the lock holes if needed.
●
If the lock hole’s center isn’t either 2 3/8 or 2 3/4 inches from the edge of the door, use a 2 3/8 inch
spade drill bit and the template from the installation manual to reposition the holes. You may also need a
chisel to reposition the cutout for the latch plate.
3. Install the deadbolt
●
Once the lock has been removed, it's time to install the Nest ×
Yale Lock’s deadbolt.
●
Before you put it in your door, adjust the length to fit the door
and make sure the bolt is retracted.
●
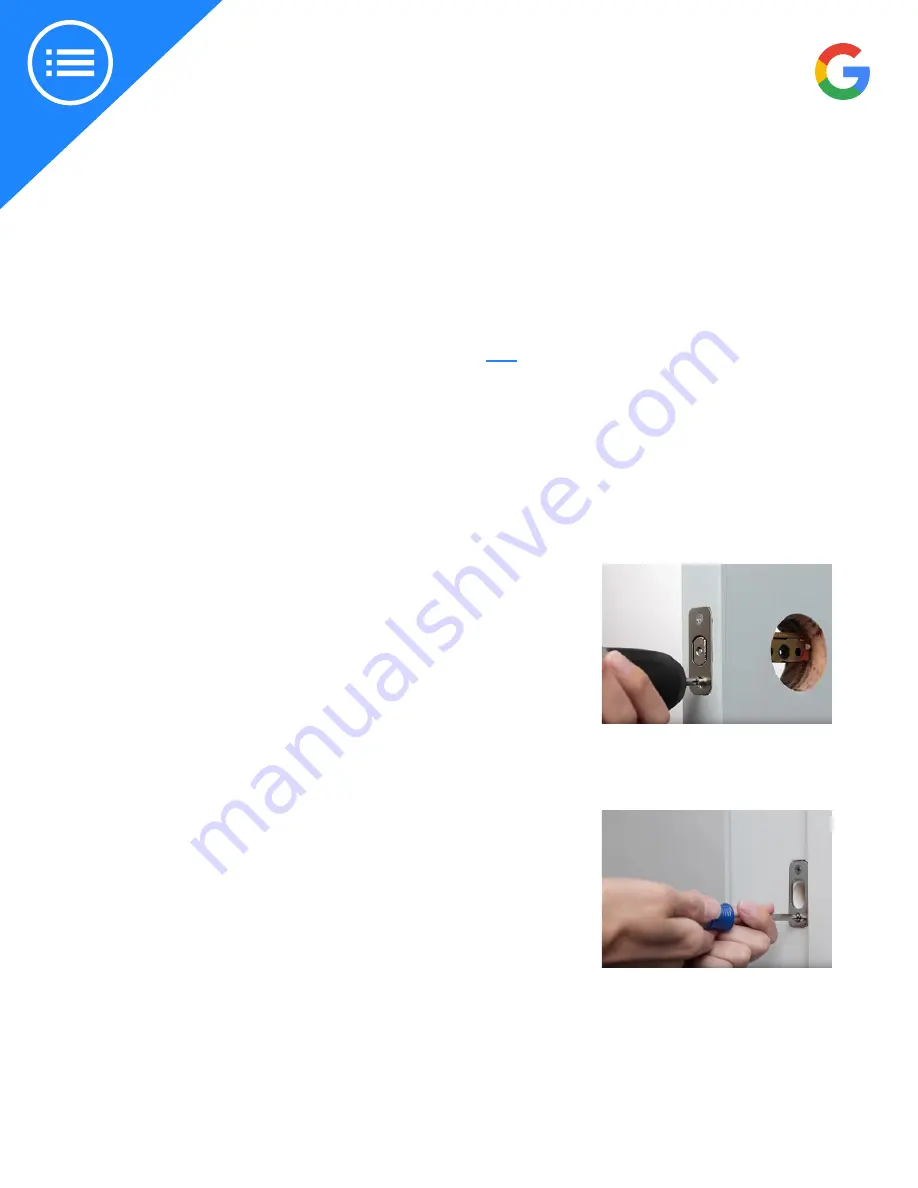
Press fit the bolt into the door as shown. Then use two of the
included screws to secure it.
Important: If you’re using a drill use a low torque setting to avoid
stripping the screw threads.
4. Install the strike plate
Important: The new strike plate included with the lock must be installed,
even if it looks the same as the current one. If not, the lock may jam.
●
Remove the current strike plate and install the included strike plate
in the door frame.
●
Make sure the hole in the plate will line up with the lock’s bolt
before you install it. If not, adjust the cutout for the plate with a
chisel.
Note: You can choose either the short screws for easier installation with a
screwdriver or the long screws for extra security.


