2019 | Confidential and Proprietary | Do not distribute
Troubleshooting Nest camera error codes
My Wi-Fi network doesn't show up when I try to set up my camera
Step 3: Plug in the camera and connect to Wi-Fi
Plug the camera into a household power outlet with the included power cable and adapter. The camera’s light will
pulse blue to let you know it’s getting power and is ready to be connected.
The app will help the camera automatically scan for nearby Wi-Fi networks. Select the network the customer wants
their camera to use. If the list doesn’t include their Wi-Fi network, if the camera can’t connect to it, or if you get an
error code like NC022 or NC033, see the following articles for help.
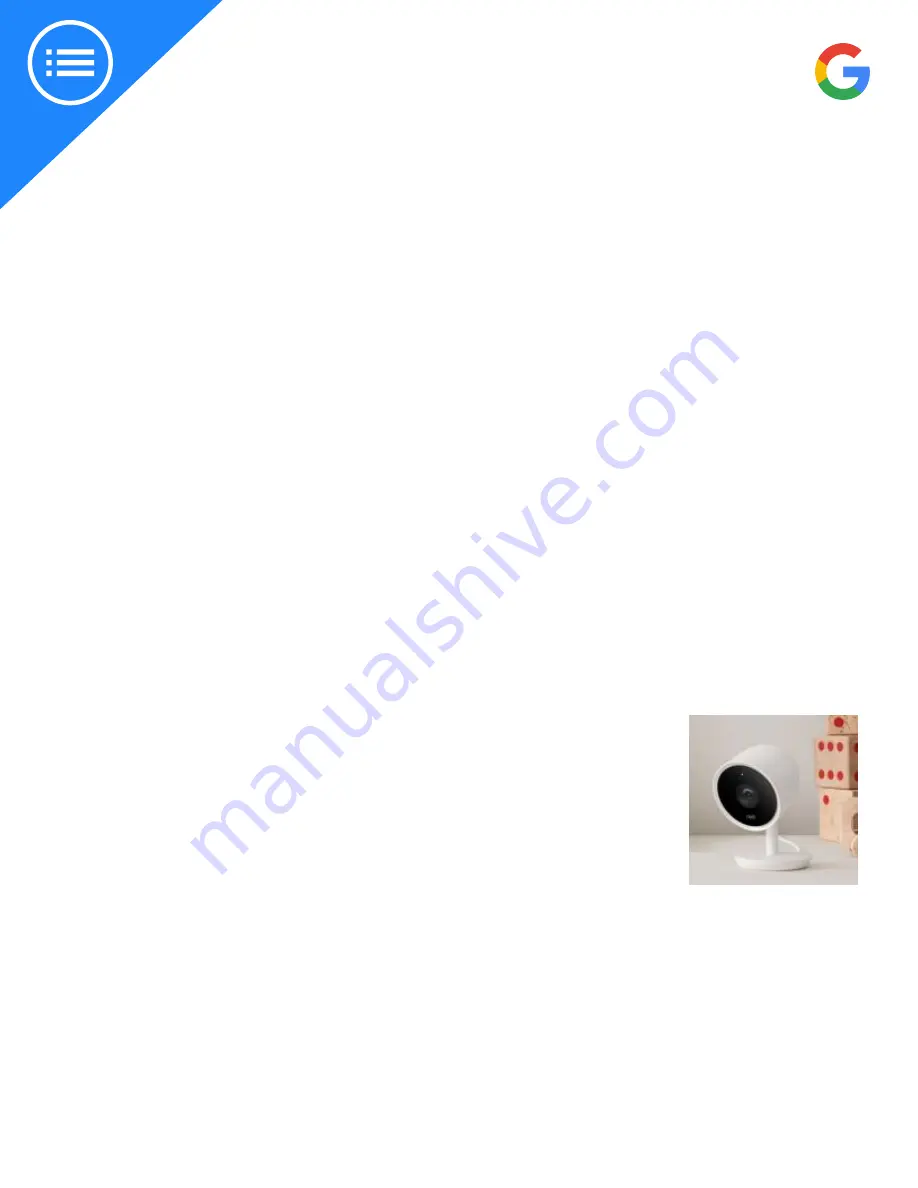
NEST CAM IQ INDOOR INSTALLATION
Place the camera
●
Place the camera on a flat horizontal surface, like a shelf.
○
Note: Ideally, they’ll want to place the camera high enough to get a
good picture of someone’s face as they walk in front of it. The 130°
wide angle view makes it easy to find a spot where you can see most
of the room.
●
Pivot the camera in its stand to adjust the viewing angle.
●
Check the camera’s video stream with the Nest app and make further
adjustments.
○
Tip: To help its sensors provide a better image, angle the camera so
the surface it’s sitting on stays out of view.
Finally, add the cable clips where necessary to secure the camera’s power
cord to the wall or ceiling for a tidy look.
Step 4: Check the camera’s video stream
Now that the camera is connected to Wi-Fi, the app will help you check
that the camera can stream video. Make sure the camera is placed exactly
where the customer wants during the test.
●
If you see video, you’re ready to install or mount the camera.
●
If you don’t see video, the camera may be too far from the Wi-Fi
network. Try moving it closer.


