20
Setting or checking the time and date
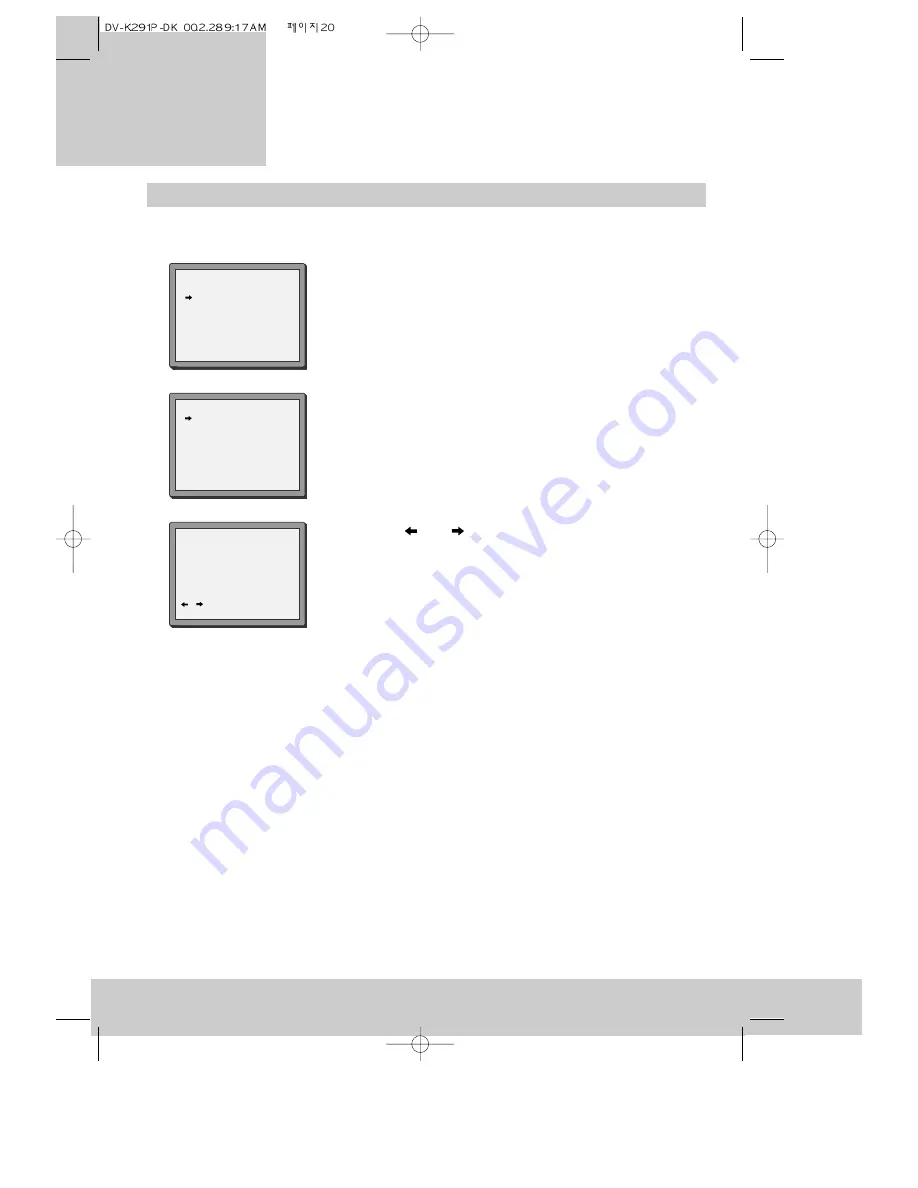
1 Press the MENU button to see the main menu.
2 Press the PR- button twice to move the pointer to
‘VCR set-up’.
3 Press the OK button to see the video recorder set-up menu.
4 The pointer will be on ‘Clock set’. Press the OK button to see
the clock set menu.
5 Press the
and
buttons to make the hour, minute, day,
month or year numbers flash. While one of the numbers is
flashing, you can change it by pressing the number buttons 0
to 9.
As you fill in the numbers, the next item starts flashing
automatically. Just press the last two numbers of the year
and the video will decide the century, for example 9 and 9
gives ‘1999’ and 0 and 1 gives ‘2001’. The date is in
day/month/year format.
If you don’t press any buttons, the control menus go off after
about one minute.
6 You can finish without saving any changes by pressing the
MENU button at this step.
7 To keep changes to the time and date, press the OK button.
You will see the main menu again.
8 Press the MENU button to finish.
You do not normally need to set the time and date because the video recorder gets this
information from the television transmitter.
MAIN MENU
Timer Program
PR Preset
VCR Setup
PR+/-:select
OK:confirm MENU:end
CLOCK SET
0-9:setup(minute)
/
:correct
OK:confirm MENU:end
Time 16:05
Date 19/05/1999(WED)
VCR SETUP
Clock Set
RF Output Set
16:9 set
PR+/-:select
OK:confirm MENU:end
v i d e o r e c o r d e r
Setting up the
Summary of Contents for VP2500-A
Page 1: ......


