GoMax Electronics VW-1312 User Manual Download Page 9


7


OPERATION SOFTWARE 

System Requirement and Precautions 

1.  Whenever  power  off  VW-1312,  please  stay  unpowered  at  least  5  to  10  seconds  to  allow  power 

capacitors to discharge. 

2.  The VW-1312 provides a software control program which runs under Microsoft Windows 98, 2000, XP 

through the interface of RS-232 serial control. 

3.  Before  you  click  on  the  icon  of  the  software, make  sure  you  have  secured  the  connection  between 

your computer COM port and the VW-1312. 

4.  The  VW-1312  provides  software  control.  To  make  sure  all  information  shown  in  the  software  is 

synchronized  with  those  in  the  device,  please  click  "Connect"  to  acquire  the  latest  data  from  the 

VW-1312 after you press any key on the remote control. 


Instruction of Software Connection 

1.  Power up the VW-1312 and you can see Vacuum Fluorescent Display (VFD) on the front panel blinks. 

Make sure the serial port (RS-232 or RS-485) connection is secured. 

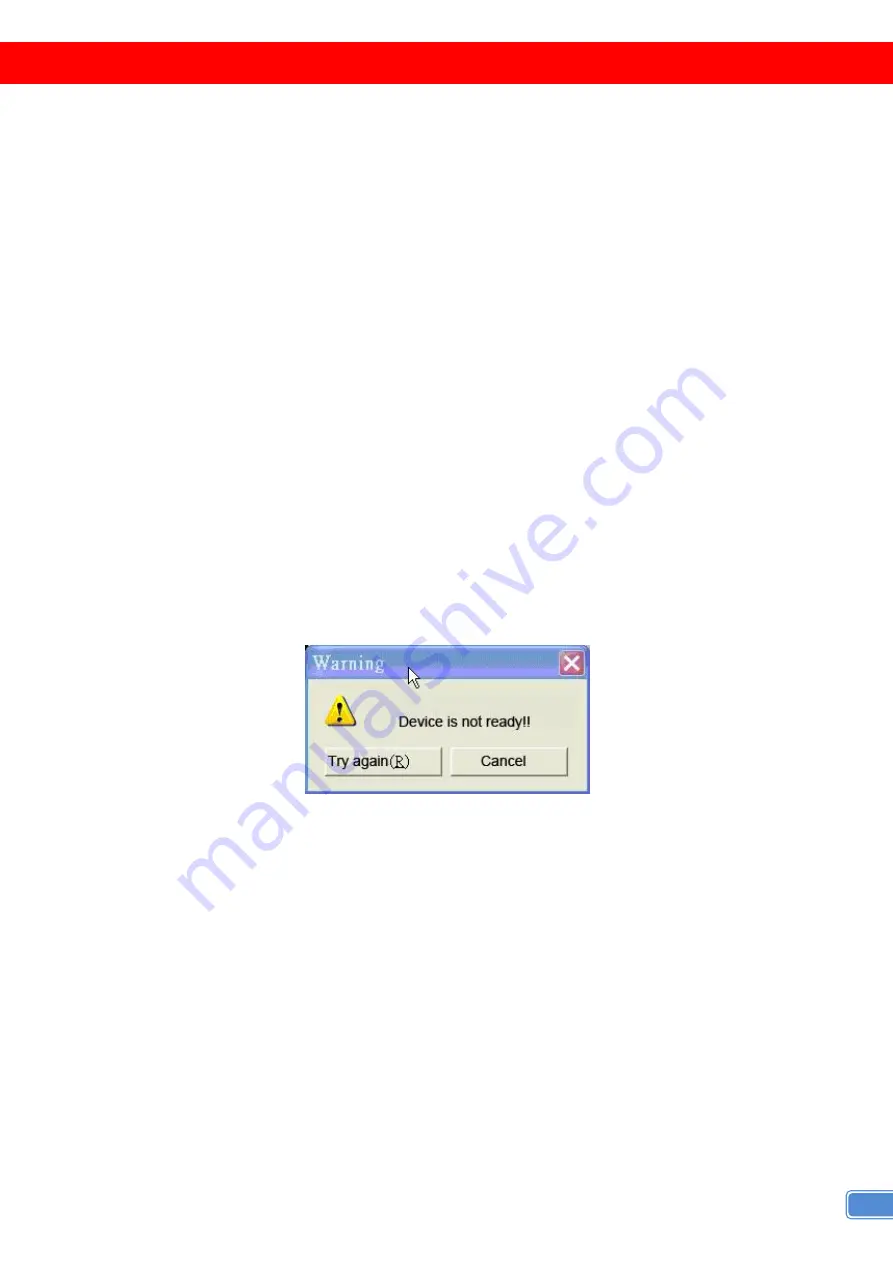
2.  The  first  step  after  running  the  software  is  to  automatically  detect  if  the  device  responses  correctly 

through  RS-232  port.  The  process  takes  5-15  seconds.  If  the  response  is  not  accurate,  a  warning 

window will show up as the figure below. 


The possible reasons causing this failure could be: 

  The  VW-1312  is  not  supplied  with  power  or  the  VW-1312  enters  deep  sleep  state.  Please  check  the  current 

status, and reboot the VW-1312. 

  The serial connection through RS-232 is not well established or some other software has taken the available 

serial ports. Please make sure the RS-232 cable is well connected and the available serial port is free to be 

used by the VW-1312. 


Summary of Contents for VW-1312

Page 1: ...12 Display Dual View Cascadable Modularized Videowall Processor User Manual rev 120112 Made in Taiwan V VW W 1 13 31 12 2...

Page 2: ...proper ventilation and air circulation and do not use near water Keep objects that might damage the device and assure that the placement of this unit is on a stable surface Use only the power adapter...

Page 3: ...2 sends the resulting mixed video thru DVI interface to the connected monitors projectors based on the display layout The layout can be readily modified to fit your applications and optimize visual ef...

Page 4: ...arge PCB stack up 6 layer board impedance control differential 100 single 50 Input 1x DVI 1x VGA 1x RS 232 1x RS 485 Output Up to 12x DVI DVI connector DVI I 29 pin female digital only VGA connector H...

Page 5: ...this device You can pick up one of the digital inputs and one of the analog inputs and then VW 1312 will display the mixed video on the connected 4 displays With an advanced de interlacer built in low...

Page 6: ...1280x960 60Hz VESA 640x480 60Hz VESA 1280x960 85Hz MAC 640x480 67Hz VESA 1280x1024 60Hz VESA 640x480 72Hz HP 1280x1024 60Hz VESA 640x480 75Hz IBM 1280x1024 67Hz VESA 640x480 85Hz HP 1280x1024 72Hz VE...

Page 7: ...eo picture to be projected The video image could be burned in to the display device Installation Procedures Unpacking Remove the VW 1312 from the shipping container and examine it for any signs of shi...

Page 8: ...6 CONNECTION DIAGRAM...

Page 9: ...the remote control Instruction of Software Connection 1 Power up the VW 1312 and you can see Vacuum Fluorescent Display VFD on the front panel blinks Make sure the serial port RS 232 or RS 485 connect...

Page 10: ...in and sub sources both can be adjusted to 16 9 or 4 3 The brightness and contrast of the mixed video also can be adjusted for different requirement After setting please press Update Setting to save t...

Page 11: ...Source Choosing one of the inputs as the main source Sub Source Choosing one of the inputs as the sub source Display Layout Mode Setting the layout of the main and sub sources in the mixed video 1 Ma...

Page 12: ...etup to display any area of the input video Each output can be with different output resolutions to adapt different combinations of monitors or projectors To select each individual output to setup wit...

Page 13: ...ettings into processor Clicking on Update Status will keep the information of the input video updated Clicking on Update Apply Settings will load the parameters into processor While Auto Apply Setting...

Page 14: ...10 20 seconds After the resolution is changed the selection of input and the Display layout mode will return to default So please adjust the input source and Display layout mode to your requirement o...

Page 15: ...re the unit or assume the risk of loss or damage in transit Under no circumstances will a unit be accepted without a return authorization number The warranty is in lieu of all other warranties express...

Reviews: