background image

e.

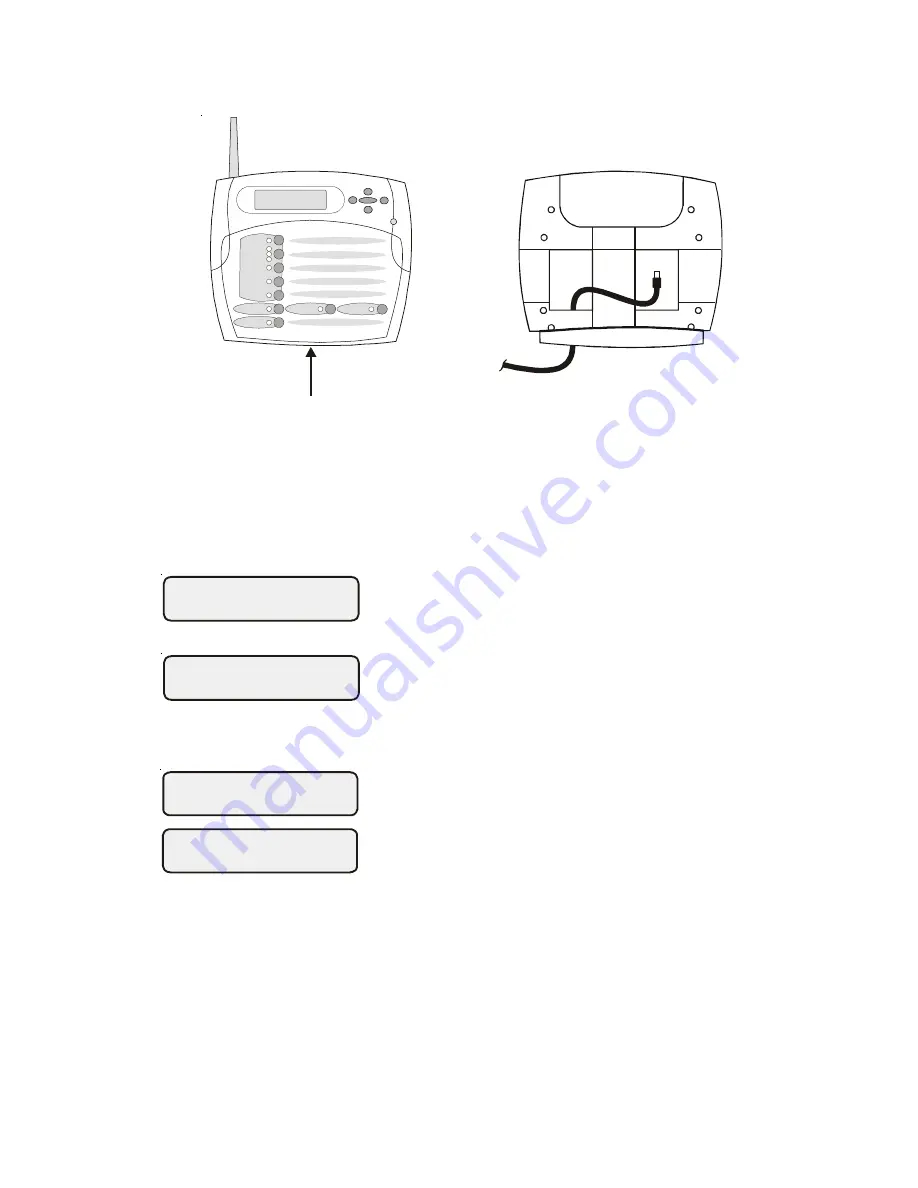
Reattach the wireless remote display/keypad to the baseplate.

f.

Plug the power supply into a 120VAC outlet.

4.

Teach the unique Aqua Logic ID code

:  The base receiver attached to the Aqua

Logic control unit has a unique ID code that ensures that your unit will not affect
other systems in the neighborhood, and likewise, their remote will not affect
your system.  To teach the ID code to the wireless remote unit:

a.

On any other Aqua Logic display/keypad unit,
press the “Menu” button (possibly multiple
times) until “Settings Menu” is displayed.

b.

Press “<“ or “>” (again, possibly multiple times)
until “Teach Wireless” is displayed.

c.

Press the “+” button to start the teaching pro-
cess.

d.

Press and hold any button on the wireless re-
mote display/keypad for 4 seconds.  At this
point the LCD on the wireless remote display/
keypad will indicate "Teach Wireless Success-
ful" and the local display/keypad on the Aqua
Logic control unit will also confirm “Teach
Wireless Successful”.  If this process is not
successful, then refer to the Troubleshooting
section of this manual for additional informa-
tion.

5.

Apply labels:

  The Aqua Logic PS series of controls allow each output (e.g.

AUX1) to be renamed to what is actually being controlled.  The wireless remote
display/keypad comes with a sheet of name labels—simply peel the appropriate
label off the sheet and apply to the appropriate set of buttons on the wireless
remote display/keypad.

6.

Installation is complete:  

You can now use the wireless remote display/keypad.

2

Settings

Menu

Teach Wireless:

+ to start

Teach Wireless:

Successful

Press and hold

wireless button

Pull up on bottom edge

to remove cover

Wireless Remote

Display unit

Summary of Contents for AQL-REMOTE-RF-PS-4

Page 1: ...gic Aqua Logic Aqua Logic Aqua Logic Automation and Chlorination model AQL REMOTE RF PS 8 shown above Installation Operation Manual for model AQL REMOTE RF PS 4 AQL REMOTE RF PS 8 AQL REMOTE RF PS 16...

Page 2: ...ireless remote display keypad The wireless remote display keypad is designed to mount onto a standard electrical utility box same size as used for a triple light switch or can be mounted directly onto...

Page 3: ...ypad for 4 seconds At this point the LCD on the wireless remote display keypad will indicate Teach Wireless Success ful and the local display keypad on the Aqua Logic control unit will also confirm Te...

Page 4: ...the base receiver is plugged into the wireless connec tor on the main printed circuit board If this connector is already plugged in for more than 30 seconds then call Goldline Technical Service for as...

Page 5: ...or On for 60 sec After you have selected the desired operation press the Menu button to lock in your setting Note that this selection applies to this display keypad only Repeat the process for each d...

Page 6: ...tial system installation Goldline Controls will at its option either repair or replace the defective product and return it freight prepaid If the defective product is returned freight prepaid to Goldl...

Page 7: ...t If written proof of the date of the initial system installation is not provided to Goldline the manufactur ing datecode on the product or part will be the sole determinant of the date of the initial...

Page 8: ...the In dustry Canada technical specifications were met Interference This equipment has been tested and found to comply with the limits for a Class B digital device pursuant to Part 15 of the FCC rule...

Reviews: