T X 3 5 5 0 S
I N S T R U C T I O N M A N UA L
PA G E 9
NOTE:
When using the
F
key to access other functions,
F
is
displayed to indicate that ‘Function’ mode is activated. If the
required function is not selected within 6 seconds the
F
key
selection will time out with a low beep and
F
will disappear
from the display.
ON/OFF
Press the
key to turn the radio on. Press and hold the
key to turn the radio off.
VOLUME
Press the
+
or
–
key to adjust the volume. Press
+
to increase
the volume,
–
to decrease the volume.
If no sound is heard, briefly press the
SQL
key to temporarily
un-mute the radio then adjust the
Volume
while listening to
the background noise. When finished, briefly press the
SQL
key again to re-mute the radio.
NOTE:
At the minimum volume setting there is still sufficient
volume to be heard in a quiet cabin environment.
SELECTING CHANNELS
To select the required channel, press the
or key
. Press
to select a higher channel. Press to select a lower
channel. The selected channel is displayed on the LCD.
SQUELCH
The Squelch is used to eliminate any annoying background
noise when there are no signals present. The Squelch can
be opened or closed using the
SQL
key. When the Squelch
is open the receiver’s background noise can be heard and
the symbol is displayed. When the Squelch is closed the
receiver remains quiet while there are no signals present but
any incoming signals will override the Squelch and be heard
in the speaker.
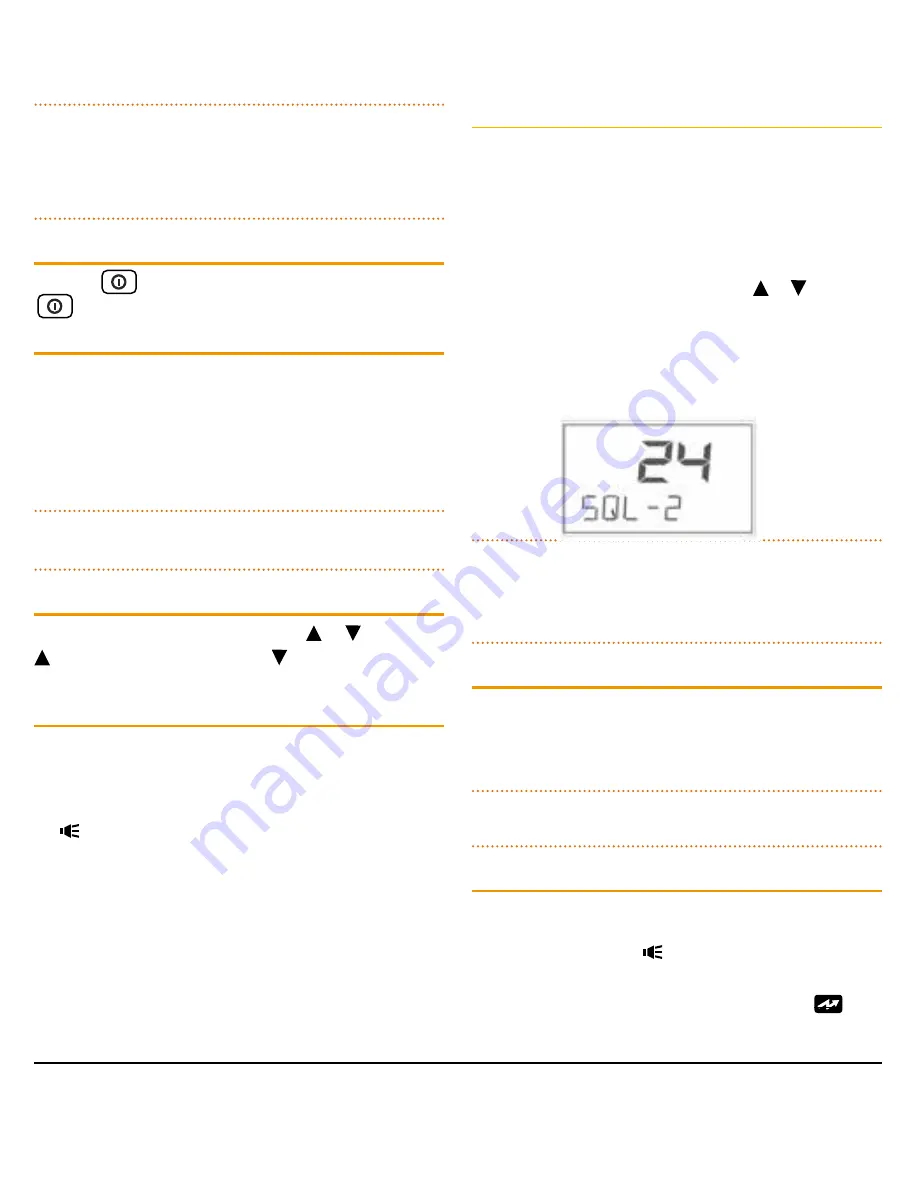
Adjusting the Squelch level
The Squelch sensitivity level has been factory set to provide
optimum performance under most operating conditions. If
required, the sensitivity level can be adjusted to suit
changing conditions.
To adjust the Squelch sensitivity, briefly press the
LEVEL
key. The display will show the current Squelch level setting
in values from
SQL-1
to
SQL-9
. Press the or
key to
change the Squelch setting. A Squelch setting of
SQL-1
allows the Squelch to open on very weak signals whereas a
setting of
SQL-9
requires much stronger signals to overcome
the Squelch. After adjusting the Squelch sensitivity, briefly
press the
LEVEL
key to return to normal operation.
NOTE:
The Squelch level can be actively adjusted while the
radio is scanning. This allows you to tighten the Squelch in
cases where an undesired weak or noisy signal is interrupting
the scan.
SIGNAL METER
The signal meter indicates the relative strength of the
incoming signal in numerical format. Signal strengths are
displayed on the lower left of the Channel Display in values
from 0 to 9. Signals above strength 9 are displayed as 9+.
NOTE:
Refer to the
Configuration Menu
for other options
that can be displayed in this location.
TRANSMITTING
Prior to transmitting, always check the channel is not being
used. This can be done by listening to the channel or by
visually checking that the icon is not visible or the signal
meter is not indicating a signal.
To transmit, press the
PTT
on the microphone. The
icon
will appear. Hold the microphone about 3-5 cm from your


