background image

7"LCD 4channel H.264 DVR COMBO   

Page 16 of 24 

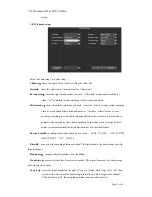
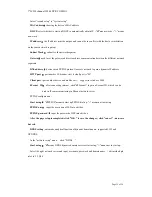
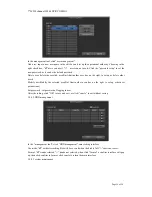
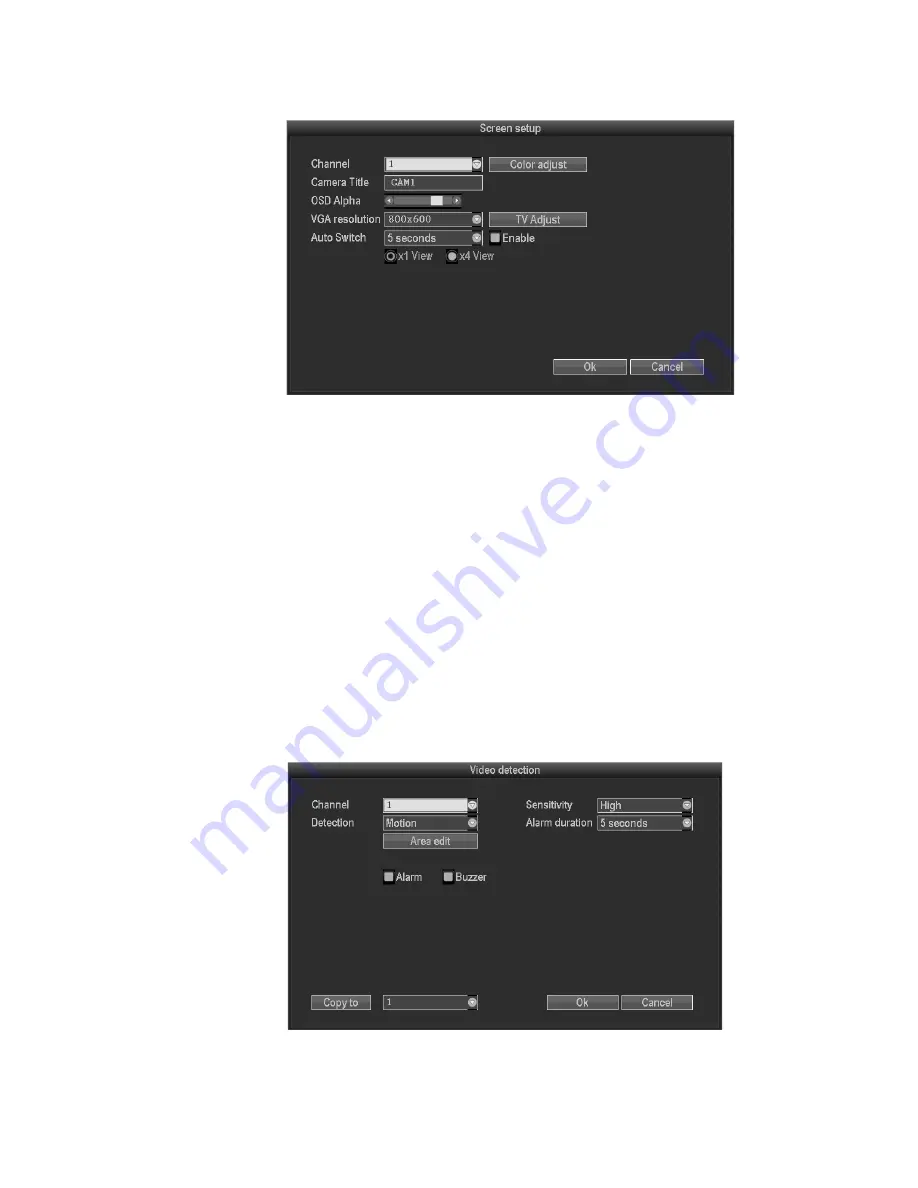
3.8.3.5 Screen setup   


Select “screen setup” in “system setup”   

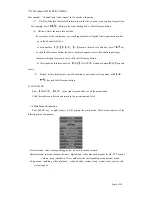
Channel 

chose the right CH as needed by clicking select box 

  title 

edit any channel title as needed   

OSD title : 

” means display channel title, “□”means non-display   

OSD Alpha


OSD menu transparency. Can be adjusted as needed   

  OSD time 

”display system time

“□” non- display; 

Sequence Dwell 

the time of auto switching preview image , can be single screen or 4 Channels 

screen. 

Start using

”start using 

“□” non-start using   

After the page setup is completed, click '"OK " to save the changes ; click "cancel " , non-save but exit.   

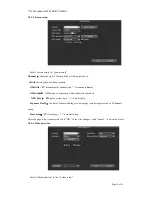
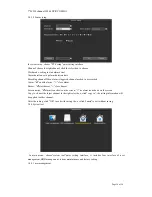
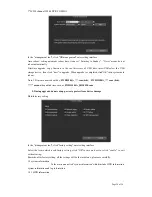
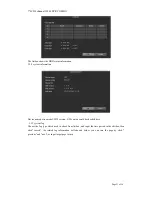
3.8.3.6 Video detection 


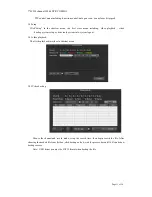
Select”video detection” in the “system setup”   

Summary of Contents for MD8704

Page 1: ...7 LCD 4channel H 264 DVR COMBO Page 1 of 24 H 264 DVR USER MANUAL 7 LCD 4channel H 264 DVR COMBO...

Page 2: ...de 6 3 4 Main Menu Introduction 6 3 5 Video Playback 7 3 5 1 Video Search 7 3 5 2 Playback tools 7 3 6 Manual Recording 8 3 7 PTZ Control 8 3 8 Menu 8 3 8 1 Video Search 8 3 8 2 File Backup 9 3 8 3 Sy...

Page 3: ...4channel H 264 DVR COMBO MD8704 LCD liquid crystal display 7 color LCD 800x480 400 1 Visual angle 160 4 3 CCFL Operation system Embedded Linux operation system Image compression Main profile H 264 Ope...

Page 4: ...temperature 0 50 Working humidity 10 90 1 3 Open Case And Connect Cables 1 3 1 open case inspection First of all plz check if there is apperant damage of the packing as soon as you received the produ...

Page 5: ...nce Description 2 1 Panel Description 4 channel DVR Front Panel Description 1 POW Power States LED 8 PTZ PTZ control 2 CH1 CH4 Single Screen Switch 9 ESC Exit 3 QUAD Multi Screen Switch 10 MENU Menu K...

Page 6: ...Connector 5 VGA Video Output Connector 6 POWER Power switch 2 3 Remote Control Description POWER Power switch DEV Device button after press DEV input the same number as device number and press ENTER...

Page 7: ...3 2 Preview After device start preview interface can be seen immediately In the preview interface you can see the system date time channel name Press corresponding number key of panel or click the le...

Page 8: ...ouse button b After input the information click OK CANCEL button or button ESC can safe or exit 5 Button used to implement a specific function or enter the next setup menu click OK key and the left mo...

Page 9: ...Starting and finishing time into edit box Search After setup the above search condition click search to begin the corresponding video file searching and show the files Red means time recording green...

Page 10: ...st forward click can fast forward the video also times fast forward the video by click the button again Exit playback click ESC or can exit the playback video or exit until all file have been played 3...

Page 11: ...ideo backup system setup system tools system info system logout 3 8 1video playback That is the playback interface in shortcut menu 3 8 2Video back up Choose the channel and record mode setup the sear...

Page 12: ...ime Date Format Y M D D M Y M D Y Keyboard Lock The present user will log off if there is no operation in 10 minutes it needs login again Key Buzzer Enable there is sound with the controller or pressi...

Page 13: ...te but bit rate is automatically adjusted by the system depending on the video sceen average birtrate means system automatically adjusted fluctuation as user defined bitrate Encode format encoding res...

Page 14: ...recoding mode in all 4 time slot Time recording with red color Motion recording with green color Sensor recording with yellow color means working means invalid The bottom parts has times status displa...

Page 15: ...80 Client port port number device and mobile visit suggest to set above 2000 ESeenet ID after connecting internet click Eseenet to gain a Eseenet ID which can be used in IP remote monitoring in ESeen...

Page 16: ...annel title means non display OSD Alpha OSD menu transparency Can be adjusted as needed OSD time display system time non display Sequence Dwell the time of auto switching preview image can be single s...

Page 17: ...o button click copy to ok then system will set the current channel setup informations to other target video channel Click button cancel the setup informations is non saved but to exit 3 8 3 7 PTZ setu...

Page 18: ...le alarm close alarm Buzzer start buzzer close buzzer Screen notice alarm icon shows on the screen no alarm icon shows on the screen Copy to choose the target channel in the right select box click cop...

Page 19: ...other users Modify user Modify the selected user But Admin other users has no the right to set up other user permissions Set password set password of logging in user After the setting click OK to save...

Page 20: ...ware name should be FWHI1504A_ rom 4ch FWHI1508A_ rom 8ch means the publish time such as FWHI1504A_20110520 rom 2 During upgrade do not cut up power to protect from device damage 3 8 4 4 factory setti...

Page 21: ...ce name device model H W version S W version could be checked here 3 9 3 system log Choose the log type which need to check from listbox and input the time period in the editbox then click search the...

Page 22: ...f you want to use the device continue need to login again System reboot It will reboot after OK Esee Operation Instruction Do the following setup before you log in Esee on pc IE setting if use it for...

Page 23: ...g picture input esee ID user name and password this user name and password is same with DVR log in user name and password Input correct info then can login 1 1 video monitoring homepage Monitoring hom...

Page 24: ...l with mouse left red color means select already Double click the channel can open or close the correspond preview channel such as open close Preview mode can click to choose the mode or double click...

Reviews: