Skin Scanner Operation
NOTE:
The client’s skin should be cleaned before use.
Patient Positioning
1.
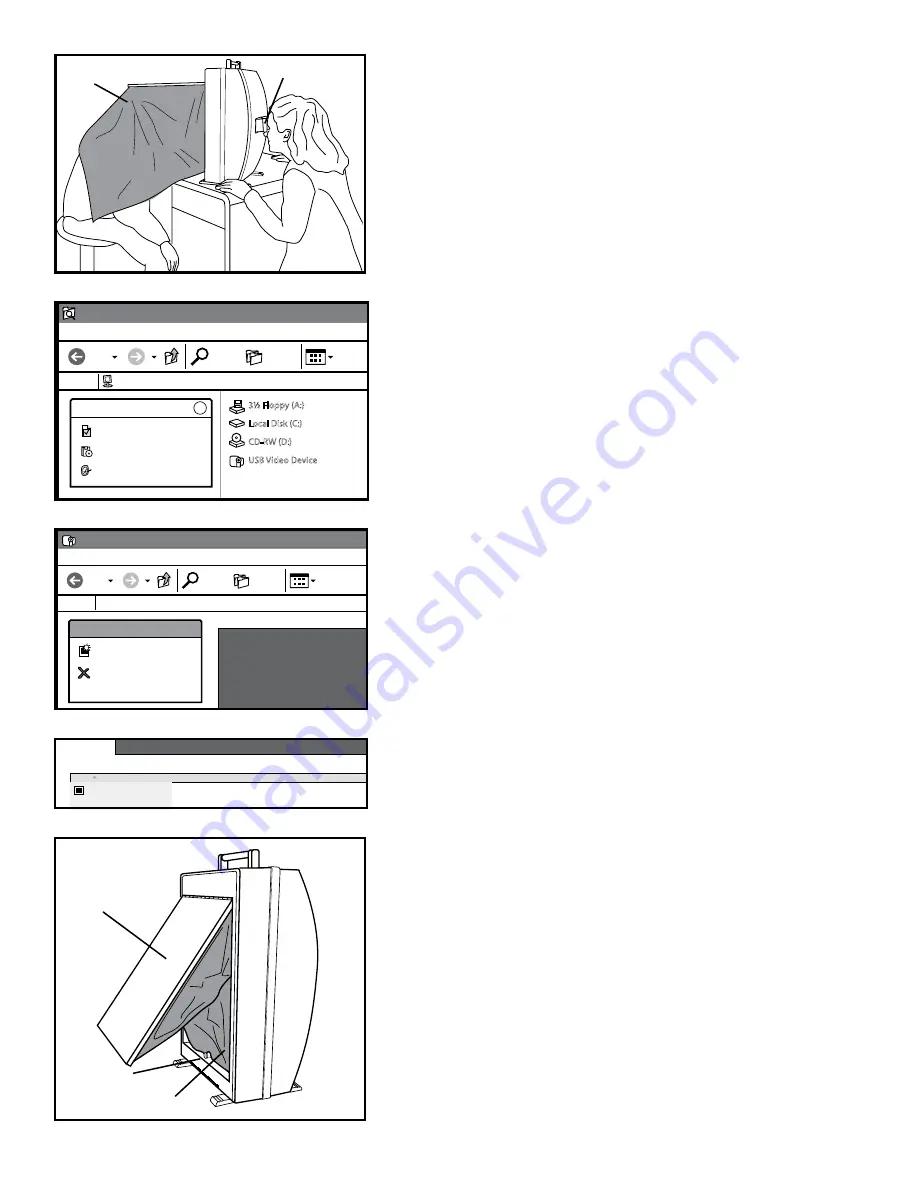
Have the client position their head into the skirting of the unit (the skirting
should cover the client’s head and neck).
2.
Have the client face the front of the concave mirror and adjust the mirror
angle for their own viewing convenience (fig. 7).
WARNING:
Care should be taken to avoid direct contact between the
skin and the bulbs.
Examination
3.
The operator examines the client’s entire face from the eye scope with
a 2x magnification lens on the front of the unit.
4.
Keep a record of each individual client’s skin condition to prepare
treatment and for the client to review the results of the treatment at a
later date.
Camera Operation
NOTE:
See pages 6 and 7 for detailed camera software functions.
Opening the Software
1.
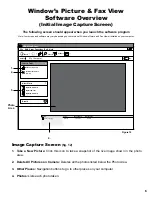
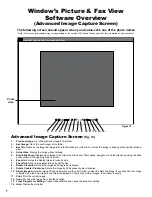
The Skin Scanner should be connected to your computer.
2.
Double-click the
“My Computer”
icon on your desktop.
3.
Double-click the
“USB Video Device”
icon (fig. 8). The Windows Picture
and Fax Viewer software that is included with Microsoft Windows will
open.
NOTE:
Windows Picture and Fax Viewer software video program may
vary depending on which version of Microsoft Windows is installed on
your computer.
Image Capture
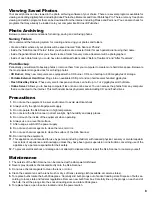
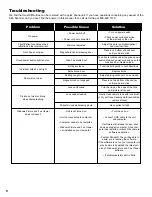
4.
Click the “
Take A New Picture
” icon located in the
“Camera Task”
menu to take a photo of the live image displayed in the
“Photo Area”
(fig. 9).
5.
The photo file names will display below the “Photo Area” (fig. 10).
6.
Double-click the a photo file name for additional tools (fig. 10).
Skin Scanner Shut Down
1.
Turn off the Skin Scanner between exams and when not in use.
2.
Push the cover door down (fig. 11). The operator may need to adjust
the skirting if it does not completely store inside of the Skin Scanner.
NOTE:
Closing the door on the skirt could result in damage to the unit
and skirting. If the skirting does not fit inside of the unit open the door and
adjust it until the door can be closed.
Figure 7
Figure 11
My Computer
File Edit View Favorites Tools Help
Back
Search
Folders
Address
My Computer
System Tasks
>>
View system information
Add or remove programs
Other Places
>>
My Network Places
My Documents
Control Panel
Details
>>
>
Go
3½ Floppy (A:)
Local Disk (C:)
CD-RW (D:)
USB Video Device
Change a setting
USB Video Device
File Edit View Favorites Tools Help
Back
Search
Folders
Address
My Computer
Take a new picture
Delete all picture on
camera
Other Places
>>
My Network Places
My Documents
My Network Places
Details
>>
>
Go
Name
Type
Date Taken
Picture Size
Camera Tasks
>>
Picture 001.jpg
JPG File
1/26/2009
10.2 KB
Door
Magnetic Lock
Skirting
Eye Scope
Skirting
Figure 8
Figure 9
Figure 10
5


