12
First steps
Gigaset SL400H / IM1 EN (IRL_UK) / A31008-M2152-R101-2-4N19 / starting.fm / 01.02.2011
V
e
rsion 4,1, 21
.11.2007
Display in idle status
Once the phone is registered and the time set, the idle status is shown as in this
example.
Displays
u
Reception between the base and the handset:
– Good to poor:
Ð
i Ñ Ò
– No reception:
|
Green
:
Eco Mode
(
¢
page 24)
u
Battery charge status:
–
{
white: charged over 66%
–
{
white: charged between 33% and 66%
–
y
white: charged between 10% and 33%
–
y
red: charged below 10%
–
y
flashes red: battery almost empty (less than 10-minutes talktime)
–
x
y
xy x
{
x{
white: battery charging
u
INT 1
Internal name of the handset
If
Eco Mode+
(
¢
page 24) is activated, the
¼
icon is displayed in the top left cor-
ner of the display.
Your phone is now ready for use!
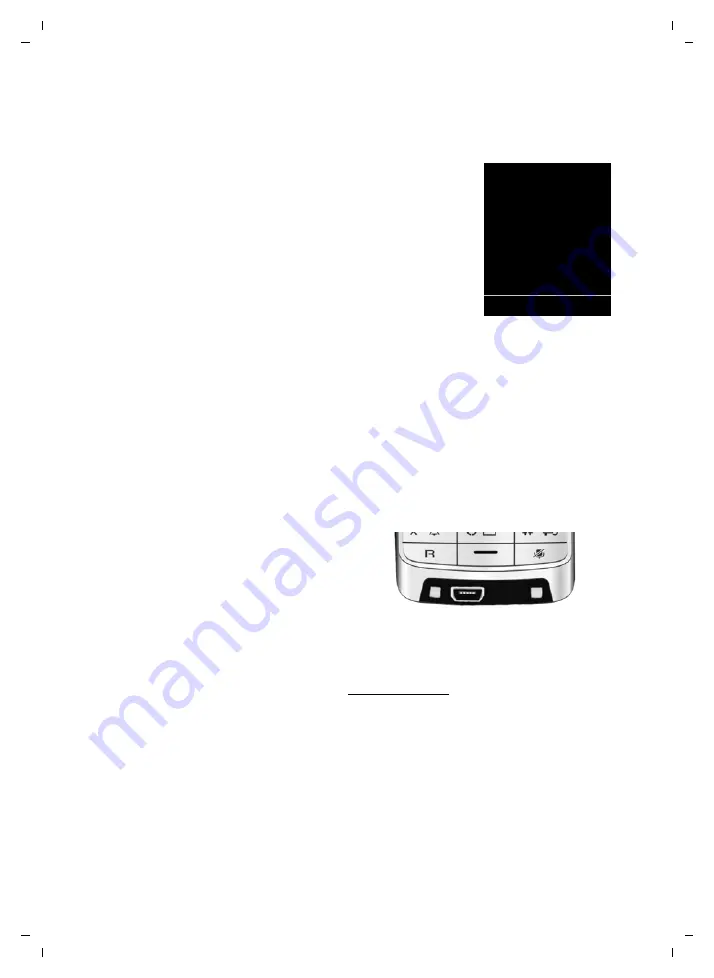
Establishing the mini USB connection
The mini USB connection is on the
underside of your Gigaset handset.
Connecting the headset with jack connectors
You can connect the headset with a 2.5 mm jack connector using the USB-to-jack
adapter (available from Service).
See the relevant product page at www.gigaset.com for information on recom-
mended headsets.
The headset volume corresponds to the settings for the earpiece volume.
Connecting the USB data cable
You can connect a standard USB data cable with a USB mini-B connector to syn-
chronise your handset with a PC. To use this function, the
Gigaset QuickSync
soft-
ware must be installed (
¢
page 41).
i
V
07:15
INT 1
04 Apr
Calls
Calendar


