97
Creating/managing access profiles
Gigaset SL75 WLAN / en / A31008-M700-B112-1-7619 / web_server.fm / 24.4.06
Ve
rs
ion05.
08.2
005
The profile name is displayed in the
header of the Web page. You can easily
check which access profile you are cur-
rently creating/editing. Example:
IP Addresses for profile "Office"
: you are
editing the IP addresses Web page for
the Office access profile.
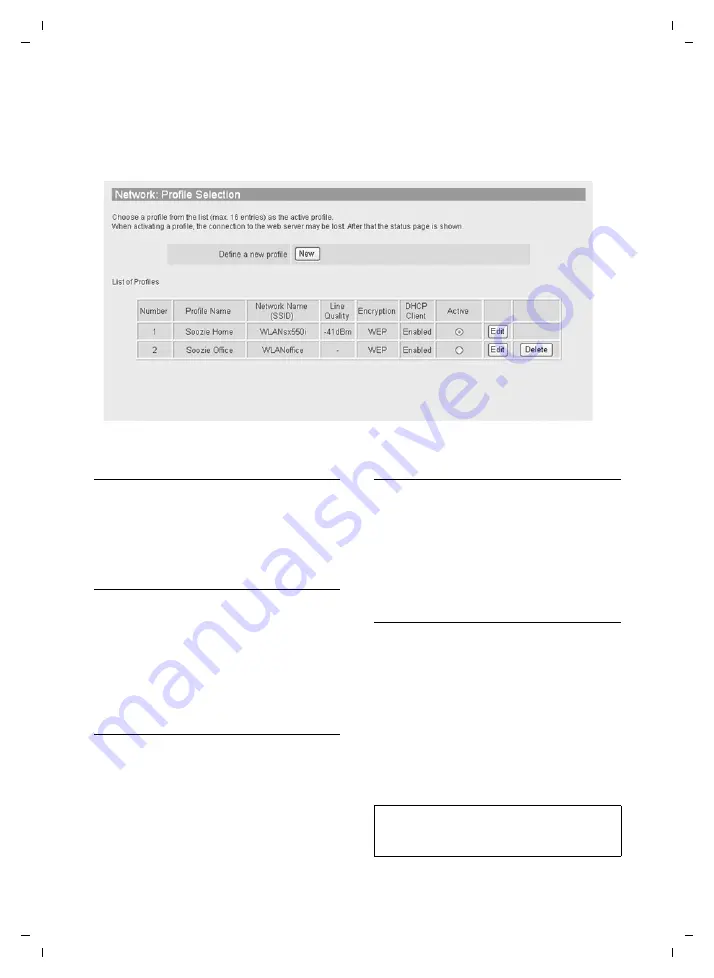
Creating a new access profile
¤
Click on
New
. A new access profile is
created.
The
Profile Name
Web page is displayed
Editing a saved access profile
Requirement
: You have already saved an
access profile.
¤
Click on the
Edit
button in the line of
the access profile that you wish to edit.
The
Profile Name
Web page of the saved
access profile is displayed (page 97).
Entering/editing a Profile Name
¤
Open the
Profile Name
Web page
¤
Enter the profile name (page 91).
¤
If required, copy settings from another
¤
Click on
Apply
.
Entering/editing the IP address
¤
Open the
IP Addresses
Web page
¤
Enable/disable DHCP and enter IP
address manually, if necessary. Proceed
as described on page 92.
¤
Click on
Apply
.
Defining/editing the IP routing
Requirement
: DHCP is disabled
(page 92).
If the WLAN network is in a subnet that is
connected to the Internet via other WLAN
or LAN networks, you can specify two
alternative routes here for transferring
data between the handset and the access
point to the Internet.
Route 2 is used if an error occurs on
Route 1 during data transfer.
Figure 3 List of saved access profiles in the
Admin
menu
Note:
By default, the handset transmits to the stand-
ard gateway (e.g. your router).


