


English
6
GIGABYTE Software Application
(The interface, icons and functions of the software listed below may vary based on the purchased models.)
4
●
GIGABYTE Smart Manager
You can activate GIGABYTE Smart Manager by double clicking on the shortcut
icon on the desktop if the machine you purchased has the operation system built-
in. GIGABYTE Smart Manager is an icon-based control interface, enabling users to
intuitionally access common system setup as well as GIGABYTE exclusive utilities.
Please be noted that the GIGABYTE Smart Manager interface, icons, utilities
and software versions may vary based on the purchased models. Please operate
GIGABYTE Smart Manager according to the actual version built-in.
●
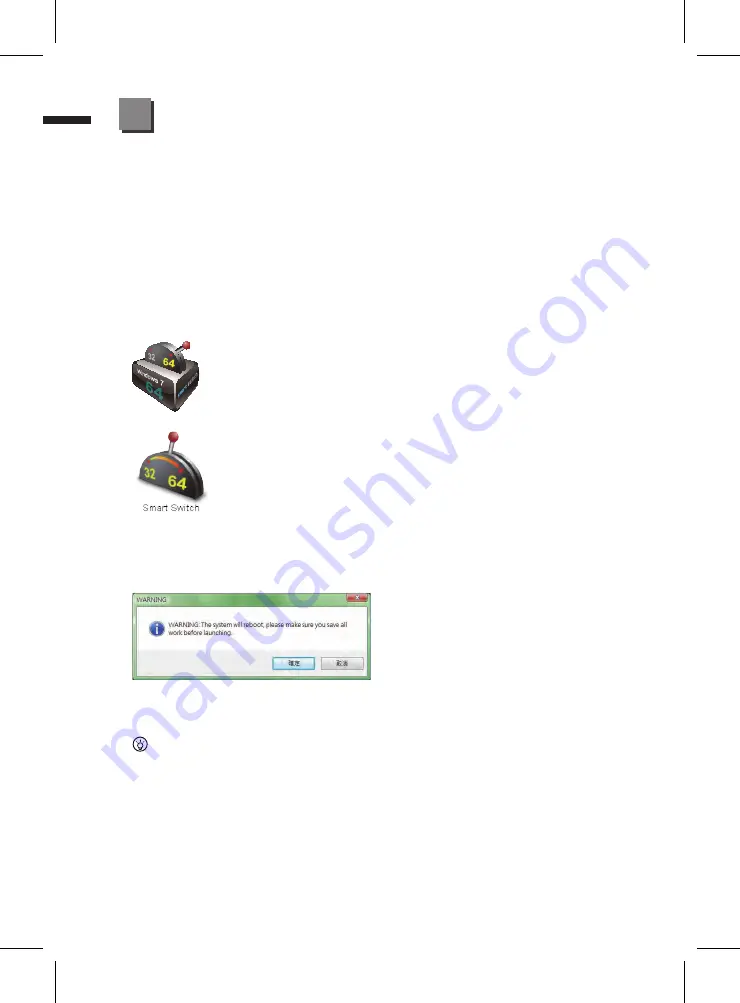
GIGABYTE Smart Switch
bit
GIGABYTE Smart Switch allows users to switch Windows® 7 system to
either 64-bit or 32-bit. The Smart Switch can be accessed from the
desktop (see figure icon).
You can also access Smart Switch from Windows Gadget.
(see figure icon).
The handle position helps to show the current mode, and serves as a tool to switch to
another mode by pulling it down. Following dialog box will show up when the icon is
clicked to toggle between modes.
The system will ask you to save all your work before proceed. System will reboot and
change to the mode selected in previous step.
TIPS:
64-bit and 32-bit operating systems are installed in different partitions (the files and
programs are saved separately). Therefore, you will need to install the software in
both modes if you would like to use it in both modes.


