- 16 -
GV-N94T Series Graphics Accelerator
3.1.4. GIGABYTE Gamer HUD Lite on Driver CD
Insert the driver CD-ROM into your CD-ROM drive. The autorun window will appear. If it does not show
up, please run "D:\setup.exe". (If D is not your CD-ROM drive, substitute D with the correct drive letter.)
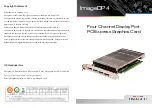
Step 1. When autorun window shows up,
click the
GIGABYTE Gamer HUD Lite
item.
Step 2. Choose the language for the instal-
lation and click the
OK
button.
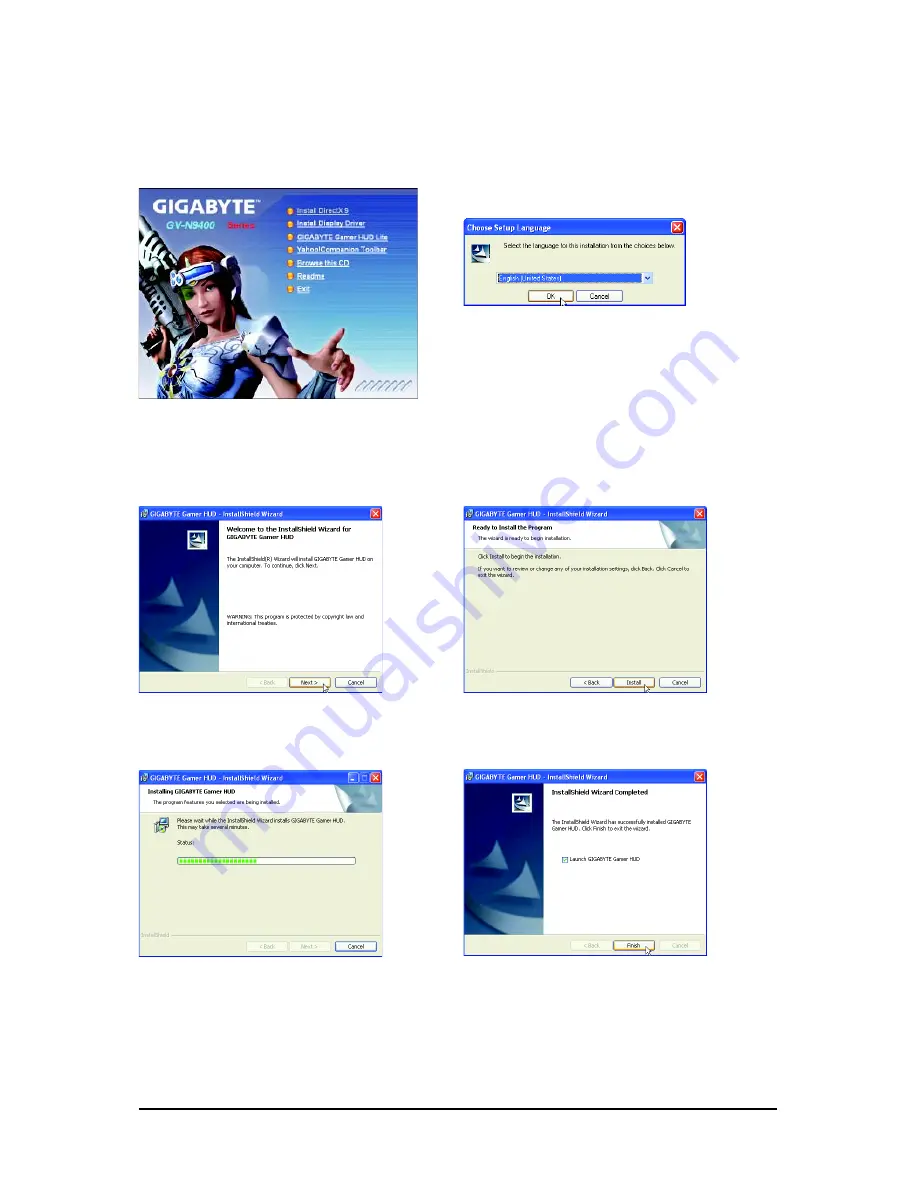
Step 3. Click the
Next
button.
Step 5. Click the
Finish
button. Then the
installation of the GIGABYTE Gamer HUD
Lite is completed.
Step 4. Click the
Install
button.
The system is installing the components.