36
2. Click
Tools
on the menu bar and select
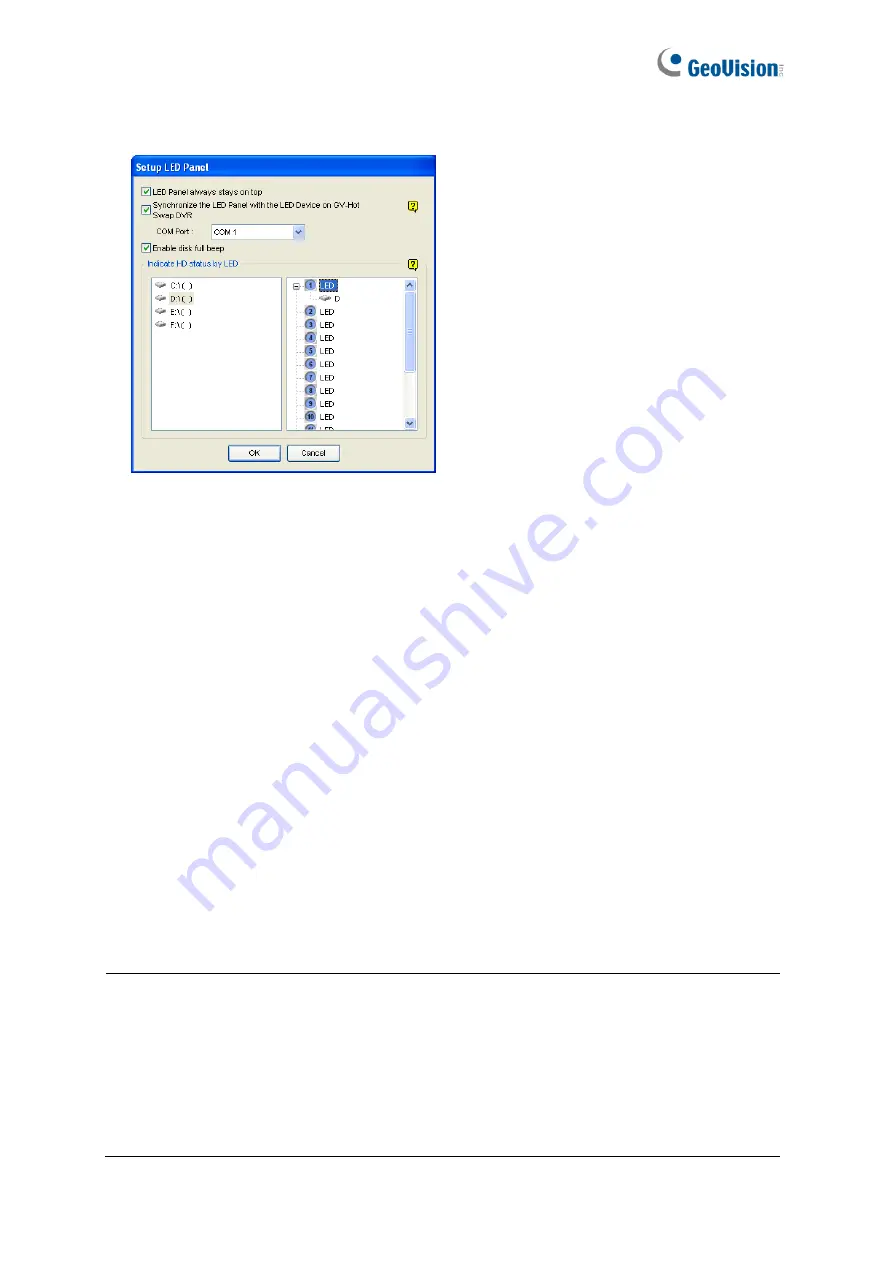
Setup LED Panel
. This dialog box appears.
Figure 3-26
◼
LED Panel always stays on top:
This option makes the LED panel stay on top of
other windows when the Media Man Tools window is minimized.
◼
Synchronize the LED Panel with the LED Device on GV-Hot Swap NVR:
When
this option is enabled, the LED device installed on the front door of the GV-Hot
Swap NVR / VMS System will synchronize with the LED panel on the screen.
◼
Enable disk full beep:
When the hard disk drive is full, the system sounds on. Note
this function only works when speakers are connected to the GV-Hot Swap NVR /
VMS System.
3. By default, only the hard disk drive F will be assigned to LED. If you want to re-assign the
hard disk drive or assign other drives to LEDs, freely drag and drop the hard disk drive to
the desired LED on the tree.
4. Click
OK
to apply the settings, and minimize the MediaMan Tools window to display the
LED panel on the screen.
5. If you want to return to the MediaMan Tools window, right-click the LED panel and select
Switch to the setup window
.
Note:
1. Because the LEDs are designed to indicate the video and audio files are being written
or read, it is not recommended to assign the HDDs that store log files to the LEDs.
2. If the HDD that stores log files is assigned to a LED and its LED turns red, make sure
the log files are not being written before you remove it. Otherwise, the log files might be
lost during the removal.


