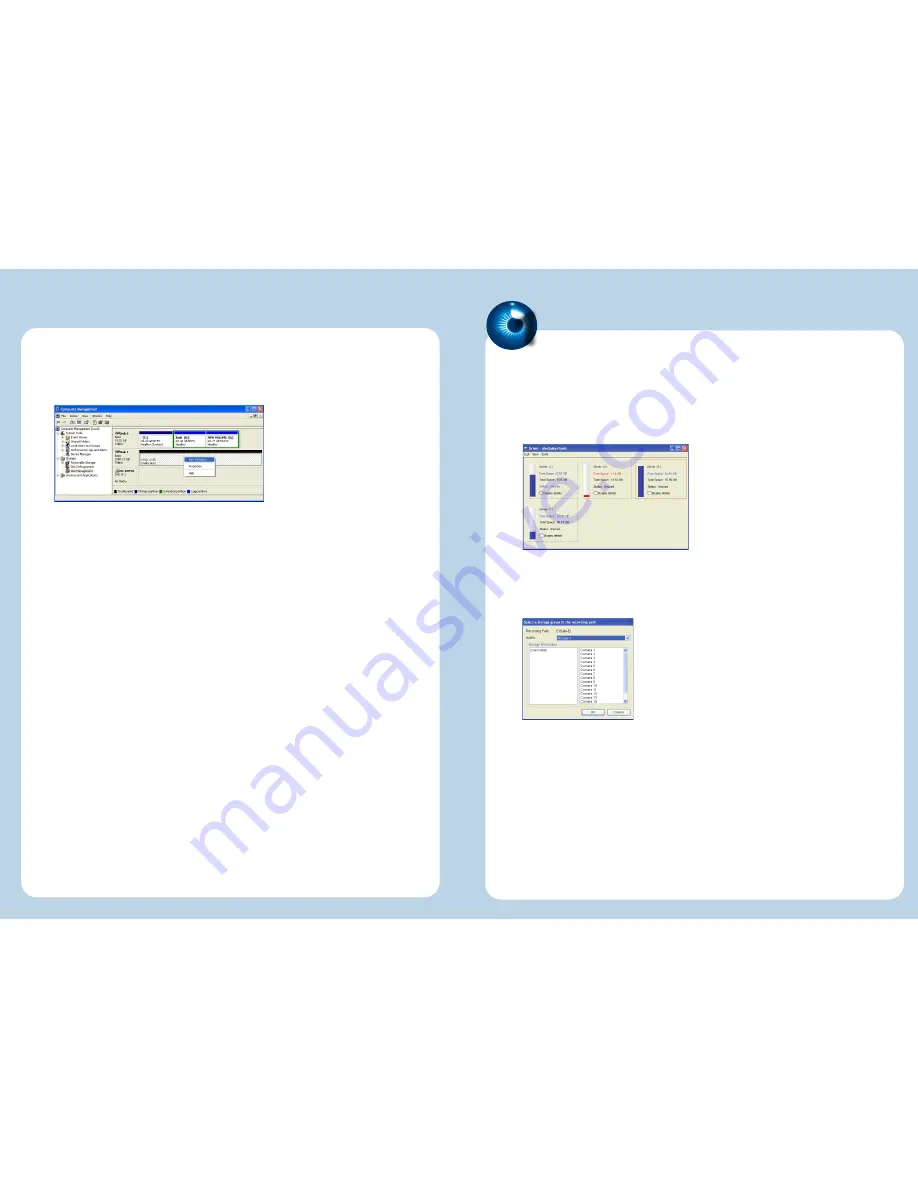
When connecting to the iSCSI disk at the first time, it is necessary to format it as
well as a local disk. Run Windows
Disk Management
to configure a disk. Note the
settings of the formatted partition should be
Basic disk storage
and
NTFS file
system
.
For details see
Chapter 7 About iSCSI Initiator
in
GV-Storage System User’s Manual.
13.
Click the Windows
Start
button, point to
Programs
, click
GV folder
and select
Hot
Swap HDD Tool
.
1.
Right-click the iSCSI drive, and select
Add for recording.
Select a storage group from
Add to
drop-down list. Click
OK
to automatically
configure the iSCSI drive to the recording path.
2.
3.
To verify the iSCSI drive is added successfully, check if the status of the drive
displays “Standby”. Or in GV-System, click the
Configure
button, point to
General
Setting
, select
System Configure
, click the
Set Location
button, and then select
Storage Group Folder
to confirm the new recording path.
4.
Step 6 Add the iSCSI Disk to Recording Path
Step 6 Add the iSCSI Disk to Recording Path
1
6
After formatting the iSCSI disk, you can add it to the recording path and use it for
recording.
To automatically back up recorded files to the storage system, and to access the files from
any computer, see Backup Server and Backup Viewer respectively in Surveillance System
User’s Manual.


