


Status field
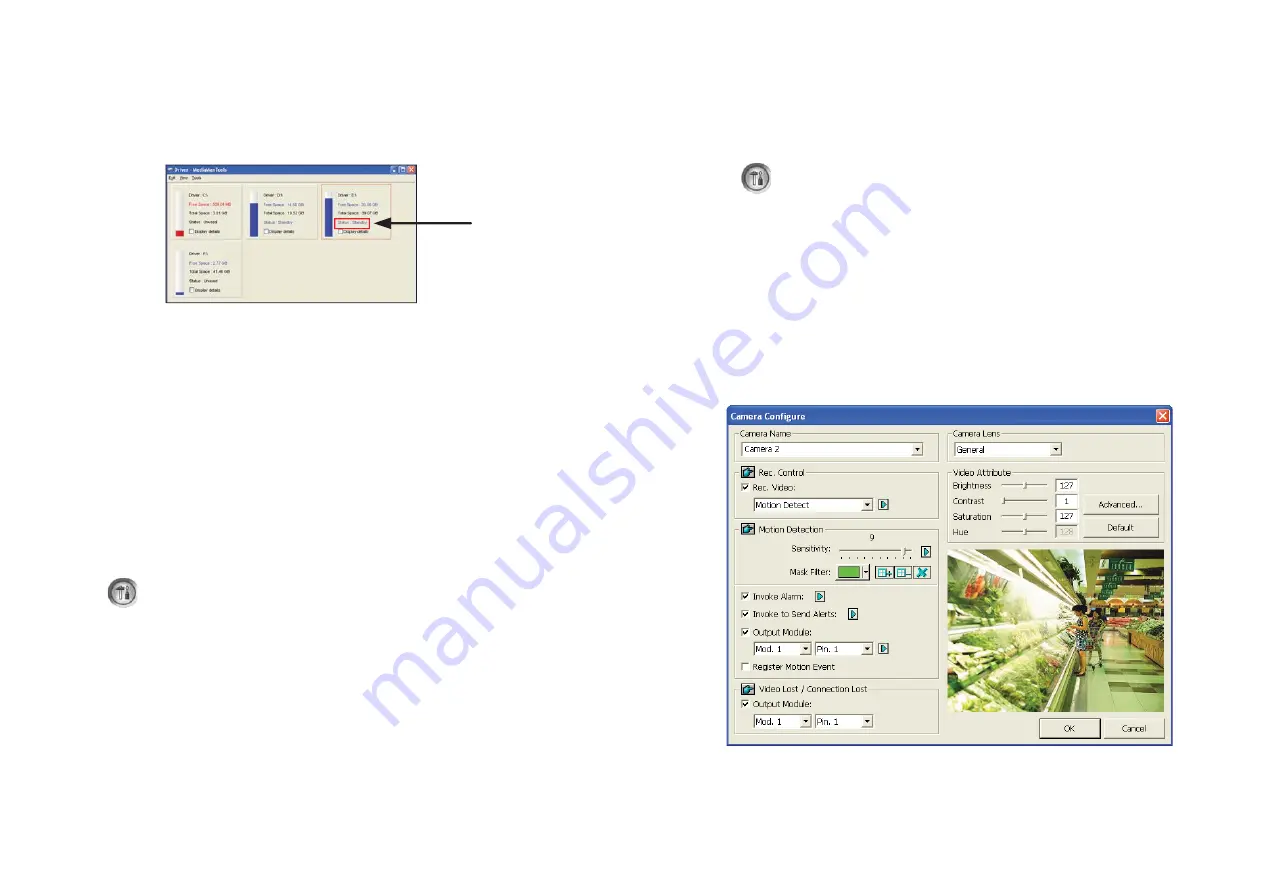
Choosing Recording Mode
You can set each camera's recording mode individually for Motion Detection,
Round-the-Clock or Day-Night.
1. Click on the main screen, click
System Configure
and select
Camera
Configure
.
2. From the Camera Name drop-down list, select one camera.
3. In the Rec Control field, select
Rec Video
, and use the drop-down list
to
select
Motion Detect
,
Round-the-Clock
or
Day-Night
.
4. Click
OK
.
For details on setting camera properties, refer to
Adjusting Individual Camera
,
Chapter 1,
DVR User's Manual
(GV-Desktop <
Program
button <
User Manual
).
4. In the MedianMan Tools window, if the hard drive is successfully added to store
data, its Status field should display “Standby”.
5. To add another formatted hard drive for storage, repeat the above steps.
Renaming the Camera
You can give a new name for each camera.
1. Click on the main screen, click
System Configure
and select
Camera
Configure
.
2. In the Camera Name field, type a new name for the camera.
3. Click
OK
.
For details, see
3.6 Adding the External Hard Drive to the Recording Path
in
GV-NVR System Lite User's Manual
(GV-Desktop <
Program
button <
User
Manual
).


