


188
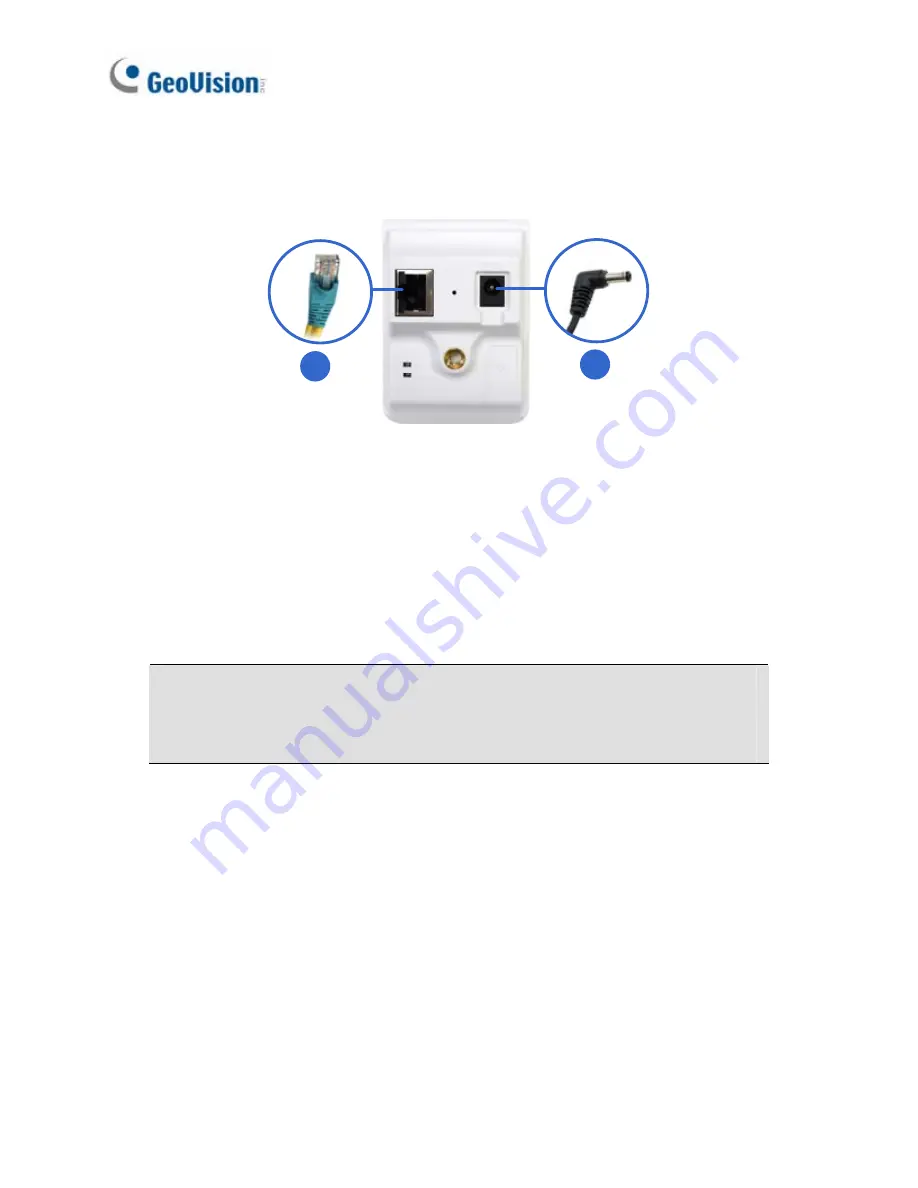
17.4 Connecting the Camera
1
2
1. Use a standard network cable to connect the camera to your network.
2. Power on using the power adapter.
3. The status LED of the camera will be orange. Then you can set the IP
address for the unit. See
21. Accessing the Camera
in the
Quick Start
Guide
.
IMPORTANT:
Be sure to use the GeoVision power adapter to power up
the camera. To use your own power cable, make sure you look up the
power source value indicated at the camera’s back panel.
Summary of Contents for GV-BX1200 Series
Page 10: ...Pinhole Camera 247 viii...
Page 157: ...Pan Adjustment Tilt Adjustment Rotational Adjustment 122...
Page 168: ...Vandal Proof IP Dome Part II 13 13 2 Overview 1 2 3 4 5 6 8 7 9 10 12 11 13 14 133...
Page 179: ...Tilt Adjustment Rotational Adjustment 144...
Page 186: ...Target Vandal Proof IP Dome 14 14 2 Overview 1 2 3 4 5 6 13 12 10 7 8 9 14 11 151...
Page 204: ...Fixed IP Dome 15 Pan Adjustment Tilt Adjustment Rotational Adjustment 169...
Page 232: ...PT Camera 19 19 2 Overview 1 2 3 4 5 6 7 8 9 10 11 12 197...
Page 241: ...M3 Screw x 2 M2 Screw GV IPCAM H 264 Software DVD GV NVR Software DVD Warranty Card 206...
Page 242: ...Pinhole Camera 20 20 2 Overview Camera Lens 1 2 3 4 Main Body 6 7 8 9 4 5 207...
Page 258: ...Accessing the Camera 21 6 Unplug the Ethernet cable 223...
Page 263: ...22 The Web Interface 1 2 3 4 5 6 7 8 9 10 11 12 13 228...


