background image

G-403-3 


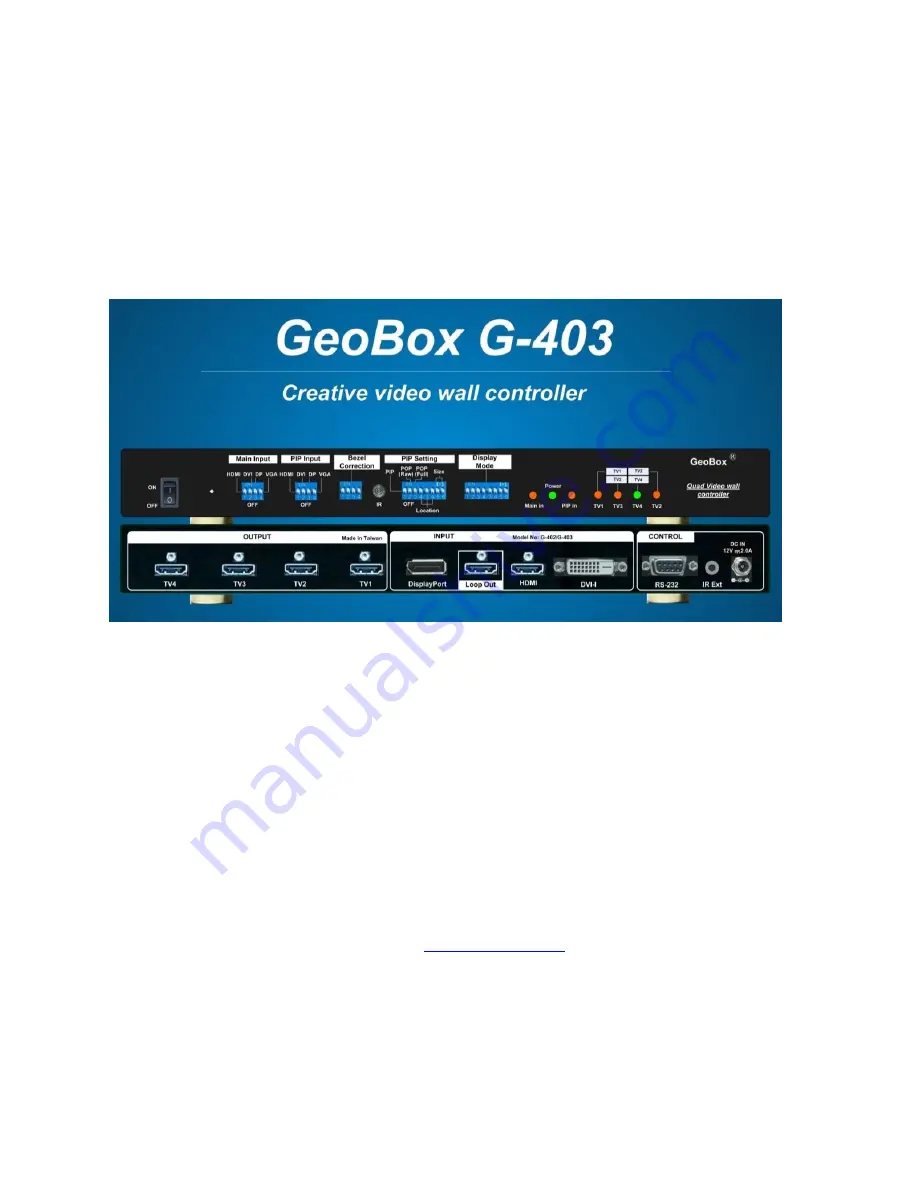
G-403 Quick User Manual 


(4 screens irregular video wall controller) 


Technical support: 

E-mail: [email protected] 

Tel: +886-2-8751-2785 ext. 301 

Cell: +886-935-678-033 

Skype: vns-inc 

Version: 2.08 


Website: 

www.vnstw.com.tw


Summary of Contents for G-403

Page 1: ...G 403 Quick User Manual 4 screens irregular video wall controller Technical support E mail sales vnstw com Tel 886 2 8751 2785 ext 301 Cell 886 935 678 033 Skype vns inc Version 2 08 Website www vnst...

Page 2: ...standards and backed by two years parts and labor warranty Warranties are effective upon the first delivery date to the end customer and are non transferable Warranty related repairs include parts an...

Page 3: ...p up to 10 display modes from the same display content and looping playback with selectable time interval This function can be used to highlight specific image region to show special effect on the vid...

Page 4: ...H 1024 3840 V 720 2400 12 LCD burn in mark protection Auto image position shift to prevent LCD from burn in mark 13 PIP function Picture in Picture from two selected signal sources with flexible image...

Page 5: ...L and input coordinates 4 Click Top Right TR and input coordinates 5 Click F1 and adjust image position if necessary 6 Adjust aspect ratio if necessary R 7 Adjust image position if necessary P after a...

Page 6: ...new setting l Check input output LED indicators and make sure all input output LED is ON It means GeoBox had handshake with signal source and display devices m You can connect a monitor via loop out p...

Page 7: ...dinates in each LCD and input to G 403 to build complete video wall 7 1 Capture Coordinates from design drawing or measurement a User can create all kinds of display modes for regular portrait and irr...

Page 8: ...the display direction of the TV 7 2 Capture coordinates from picture by Microsoft Paint User can also install the LCD first take a picture of the LCD layout and open the photo with Microsoft Paint or...

Page 9: ...G 403 3 8 c Open File Properties and resize the image to 1920x1080 resolution...

Page 10: ...be 1920 1080 Select All then move the image to the center of 1920x1080 coordinates by keyboard arrow key e Click Top Left and Top Right corner in each LCD to collect the coordinates for each LCD User...

Page 11: ...for the application while user can t see the OSD menu on the screen due to irregular array f User can execute looping playback function for the Indexes which have minor position difference among them...

Page 12: ...ordinates in each LCD and input to corresponding G 403 then it can build an entire video wall d If the signal source is more than 4k 2k and user wants to get higher output resolution user needs to cro...

Page 13: ...input the coordinates as previous procedures User needs to use G 403 Video Wall menu to set ZOOM H 2 V 1 PAN 1 G 403 H 1 V 1 2 G 403 H 2 V 2 and increase OVERLAP value at the same time select RH Edge...

Page 14: ...tion hot keys in remote controller Power on G 403 again to finalize the settings to avoid frame tear in the image then save final settings in Profile for permanent storage 9 Portrait display mode If t...

Page 15: ...e final resolution will be 1823x1080 1080x720 2 53x higher c G 403 can handle both cases no matter the content has been rotated or not However user will get higher resolution image if the content can...

Page 16: ...is 1220mmx5 1920 3 1mm If the watching distance is more than 3m the video quality is acceptable Above this dimension user needs to apply 4k 2k signal source If watching distance can be 5m user can app...

Page 17: ...me interval to prevent burn in mark in LCD This is important for a still image display on the LCD 13 1 Example for looping playback settings a Please check YouTube Video at https youtu be 4Gc0KcuX27g...

Page 18: ...izontal and vertical directions through Warp Ratio Warp Position commands in GAlign PC tool or Ratio Position hotkeys in IR remote controller b This function can solve image aspect ratio issue due to...

Page 19: ...k Unlock When continuously press MENU key in IR Remote Controller for 5 seconds the OSD function will be locked To press MENU key for 5 seconds again it will unlock OSD h User can set OSD Time at 0 to...

Reviews: