90˚ Bubbler
TFT8000, TFT8000L
45˚ Bubbler
TFT8050
Bubbler with separate button
TFT8020
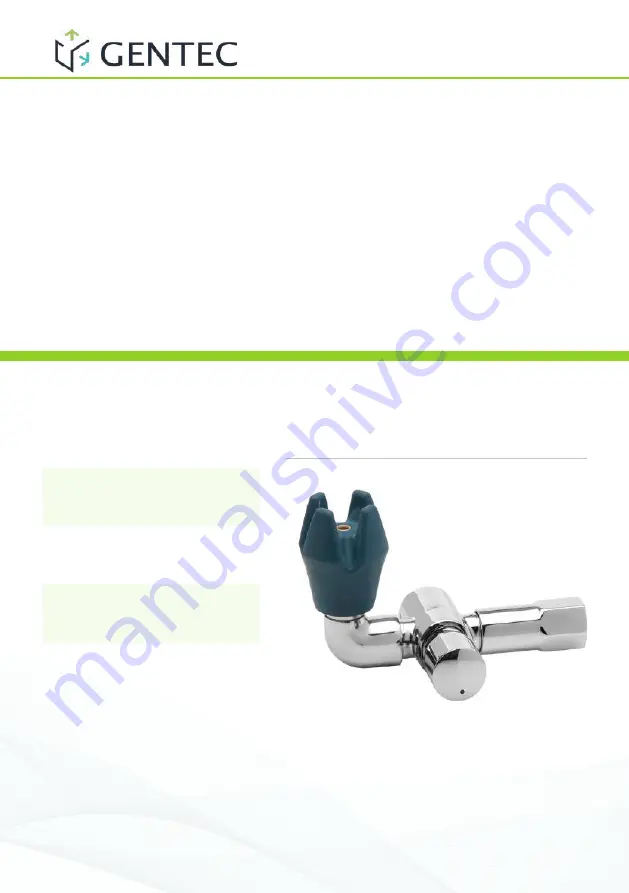
Up Right Bubbler
TFT8050UR, TFT8050URL
INSTALLATION
MANUAL
FLOSTOP BUBBLERS
Page 1: ...90 Bubbler TFT8000 TFT8000L 45 Bubbler TFT8050 Bubbler with separate button TFT8020 Up Right Bubbler TFT8050UR TFT8050URL INSTALLATION MANUAL FLOSTOP BUBBLERS...
Page 2: ...Contents Product Features 3 Product Range 4 Technical Drawings 5 Unit Components 7 Installation Instructions 8 Maintenance 10 Time Adjustment Instructions 12 Water Flow Adjustment 13 Product Warranty...
Page 3: ...arts including strainers and flow regulators Usage features Adjustable timing via adjustment screw for 1 40 seconds Application Commercial premises Healthcare accessible areas child care facilities Sp...
Page 4: ...H PROTECTIVE GUARD BUBBLER WITH SEPARATE PUSH BUTTON TFT8050 TFT8050UR TFT8050URL 45 BUBBLER WITH PROTECTIVE GUARD UP RIGHT BUBBLER WITH PROTECTIVE GUARD Product Range Use 350Kpa pressure reducing val...
Page 5: ...97 34 34 92 56 5 G1 2 G1 2 G1 2 G1 2 5 7 W26X19 44 5 49 8 33 5 9 5 8 1 29 2 17 90 20 117 60 40 35 32 W26x19 16 50 GENTECH AUSTRALIA PTY LTD 59 5 49 5 32 5 31 55 8 G1 2 79 7 60 27 135 G1 2 82 26 25 30...
Page 6: ...GHT BUBBLER WITH PROTECTIVE GUARD Technical Drawings GENTECH AUS G1 2 55 8 26 25 G1 2 32 5 30 49 5 185 60 27 82 5 9 5 31 122 GENTECH A G1 2 32 5 30 60 27 25 49 5 59 5 162 7 82 55 8 31 Use 350Kpa press...
Page 7: ...1 03 Flow Cup 1 04 Cartridge 1 05 Handle 1 06 Cover Screw 1 No Description Qty 07 O Ring 1 8A Locking Screw 1 8B Screw for water control adjustment 1 09 Flow Regulator 1 10 Strainer 1 Regular service...
Page 8: ...the bubbler to the water inlet 5 The drinking taps are fitted with a flow regulator When applying thread tape or sealant to the inlet ensure the opening is not obscured Failure to do so may restrict o...
Page 9: ...t in the cartridge length to suit the basin surface thickness See Figure 3 4 Fit the exi hoses not provided to the water inlet and outlet Ensure the arrow on the button body is aligned with the water...
Page 10: ...the tapware in order to keep product Warranty The damage on parts after dismantling a product would not be covered by the warranty First start by shutting off the main water supply No Description Qty...
Page 11: ...the new 0 Ring 9 8 Remove the o Ring 7 and replace it with the new o Ring 7 9 Using the existing crown ring 8 place it back into the head valve 5 10 Place the stem 4 through the head valve 5 11 Apply...
Page 12: ...g Adjustment Please contact GENTEC before changing flow cups Our Flostop range is available in the following fixed timing options These options are available upon request and are factory installed Ref...
Page 13: ...screw 8A and adjust the flow with adjustable screw 8B using a 3mm Allen key 3 Screw the top cap 6 7 back To adjust the water flow Turning the screw clockwise will reduce the water flow Turning the scr...
Page 14: ...de pictures of the alleged defect in a reasonable time 2 2 8 completed credit card authorisation in the form set out in Schedule 2 to these conditions accepting liability in accordance with clause 2 6...
Page 15: ...s or their delivery 4 2 To the full extent permitted by law the Principal 4 2 1 excludes all implied warranties and conditions under statute or general law as to merchantability description quality su...
Page 16: ...the machine from which that fax is sent and which confirms transmission of that fax in its entirety unless that local time is not a Business Day or is after 5pm on a Business Day in which case that c...