Beamage Series User Manual
Revision 9.0
68
7.
LABVIEW DRIVER
7.1. PC-BEAMAGE LABVIEW
EXAMPLE VI’S
The PC-Beamage Software can be controlled from LabVIEW using the VI Library supplied by Gentec-EO.
They are individual VIs to implement each of the supported control and measurement functions. There is
also an example VI that demonstrates how to use the individual VIs to build a standalone LabVIEW
application. Before using the VIs, the PC-Beamage Software must be running, and the LabVIEW Pipe
must be opened.
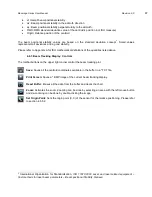
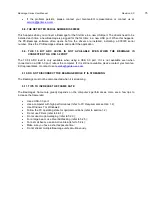
The VIs can be grouped into 6 basic categories.
1. Connection VIs
2. Control VIs
3. Measurement VIs
4. Display VIs
5. Activation VIs
6. Miscellaneous VIs
7.1.1. Connection VIs
Verify DLL.
This VI checks to ensure the required DLL file is present in the directory in which the LabVIEW VIs are
located.
Connect to PC Beamage.
This VI connects to the LabVIEW pipeline opened by the PC-Beamage software.
Disconnect from PC Beamage.
This VI disconnects from the LabVIEW pipeline opened by the PC-Beamage software.
7.1.2. Control VIs
Control Stop Capture.
This VI stops the capture from the PC-Beamage software and the Beamage USB Camera. Running this
VI is the same as pressing the Stop Capture button in the software.
Control Start Capture.
This VI starts the capture from the PC-Beamage software and the Beamage USB Camera. Running this
VI is the same as pressing the Start Capture button in the software.
The following Control VIs are Main Controls.
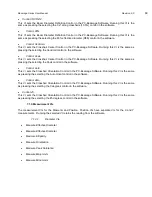
Control 4 Sigma.
This VI sets the Beam Diameter Definition Control in the PC-Beamage Software. Running this VI is the
same as pressing the selecting the 4 Sigma (ISO) control in the software.
Control FWHM.
This VI sets the Beam Diameter Definition Control in the PC-Beamage Software. Running this VI is the
same as pressing the selecting the FWHM control in the software.

