


64
DIGITAL VIDEO RECORDER
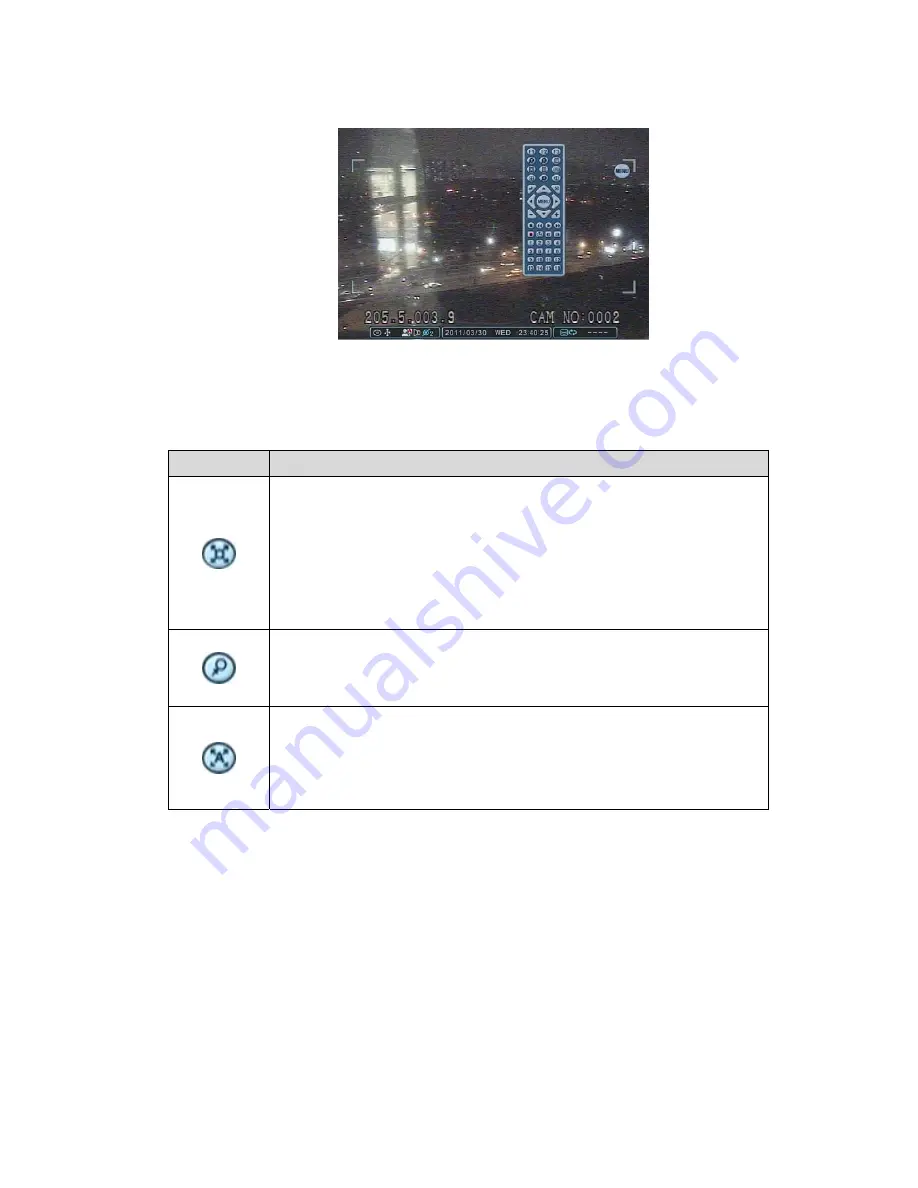
2. Preset & Tour
Button
Function
Set preset position; SPOT OUT on remote controller.
Move the PTZ into desired location.
Press the Preset button.
Custom 1 illuminates.
Set the number for the Preset location.
Press Enter to Save and Exit.
Go to preset position; INFO on remote controller.
Press Goto button.
Enter the desired Preset number and press Enter.
Start Auto Tour; BACKUP on remote controller.
Press Auto Tour Button.
Press the + button and enter the range of Presets and press
Enter.
2.1 Tour Group
A preset Tour Group allows a camera to move through a programmed sequence
of PTZ presets.


