49
5.5.2.1 DATE&TIME
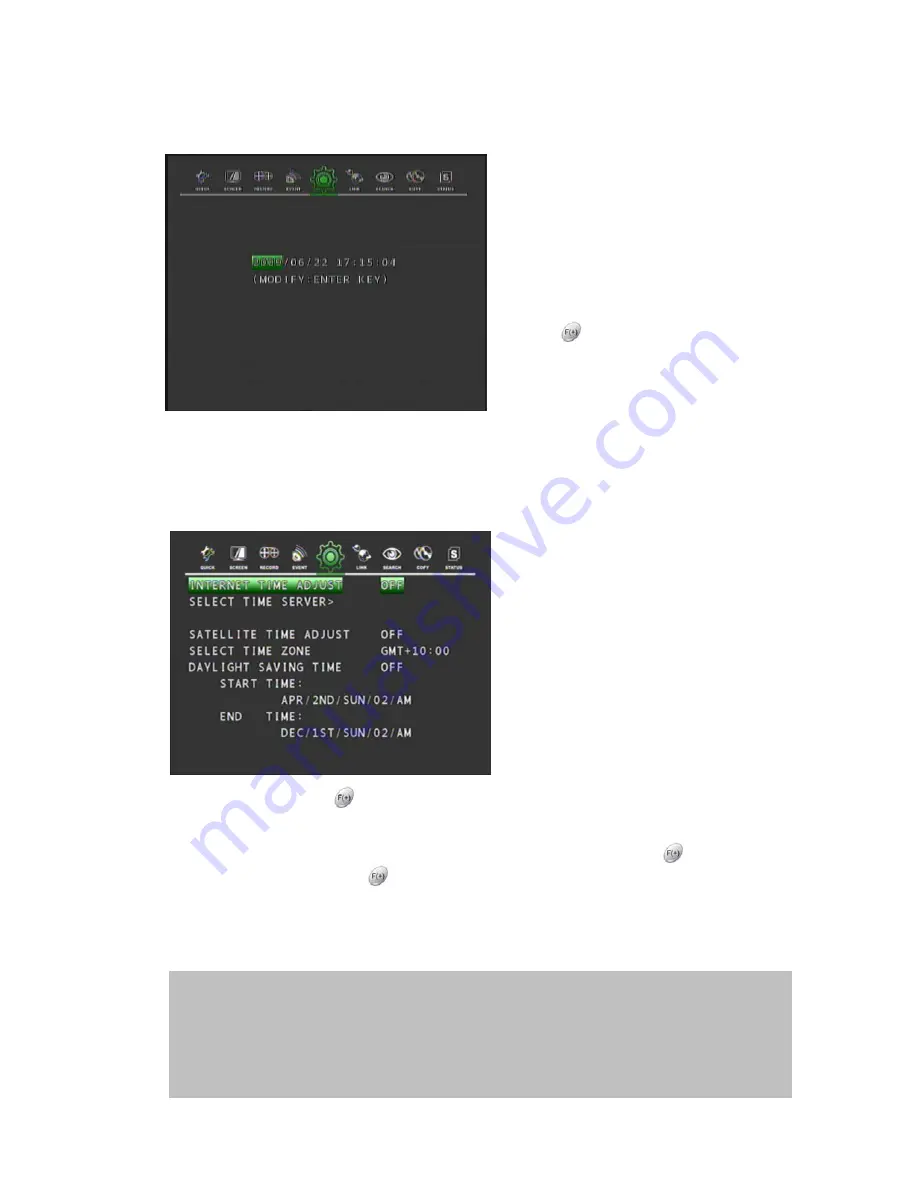
In the CLOCK menu,
Move the cursor to DATE&TIME using the
▲
,
▼
buttons.
Press the ENTER button when the cursor is
on DATE&TIME and the following screen
appears.
Use the
▲
,
▼
buttons to move the cursor to
the desired position of date or time.
Use the
buttons to modify the current
date and time.
DATE: YYYY/MM/DD YEAR/MONTH/DAY
TIME: HH:MM:SS HOUR: MINUTE: SECOND
Press the ENTER button to save the modified valueME screen, press the ESC button.
5.5.2.2 TIME
ADJUST
In the CLOCK menu,
Move the cursor to TIME ADJUST using
the
▲
,
▼
buttons.
Press the ENTER button when the cursor is
on TIME ADJUST and the screen on the
left appears.
If the INTERNET TIME ADJUST is “ON”,
the time of DVR will be adjusted to the time
offered by an internet server.
** There are 10 internet servers available to
supply GMT to the DVR.
Move the cursor using the
▲
,
▼
buttons
and then set the IP address of SELECT
TIME SERVER using the
button .
Set the correct TIME ZONE standardising around GMT (Greenwich Mean Time).
Move the cursor to DAYLIGHT SAVING TIME (Summer Time) using the
buttons then
select “ON” or “OFF” using the
button
If the DAYLIGHT SAVING TIME is set to “ON”, set up the start and end date and time.
Use the
▲
,
▼
buttons to move the cursor and use the (-), (+) buttons to change the value.
To exit the TIME ADJUST menu, press the ESC button.
Manual setup:
This DVR can recognise the correct time itself.
That’s to say, if you input the correct time 3 or 4 times,
the DVR will recognise the clock error and display the correct time by itself.
When you power on, you can see the TIME TRIMMING VALUE screen and modify time correctly on this
Screen with the AUTO button and ALARM RESET button.


