38
5.3.2 RECORD PROGRAM
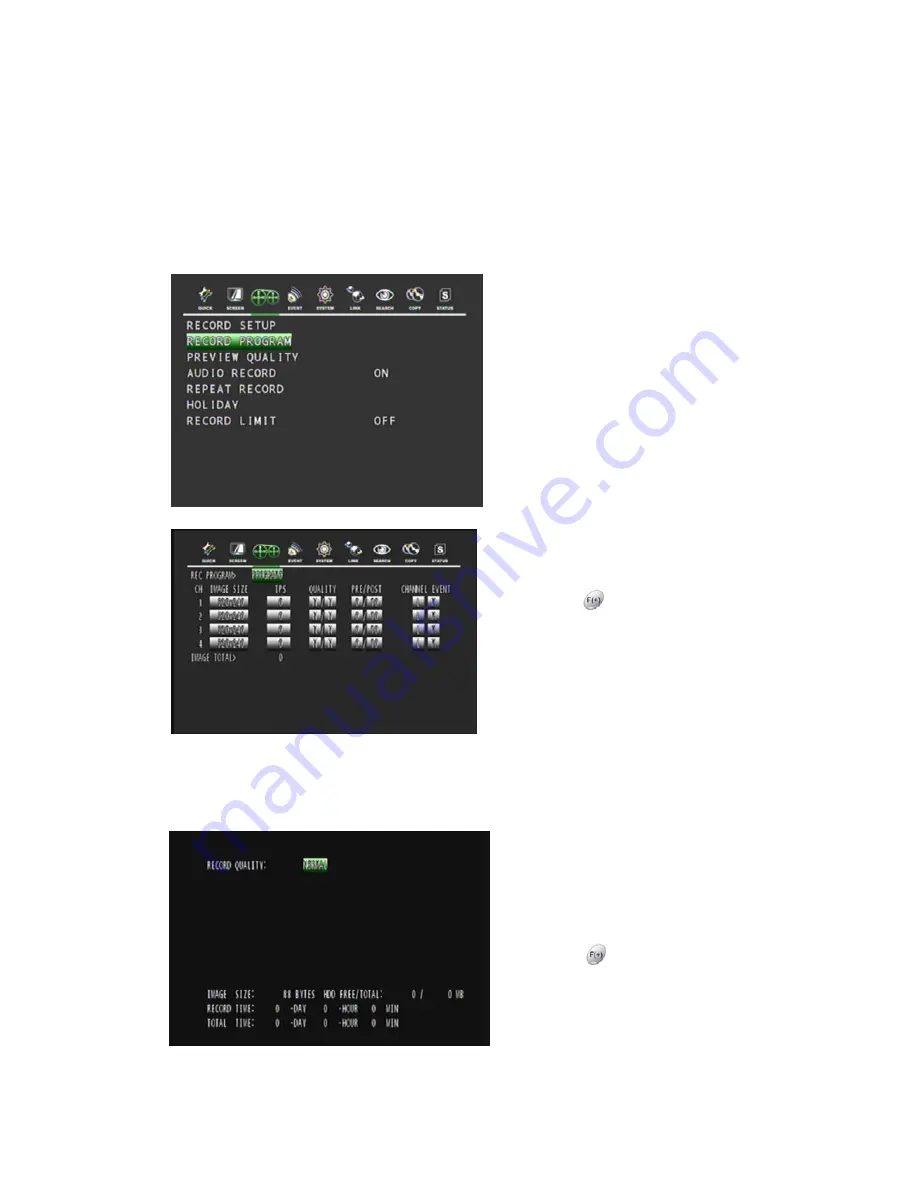
This feature uses predefined recording modes to create new ones according to your own needs.
This means you can create different programs modes using the existing predefined programs.
You can have up to 10 different programs (0-9) available. These programs will be used to setup
the recording schedule on the RECORD SETUP menu. For example, you can create a program
for Motion Detection or Continuous recording.
In the RECORD menu,
Move the cursor to RECORD PROGRAM
using
▲
,
▼
buttons.
Press the ENTER button when the cursor is
on RECORD PROGRAM and the following
screen appears.
Use the
▲
,
▼
,
◀
,
▶
buttons to move the
cursor to the desired item.
Select the desired value for each selected
item using the
button.
After all settings are done, exit using the
‘ESC’ key or the right-double-click the mouse.
When exiting from this menu, the DVR
calculates the values under this menu.
If the total maximum values are exceeded the
DVR will display an error message and will
return to this menu again.
5.3.3 PREVIEW
QUALITY
In the RECORD menu,
Move the cursor to PREVIEW using the
▲
,
▼
buttons.
Press the ENTER button when the cursor is
on PREVIEW QUALITY and the following
screen appears.
Select the desired RECORD QUALITY
using the
button from “NORMAL”,
“FINE”, “BEST” and “LOW” and the size of
each image it’s quality and recording time of
the installed storage can be seen. To exit
this PREVIEW QUALITY menu, press the
ESC button.


