CHAPTER 3: TAKING AND
VIEWING PICTURES AND VIDEOS
Before you are able to take any pictures, make sure that
the handle grip and display units are both charged,
turned on and that the micro SD memory card is se-
curely plugged into the slot on the right of the display.
Make sure that the gold contacts are facing front and
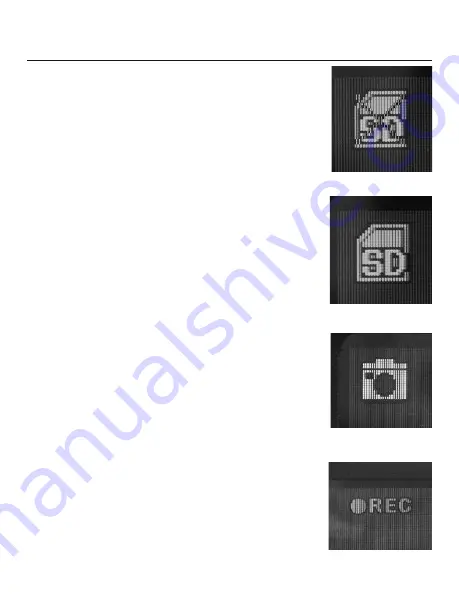
inserted first. When the memory card is present, the X
will no longer appear over the blue SD icon in the upper
left corner of the display (
Fig.15
).
To take a picture (in other words, capture a still image),
first aim the tip of the probe at the area of interest then
press the black button with the camera icon at the far
left below the display. You’ll note that a yellow icon of a
camera briefly appears in the middle of the display
(
Fig.16
) to confirm that a picture was taken.
Similarly, to start video recording, press the right black
button below the display. The blinking “REC” symbol
(
Fig.17
) appears at the top left of the display. To the right
of this is a stopwatch that counts up from zero to indi-
cate the duration of the video captured. To stop record-
ing, again press the black button with the projector icon.
Each of the yellow buttons below the display has
a second function. The left button (
Fig.11
#7) will invert
the image on the screen and the right button (
Fig.11
#8)
will zoom in and out up to 4x.
Note that either a yellow camera icon (
Fig.18
) indicat-
ing a still picture or an orange projector icon (
Fig.19
) in-
dicating a video appears in the upper left corner. Your
pictures and video will appear in the sequence that you
took them. To review your pictures use both right and
left black buttons below the display to move left and
right, just as you would with a digital camera. When an
orange projector icon appears you can play the video
17
Fig.15
Fig.17
Fig.16


