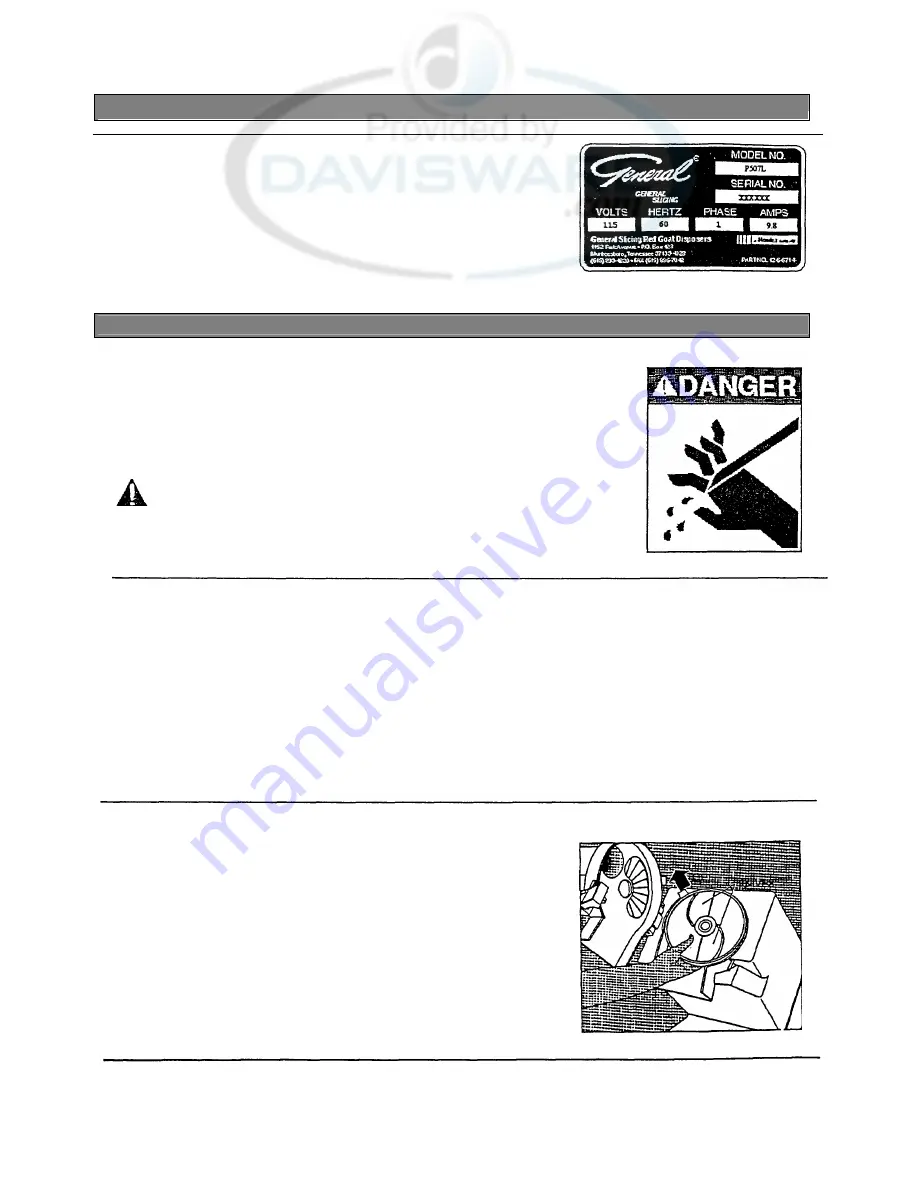
ELECTRICAL REQUIREMENTS
Plug the processor into a properly grounded three-prong outlet. DO NOT use an
extension cord.
Use a 115 Volt, A.C., 60 Hz power source, as indicated on the Data Plate on the
back of the unit. To operate the unit on other voltages, the processor must be
returned to the factory for modification.
All electrical connections must be made in compliance with all applicable local
electrical codes, as well as the latest edition of the National Electrical Code
(NFPA 70).
DISC INSTALLATION AND REMOVAL
Tips for proper disc use:
• Keep the drive shaft and disc mounting hubs clean or the discs will not seat
correctly.
• Be sure the food ejector is seated correctly on the drive shaft before installing
cutting discs.
• Do not use force or tools to install and remove discs.
CAUTION
: Keep fingers away from cutting edges of discs.
INSTALLING SINGLE DISCS
1. Open the latch and raise the hopper head to its full open position.
2. Place the disc, with hub down, on the drive shaft (on top of the food ejector), and
rotate it back and forth slightly until the upper drive pins engage in the slot on the
disc hub and the disc is fully seated.
NOTE:
The ON switch will not engage if the disc is not installed correctly. If the ON
switch does not e ngage, reinstall the disc.
REMOVING SINGLE DISCS
1. Open the latch and raise the hopper head to its full open position.
2. Carefully place one hand (palm up) under disc and lift up at disc hub.
6
STD. EDITION 12.15.95


