background image

Summary of Contents for 1649-0

Page 1: ...Manual Questions Help is just a moment away Call Generac Generator Helpline 1 800 270 1408 M F 8 5 CT Web www generac portables com or www briggsandstratton com Model No 1649 0 3250WattAC Generator Manual No 189351 Revision 4 I 1 19 2002 ...

Page 2: ...UTION when used without the alert symbol indicates a situation that could result in equipment damage Follow safety messages to avoid or reduce the risk of injury or death the State of California a spark arrester is required by law Section 4442 of the California Public ResourcesCode ther states may havesimilar laws Federal lawsapply on federal lands If you equip the muffler with a spark arrester t ...

Page 3: ... battery Wear protective goggles rubber apron and rubber gloves WARNING DO NOT touch hot surfaces Allow equipment to cool before touching CAUTION DO NOT tamper with governed speed Generator supplies correct rated frequency and voltage when running at governed speed DO NOT modify generator in any way CAUTION See Don t Overload Your Generator on page9 Start generator and let engine stabilize before ...

Page 4: ...supply electrical power for the operation of 120Volt AC 20 Amp single phase 60 Hz electrical lighting appliance tool and motor loads Air Cleaner Uses a dry type filter element and foam pre cteaner to limit the amount of dirt and dust sucked into the engine Choke Lever Used when starting a cold engine Circuit Breakers AC Pushto reset circuit breakers are provided to protect the generator againstele...

Page 5: ...terial carton fillers etc Roll the generator out of the shipping carton BEFORE STARTING THE ENGINE Attach Handle NOTE All assemblyin this section will be as if assembling from the rear of the generator Placethe handle onto the handle supports already connected to the main unit Make sure the holes in the handle align with the holes on the handle supports Figure I Carton Contents Check all contents ...

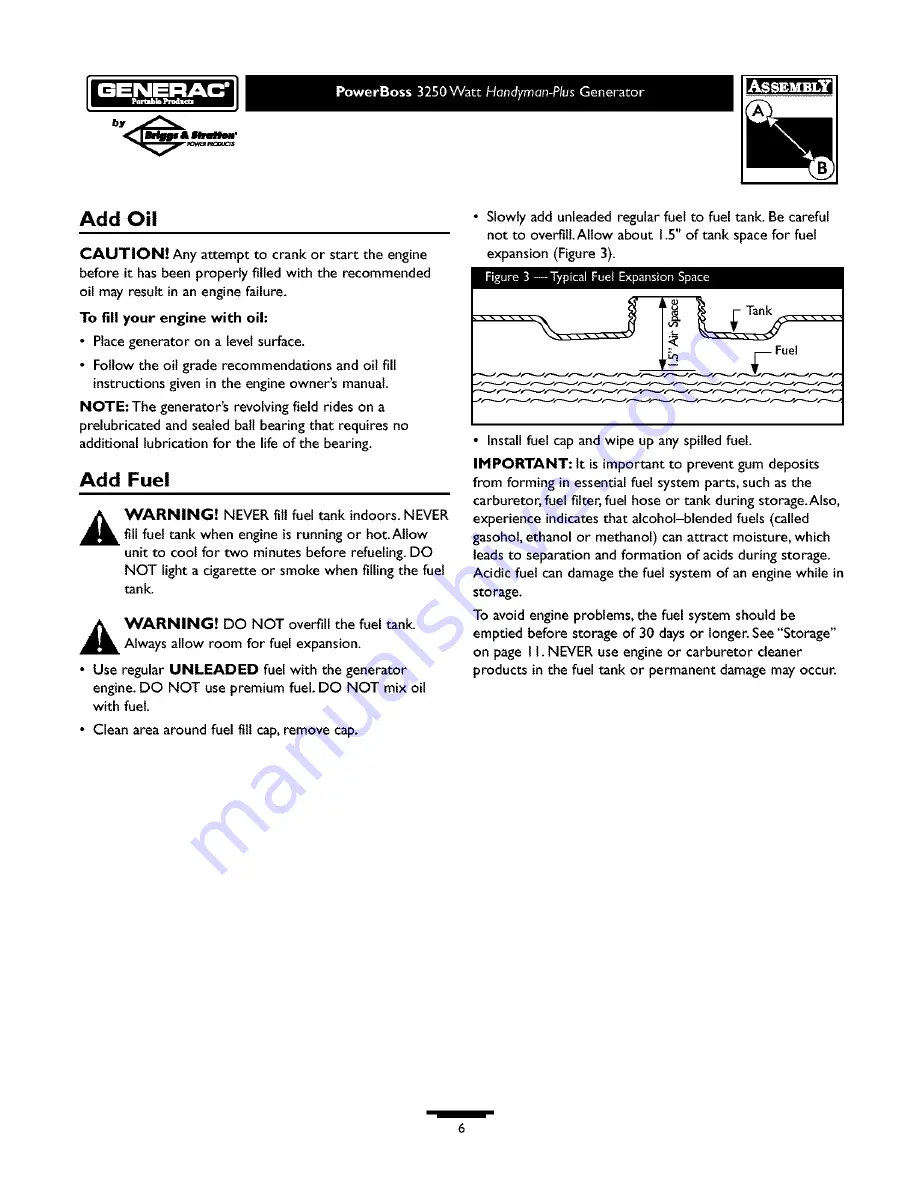
Page 6: ...ansion Use regular UNLEADED fuel with the generator engine DO NOT use premium fuel DO NOT mix oil with fuel Clean area around fuel fill cap remove cap Slowly add unleadedregular fuel to fuel tank Be careful not to overfitLAllow about 1 5 of tank spacefor fuel expansion Figure 3 Fuel Install fuel capand wipe up any spilled fuel IMPORTANT It is important to prevent gum deposits from forming in essen...

Page 7: ...the grounding wire attached after connecting the stranded copper wire However local codes may vary widely Consult with a local electrician for grounding requirements in your area Properly grounding the generator helps prevent electrical shock if aground fault condition exists in the generator or in connected electrical devices especially when the unit is equipped with a wheel kit Proper grounding ...

Page 8: ...ize the internal temperatures of engine and generator Move rocker switch to Off position Move the fuel valve to the Off position RECEPTACLES 120 Volt AC 20 Amp Duplex Receptacles Eachpair of receptacles Figure 8 is protected against overload by a 20 Amp push to reset circuit breaker Use each receptacle to operate 120Volt AC single phase 60 Hz electrical loads requiring up to 2400 watts 2 4 kW at 2...

Page 9: ...tor power is to sequentially add loads as follows I With nothingconnected to the generator start the engine as described in this manual 2 Plugin and turn on the first load preferably the largest load you have 3 Permit the generator output to stabilize engine runs smoothly and attached device operates properly 4 Plug in and turn on the next load 5 Again permit the generator to stabilize 6 Repeat st...

Page 10: ... consists of keeping the unit clean and dry Operate and store the unit in a clean dry environment where it will not be exposed to excessive dust dirt moisture or any corrosive vapors Cooling air slots in the generator must not become clogged with snow leaves or any other foreign material NOTE DO NOT use a garden hose to clean generator Water can enter engine fuel system and cause problems In addit...

Page 11: ...nit coot for a sufficient time before placing the cover on the unit Engine Storage See engine owner s manual for instructions Other Storage Tips To prevent gum from forming in fuel system or on essential carburetor parts add fuel stabilizer into fuel tank and fill with fresh fuel Run the unit for several minutes to circulate the additive through the carburetor The unit and fuel can then be stored ...

Page 12: ...rvice facility I Disconnect shorted electrical load 2 See Don t Overload the Generator on page9 3 Contact Briggs Stratton service facility 4 Contact Generac service facility I Set switch to On 2 Fill crankcaseto proper level 3 Clean or replace air cleaner 4 Fill fuel tank 5 Drain gastank and fill with fresh fuel 6 Connect wire to spark plug 7 Replacespark plug 8 Drain gastank fill with fresh fuel ...

Page 13: ...NOTES 13 ...

Page 14: ...SCHEMATIC IL_ BRIDGE I x _ _3_ RED BLU E V 1 6 _ _ D I I POWER BLUE BLUE 11 11 20A C B RED 20A 22 C B 120 VAC 20A RED BLUE 22 11B GRN o BLUE 11A 120 VAC 20A RED BLUE 22 llA GRN 0 BLUE I llA III 14 ...

Page 15: ...BLUE OlB RED 22 I BLUE 11 NOTD DO NOT CUT TABS BLUE 11 RED C22 BLUE CUB 120V 20A BLUE 01A 120V 20A NOTEL DO NOT CUT TABB_ RED N 22 o GRN 0 GRN Co RED 22 GRN RED 22 SIX LUG CONNECTOR HOUSING NOTE POSITIVE BRUSH CLOSEST TO BEARING BLUE 2 RED B BRUSHES BLUE 11 B L U ERE I 2_ CUSTOMER GROUND LUG I 15 ...

Page 16: ...2 _rs EXPLODEDVIEW MAIN UNIT 44 59 4O 59 _4B 47 1 51 15 16 12 11 50 10 14 21 6 8 7 25 To k 25 J 16 ...

Page 17: ...EW CARRIER Rear Bearing ASSY Brush Holder SCREW MOUNT Vibration SCREW Wing WASHER WIRE Ground SCREW Item 27 28 29 31 32 33 34 35 36 37 38 39 40 41 42 43 44 45 46 47 48 49 5O 51 52 Part 23762GS 81917GS B189309GS 188194GS 191413GS 189332GS 190146GS 191908GS 189340GS 189364GS 189164GS B2203GS B189231GS 189235GS 20566GS B4986GS 189341GS 189158GS 92982GS 275092 189351GS BB3061BGS 28739AGS 189342GS 7781...

Page 18: ... 10 84543CGS I I 93857GS 12 188890GS 13 82308GS 14 22694GS 15 192241GS Qty Description I COVER Lid Controt Panel I CONTROL PANEL Compact 2 CLIP Hinge Pin Retainer 2 SPRING Hinge Pin 2 PIN Hinge Cover Compact 2 OUTLET 120V 20A Duplex 4 NUT 2 CAP Breaker Circuit 2 BREAKER Circuit 20A 2 SCREW I BAR Retaining I COVER Back Controt Panel 2 SCREW I HOUSING Receptacle 4 SCREW 18 ...

Page 19: ...NOTES 19 ...

Page 20: ...usa sin el simbolo de alerta indica una situaci6n que podria resultar en el dafio del equipo Siga los mensajes de seguridad para evitar o reducir los riesgos de heridas e inclusive la muerte En el estado de California es obligatorio seg0n la ley el uso de I apagachispas Secci6n 4442 del C6digo de Recursos P_blicos de I California Otros estados pueden tener leyes similares Las leyes federales se ap...

Page 21: ...sde haber recargado la bater_a Lleve puestos asgafasprotectoras delantal y guantes de goma ADVERTENCIA NO toque assuperficies calientes Permita que el equipo se enfrle antes de tocarlo PRECAUCION NO cambie ninguna veloddad determinada E generador suminJstra una frecuencia y un vo taje calificado cuando funcionaa una veloddad determinada NO modifique a generador en ninguna forma PRECAUCION Vea No s...

Page 22: ...pio Us6 para comenzar motor Depurador deAire Filtra el aire de entrada a medida que penetra en el motor Interruptor Balancin Deber_ estar en la posicibn On En para darle arranque al moton Colbquelo en la posicibn Off Apagado para detener un motor en funcionamiento Palanca del Cebador Us_dacuando se est_ dando arranque a un motor frio Tuerca Mariposa para Conexibn aTierra Tanque del Combustible El ...

Page 23: ...que el generador de la caia de envto Contenido De La Caja Revisetodo el contenido Sialguna de las partesno est_ presente o est_ da_ada por favor Ilame a la linea de ayuda para generadores al 1 800 270 1408 La unidad principal Manuals del propietario y motor Manubrio Perno del Soporte 2 Perilla PIdstica 2 Aceite para motor Tarieta de registro del propietario ANTES DE DARLE ARRANQUE AL MOTOR Conecte...

Page 24: ...te con gasolina Limpie el grea alrededor del Ilenado de gasolina retire la tapa Llene lentamente el tanque con gasolina sin contenido de plomo Sea cuidadoso de no llenar excesivamente Deie 1 5 de espacio en el tanque para que la expansi6n del combustible como se muestra en esta ilustraci6n Figura 12 _ Combus_ble Instale la tapa del combustible y limpie cualquier derrame de gasolina IMPORTANTI Es i...

Page 25: ...e si el generador se equipa con un juego de la rueda Tambi_n ayuda a disipar la electricidad est_tica que con frecuencia se genera en dispositivos sin conexibn a tierra OPERANDO EL GENERADOR _ iPRECAUCI _N NUNCA encienda o pare el motor con las cargasel_ctricas conectadas a los recept_culosY con los aparatos conectados ENCENDIDOS Encienda el Motor Desconecte todas las cargasel_ctricasdel generador...

Page 26: ...as del motor y el generador Mueva el interruptor balancfna la posici6n Off Apagado Cierre la v_lvuladel combustible RECEPTACULOS 120 Volt AC 20 Amp Receptgculos Dobles Cada recept_culo Figura 17 est_ protegidoen contra de sobrecargas por un corto circuitos de 20Amp del tipo empuje para reposicionar I I Use cada recept_culo para operar 120Voltios AC de fase sencilla de cargas de 60Hz que requieren ...

Page 27: ...iaslas cargas como se describe a continuaci6n I Sin tener nada conectado al generador encienda el motor de la manera descrita en este manual 2 Conecte y encienda la primera carga preferiblemente la mayor que usted tenga 3 Permita que la salidadel generador se estabilice el motor funciona suavemente y el aparato conectado al mismo trabaja adecuadamente 4 Conecte y encienda la pr6xima carga 5 De nue...

Page 28: ...tor La acumulaci6n de agua y suciedad en los devanados internos del generador disminuir_ eventualmente la resistencia del aislamiento de estos devanados Para Limpiar el Generador Utilice un trapo h_medo para limpiar las superficies exteriores Puede usar un cepillo de cerdas suaves para retirar la suciedad endurecida aceite etc Puede usar una m_quina aspiradora para eliminar suciedad y residuos sue...

Page 29: ...NOTAS 29 ...

Page 30: ... Departmento de Servicio Generac I Desconecte la carga el_ctrica en corto 2 Vea No Sobrerecarque el Generador en la p_gina27 3 Contacte el Departmento de Servicio Briggs and Stratton 4 Contacte el Departmento de Servicio Generac I Coloque delinterruptor en On 2 Limpie o reemplace el depurador de aire 3 Ll_nelo con combustible fresco 4 Drene el tanque de gasolina II_nelo con combustible fresco 5 Co...

Page 31: ...A FECHA DE LA FABRICACI6N DEL EQUIPO SERA USADA PARA DETERMINAR EL PERIODO DE GARANTiA Ace_a de la seguridad de su equipo Los Productos Por_tiles Generac reciben las reparaciones bajo la garantia y le pide disculpas por cualquierinconveniencia causada Cualquier Concesionario de Servicio Autorizado puede Ilevar a c bo reparaciones baio la garantia La mayorla de las reparaciones baio la garantia son...

Page 32: ...OT PROVIDE PROOF OFTHE INITIAL PURCHASE DATE ATTHETIME WARRANTY SERVICE IS REQUESTED THE MANUFACTURING DATE OFTHE EQUIPMENTWILL BE USEDTO DETERMINE THEWARRANTY PERIOD About your equipment warranty Generac PortableProducts welcomeswarranty repair and apologizes to you for being inconvenienced Any Authorized Service Dealer mayperform warranty repairs Most warranty repairs are handled routinely but s...

Reviews: