


34
- Open
- Wireless Equivalent Privacy (WEB)
- Wi-Fi Protected Access (WPA) / WPA2 Personal (PSK)
- Extensible Authentication Protocol (EAP)
The status bar displays icons that indicate Wi-Fi network availability and Wi-Fi status.
** Turn off Wi-Fi when not using it, to extend the life of the battery.
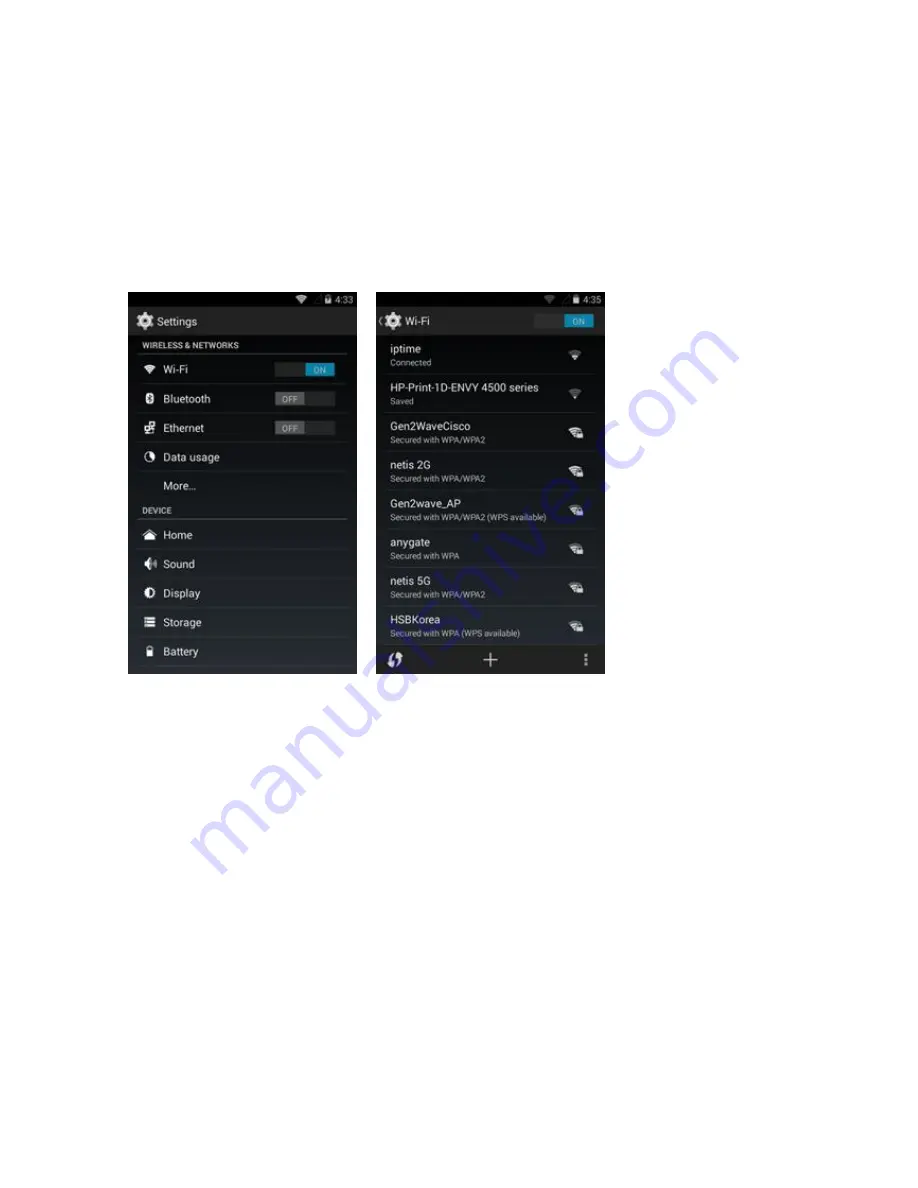
A. Scan and connect to a Wi-Fi network
(1) Path : Menu > Settings
(2) Slide the Wi-Fi switch to the ON position
(3) Touch Wi-Fi. The RP Series searches for WLANs in the area and lists them.
(4) Scroll through the list and select the desired WLAN network.
(5) For open networks, touch profile once or press and hold and then select connect to network
or for secure networks enter the required password or other credentials then touch connect.
See the system administrator for more information.
The RP series obtains a network address and other required information from the network
using the dynamic host configuration protocol (DHCP) protocol. To configure the RP Series
with a fixed internet protocol (IP) address.
(6) In the Wi-Fi settings field, Connected appears indicating that the RP Series is connected to
the WLAN.
B. Configuring the Wi-Fi network
To set up a Wi-Fi network
(1) Path : Menu > Settings > Wi-Fi
(2) Slide the switch to the ON position.
(3) The device searches for WLANs in the area and lists them on the screen.
(4) Scroll through the list and select the desired WLAN network.
(5) Touch the desired network. If the network security is Open. the device automatically
connects to the network. For all other network security a dialog box appears.
(6) If the network security is WEB or WPA/WPS2 PSK, enter the required password and then
touch Connect.
(7) If the network security is 802.1x EAP
- Touch the Phase 2 authentication drop-down list and select an authentication method.