


LOGIQ e Quick Guide
Direction 5130174-100 Rev. 2
25
Image Management/
Dataflow
Configuring Connectivity
Login as Administrator. Press the right Utility tab.
Select the Connectivity tab. Configure the menus
from left to right, starting with TCP/IP first.
TCP/IP
Type in the Computer’s Name (better known as the
AE Title). Identify the Ultrasound system to the rest
of the network by filling in its IP Address, Subnet
Mask, and Gateway (if applicable). Select the
network speed
(Auto Detect, 10Mbps/Half/Full
Duplex, or 100Mbps/Half/Full Duplex). Press
Save
.
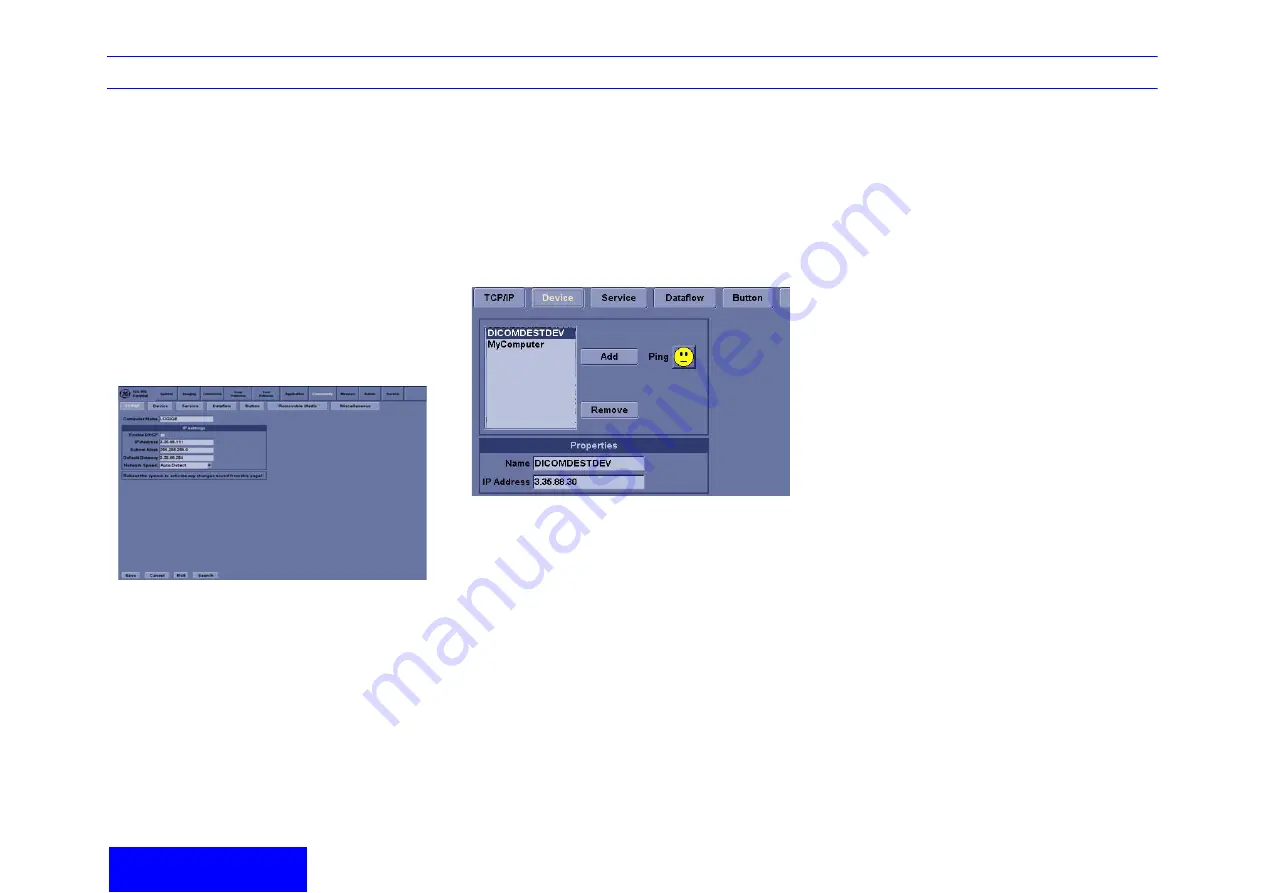
Device
1.
Press Add to create a new device.
2.
Enter device name and IP address of serve.
Ping a Device:
•
Select the device, press ping button
Services (better known as Destinations)
1.
Select the Server from the pull-down menu.
2.
Press Add.
3.
Select all the services for this device from the
pull-down menu to the right.
4.
Press Add.
5.
At the bottom of the menu, fill in the appropriate
criteria for this service. Repeat this step for
each selected service for this device.
For example:
a.
In the Services drop-down menu, select
"Dicom Image Storage" and press [Add].
For AE Title enter "Jdicom_Server" and for
port number enter 5104.
b.
Change its name to "Jdicom Image
Storage". Enter AE title and port number.
c.
In the Services drop-down menu, select
"Dicom Storage Commitment" and press
[Add]. Change its name to "Jdicom Store
Commit". For AE Title enter
"Jdicom_Server" and for port number enter
5104.
d.
In the Services drop-down menu, select
"Dicom Worklist" and press [Add]. Change
its name to "Jdicom Worklist". For AE Title
enter "Jdicom_Worklist" and for port
number enter 6104


