– 19 –
NONELECTRONIC MODELS
WARNING: Before servicing the cooktop,
power
must be removed from the cooktop by
pulling the plug out of the outlet or turning the
power off at the circuit breaker.
Glass and Cooktop Removal from
Countertop
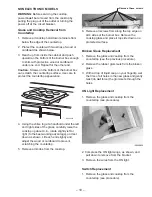
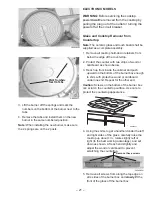
1. Remove all cooktop hold-down retainers from
below the edge of the countertop.
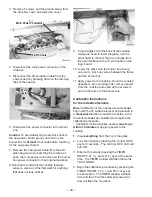
2. Protect the counter with two strips of wood or
cardboard as shown below.
3. Reach up from inside the cabinet and push
upward on the bottom of the burner box enough
to shim with protective wood or cardboard
under one end. Repeat for the other end.
Caution: Screws on the bottom of the burner box
can scratch the countertop surface. Use care to
protect the countertop appearance.
GEA00847
4. Using the shims to get a handhold under the left
and right sides of the glass, carefully raise the
cooktop up about 4 in., rotate slightly left or
right (to the best working advantage), and set
down as shown. Lift each end slightly and
adjust the wood or cardboard to prevent
scratching the countertop.
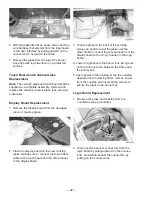
5. Remove all knobs from the cooktop.
6. Remove all screws from along the top edge on
all 4 sides of the burner box. Remove the
cooktop glass and place it top side down on a
protected surface.
Broken Glass Replacement
1. Remove the glass and cooktop from the
countertop (see the previous procedure).
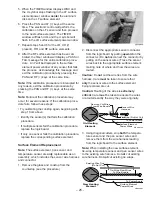
2. Remove the rubber grommets from the broken
glass.
3. With a drop of liquid soap on your fingertip, wet
the rims of all holes in the new glass and gently
twist (do
not force) the grommets through the
holes.
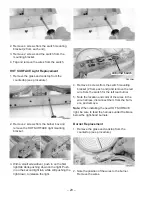
ON Light Replacement
1. Remove the glass and cooktop from the
countertop (see procedure).
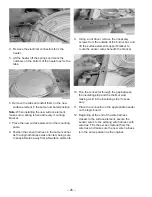
2. Compress the ON light wings, as shown, and
pull down to remove from the bracket.
3. Remove the wires from the ON light.
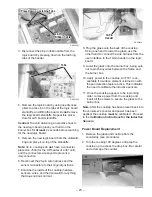
Switch Replacement
1. Remove the glass and cooktop from the
countertop (see procedure).
Remove these screws
Summary of Contents for JP350
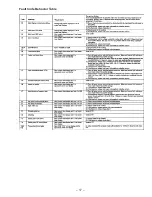
Page 19: ... 17 Fault Code Behavior Table ...
Page 33: ... 31 Notes ...
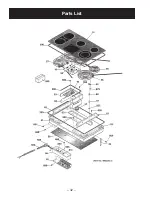
Page 34: ... 32 Parts List ...
Page 36: ... 34 ...
Page 38: ......
Page 39: ......


