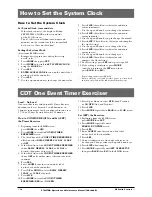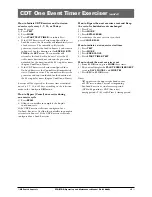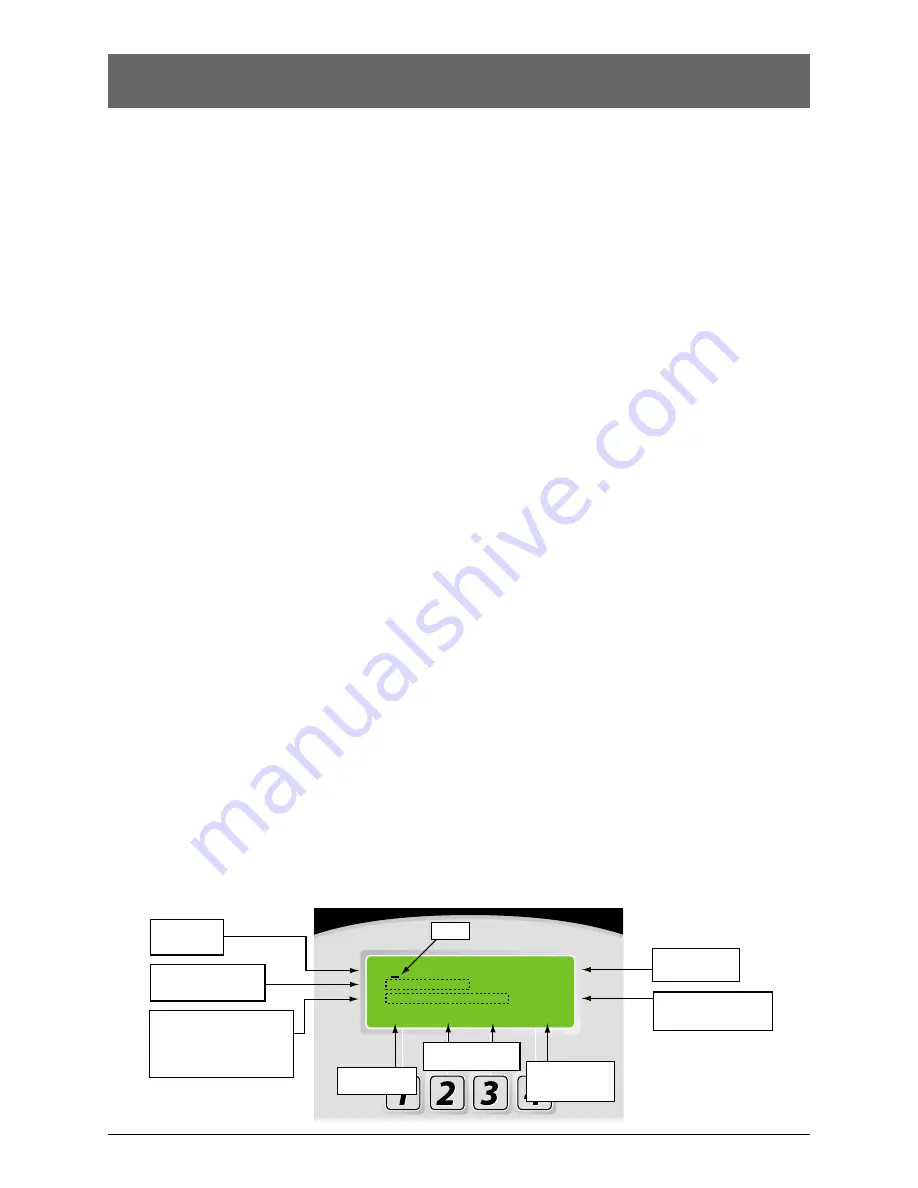
S E T
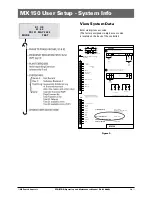
E X E RC I S E R
0 0 : 0 0
To save value and to
move cursor to next
field to be changed.
Indicates # of
Exercise Periods
B AC K
^
v S AV E
Indicates type of Exerciser
DAILY, WEEKLY, 14-DAY,
28-DAY or 365-DAY
Indicates Exerciser start:
Time for DAILY Exerciser
Time & Day for WEEKLY Exerciser
Time, Date & Month for 14-DAY,
28-DAY and 365-DAY Exerciser
(24 Hour System)
To previous field
or to exit screen.
Up and Down
Use to change values.
Cursor
NL
#1
Load No-Load (CDP)
Exercise Indicator
Exercise duration for this
event in hours and minutes
up to 10 hours per event
■
16
GE Zenith Controls
■
ZTG/ZTGD Operation and Maintenance Manual (70
R
-1000D)
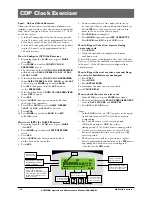
CDP Clock Exerciser
Load / No-Load Clock Exerciser
Allows the Generator to start and run unloaded or to
simulate a power failure, start Generator and run under
load. Can be configured by the end user for 1, 7, 14, 28,
or 365 day cycles.
•
A total of 7 independent No Load exercise periods
(up to 10 hours each) can be programmed for each
of the daily, weekly, 14-day, and 28-day exercisers.
•
A total of 12 independent No Load exercise periods
(up to 10 hours) can be programmed for the
365-day Exerciser.
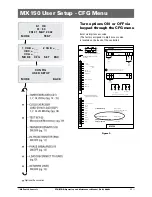
How to Configure (CFG) the Exerciser
1. Beginning from the S1 OK screen, press MORE
then CFG.
2. Press MORE to scroll to CONFIG CLOCK
EXERCISER
screen.
3. The third line of the CONFG CLOCK EXERCISER
will show either DAILY, WEEKLY, 14 DAY, 28 DAY,
365 DAY
or OFF.
4. If the third line of the CONFG CLOCK EXERCISER
shows DAILY, WEEKLY, 14 DAY, 28 DAY, or 365 DAY
as desired, press MORE repeatedly to BACK.
Press ESC then proceed to the SET menu to
set the EXERCISER.
5. If the third line of the CONFG CLOCK EXERCISER
shows OFF, continue.
6. Press SEL.
7. Enter ACCESS code located on white label on
the back of the controller.
8. Press UP or DOWN to select DAILY, WEEKLY,
14 DAY
, 28 DAY, or 365 DAY as desired.
9. Press SAVE.
10. Press MORE repeatedly to BACK then ESC
to S1 OK screen.
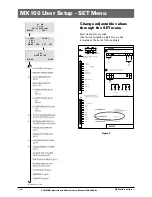
How to set (SET) the DAILY Exerciser
1. Beginning from the S1 OK screen, press MORE
then SET.
2. Press MORE repeatedly until SET EXERCISER
screen.
3. Press SEL.
4. Enter ACCESS code located on white label
on the back of the controller.
5. Press SEL
6. Cursor is indicated as a line under character to
be changed. Change values with up and down keys.
Press SAVE after each entry to save value and to
move to the next value to be changed.
7. Press BACK when complete.
8. Press MORE repeatedly until SET USER SETUP.
Press BACK then ESC to the S1 OK screen.
How to Bypass (Cancel) an exercise during
an exercise cycle
1) Press BPASS
2) Allow the controller to complete the Engine
cool down cycle.
If the CD Exerciser is configured or Set for a No-Load
Exercise. Or allow the controller to complete retransfer
to Source 1. If the CD Exerciser is configured for a
Load Exerciser
How to Bypass the next exercise event and Keep
the rest of scheduled events unchanged
1) Press TEST
2) Press MORE
3) Press BYPASS EXER
To re-institute the next exercise event back,
press CANCL BPASS
How to check the next exercise event
1) From S1 OK screen, press MORE three times.
2) The unit will display the PLANT EXERCISER NEXT
event in DAYS, HOURS, and MINUTES
3) Press ESC to S1 OK Screen.
Notes:
•
In the S1 OK screen, an (*E*) appears in the upper
right hand corner of LCD screen when exercise
is impending.
•
For Load Exerciser, actual exercise period
(ATS in S2 position)= CDT (Exerciser)
timing T (S1 Stable Timer) timing period.
•
A value greater than zero must be entered in the
Exerciser duration field to be accepted as a valid
exercise period.
•
The Exercise cycle will be repeated on a regular
basis as programmed and initiated in the SET menu
depending on what Exerciser was configured
(selected) in the CFG menu.

