background image

GBC Pro - Tech

4151 Anderson Road

DeForest, WI   53532

Revision : A                                                                                                                                  Ph: ( 608 ) 246 - 8844

Fx: ( 608 ) 246 - 8645

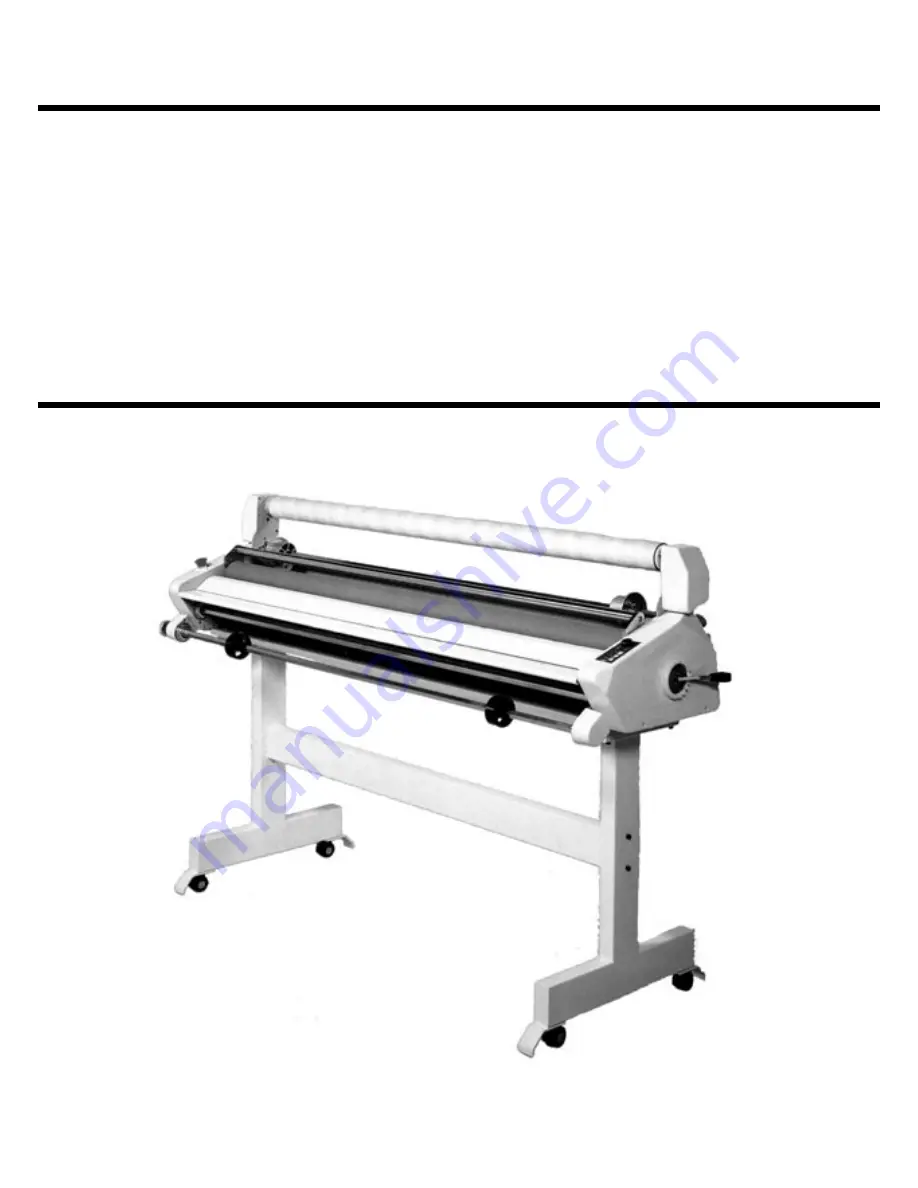
ARCTIC TITAN 165 OPERATION

& MAINTENANCE MANUAL

© October 2000 GBC Films Group

Do not duplicate without written permission.

Part number : 930 - 052

Summary of Contents for Arctic Titan 165

Page 1: ...1 Anderson Road DeForest WI 53532 Revision A Ph 608 246 8844 Fx 608 246 8645 ARCTIC TITAN 165 OPERATION MAINTENANCE MANUAL October 2000 GBC Films Group Do not duplicate without written permission Part...

Page 2: ...S IMPORTANT SAFETY INSTRUCTIONS 2 IMPORTANT SAFEGUARDS 3 GENERAL 3 ELECTRICAL 3 SERVICE 4 INSTALLATION 4 FEATURE GUIDE 5 OPERATING INSTRUCTIONS 8 FILM LOADING AND THREADING 8 BEGIN LAMINATING 13 MOUNT...

Page 3: ...ATTEMPT TO SERVICE OR REPAIR THE ARCTIC TITAN LAMINATOR WARNING DO NOT CONNECT THE ARCTIC TITAN LAMINATOR TO AN ELECTRICAL SUPPLYORATTEMPTTOOPERATETHELAMINATORUNTILYOUHAVECOMPLETELY READ THESE INSTRU...

Page 4: ...elds and guards Do not insert objects unsuitable for lamination or expose the equipment to liquids Electrical The laminator should be connected only to a source of power as indicated in these instruct...

Page 5: ...er being mishandled The laminator does not operate as described in these instructions Installation 1 Shipping damage should be brought to the immediate attention of the delivering carrier 2 The Arctic...

Page 6: ...if necessary The Arctic Titan 165 requires a 10A 250V fuse WARNING If the fuse opens a second time after being replaced contact your local GBC Technical Representative or dealer distributor for assis...

Page 7: ...er bar located near the supply roll is used to direct the film to the heat rollers and helps to release the liner from pressure sensitive films H Film Shafts and Core Adapters Fig 3 The core adapters...

Page 8: ...ke Tension Adjustment Knob Fig 5 Allows the operator to increase or decrease film web tension as needed to reduce curl and wrinkles L Film Slitter Located on the rear of the machine to slit film as it...

Page 9: ...or scratch the rollers 5 Move the Roller Pressure Handle to the Mount position and pull the film out the front of the laminator 6 Remove the film shafts by lifting the right side of the shaft out of t...

Page 10: ...ttom for poly in film Slide the core adapters onto the shafts Tap the core adapters into the film rolls and tighten the thumbscrews See Figure 6 Figure 6 11 Return the film shafts onto the unit by fir...

Page 11: ...is not aligned properly exposed adhesive will adhere to the rollers and cause film jams See Figure 8 Figure 8 13 Unroll the bottom film roll so that the adhesive side is pointing out away from the ro...

Page 12: ...ure 9 Figure 10 13 Remove the film from the liner and drape it over the exposed adhesive from the bottom roll See Figure 10 14 With two heavy boards guide the top and bottom film into the rollers as f...

Page 13: ...se feed jams 16 Move the roller gap adjustment handle to the down position 17 Depress the Run button 18 When the film exits the rear pull rollers depress the Stop button 19 Rotate the roller gap adjus...

Page 14: ...pt is made to reposition an item once the rollers have grasped it CAUTION Do not stop the laminator before an item has completely exited the rollers Even a momentary stop will cause a mark on the lami...

Page 15: ...2 Place the mounting board on a flat surface 3 Position the print face down on the board 4 Peel back the leading edge of the liner about 1 or 2 3 to 5cm and put a slight crease into the liner 5 Flip...

Page 16: ...k against your arm 13 Depress either the run switch or the foot pedal 14 As the print and board feed pull back slowly on the release liner making sure that it does not get pulled into the rollers The...

Page 17: ...d the REVERSE button on the control panel will cause the rollers to reverse To clear a jam 1 Immediately stop the laminator by pressing STOP 2 Cut the film web between the supply roll and the rollers...

Page 18: ...tion The only maintenance required by the operator is to periodically clean the rollers The following procedure will help keep the heat rollers free of adhesive that has been deposited along the edge...

Page 19: ...st speed setting on the control panel 1 Remove the film from the laminator following the procedure outlined in steps 1 through 7 of the section FILM LOADING AND THREADING Using a Film Threading Card 2...

Page 20: ...48 65 cm Depth 26 5 118 cm Weight 285 lbs 42 8 kg Electrical Ratings Refer to the serial plate located on the rear of the laminator for the specific electrical rating applicable to the unit Electrical...

Page 21: ...Page 20 GBC Films Group October 2000 Arctic Titan 165 Operation and Maintenance Manual This page intentionally left blank...

Reviews: