GAUI
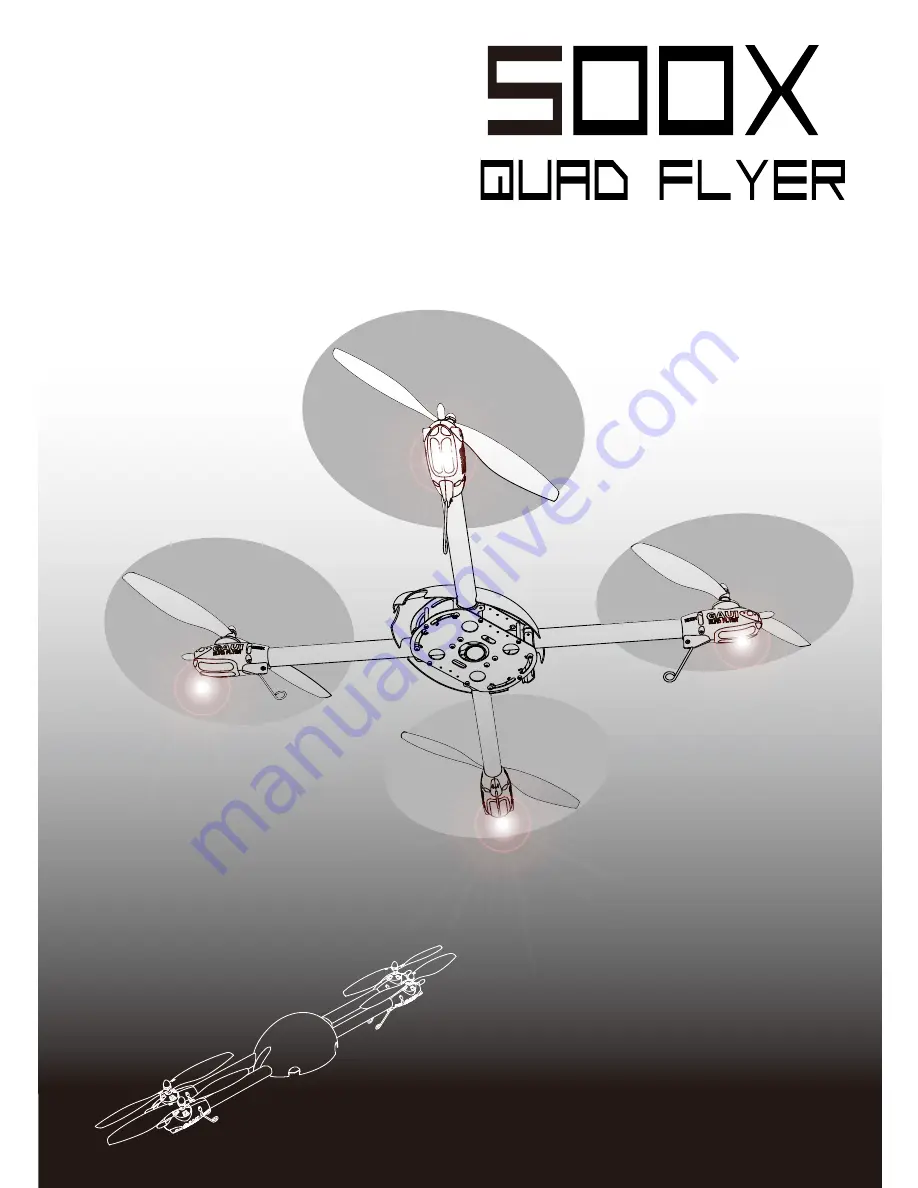
Max Flying Weight :
2200g
Weight : 670g
(without battery).
10 inch prop.
Battery : 2S~4S LiPo
4~5CH radio control system
Item No.222001Item No.222002
Item No.222003
Page 1: ...GAUI Max Flying Weight 2200g Weight 670g without battery 10 inch prop Battery 2S 4S LiPo 4 5CH radio control system Item No 222001 Item No 222002 Item No 222003...
Page 2: ...mend getting the latest version of the manual Please visit GAUI website to download a copy http www gaui com tw Main Frame Assembly Storage Protection Frame FPV platform System Setting ESC Setting Che...
Page 3: ...4 Post x 4 Washer x 4 A 10A Prop x 2 10B Prop x 2 Adaptor and Spinner set x 4 2212 Motor STD x 4 18A ESC x 4 Connector R Connector B B A Item 222001 A B Item 222002 A B GU 344 Item 222003 Touch Fasten...
Page 4: ...pivot point of Inside Boom Holder into pivot hole and lock in place with screw O3 x 8 Attention Position Indicator is on bottom Put on Top of Main Frame Insert the 4 pivot points into the 4 pivot hol...
Page 5: ...8 W3 x 4 x 1 O3 x 8 Main Frame Assembly Lock in place the four Outside Boom Holder with O3 x 8 screws Attention Outside boom holder screw hole is on top side Frame Lock the screws with washer in the...
Page 6: ...O3 x 12 M2 x 5 M2 Nut M3 x 4 Main Frame Assembly Insert the spring type landing gear into motor base tighten with screws as drawing indicates Insert the motor into the motor base and tighten with scre...
Page 7: ...tention on cable connections Motor ESC 1 3 connect the same color cables together Motor ESC 2 4 red connects to black black connects to red the other cable should connect same color cable Put a small...
Page 8: ...ver If your are using 330X power system 10A ESC motor from 330X note the power cable must extend itself outside of boom arm If length is not enough you need to add a power extension cable Main Frame A...
Page 9: ...leting the 4 flight arms labeling each arm cables with numbers 1 4 is highly recommanded Starts from arm 1 insert into the two lined up rings attention on Nose direction front Main Frame Assembly Nose...
Page 10: ...No 1 No 2 No 3 No 4 O3 x 8 O3 x 8 Main Frame Assembly Signal cable should come out from top frame power cable should come out from bottom frame Tighten flight arms with O3 x 8 screws Use same method...
Page 11: ...ug ELEV red THRO orange RUDD yellow GAIN GEAR green M2 x 3 2 Post GU 344 GU 344 Main Frame Assembly Assemble the system platform for Stabilizer Receiver for GU 344 please use anti vibration sponge pro...
Page 12: ...in Frame Assembly Insert the System Platform onto the main frame attention on nose direction Note when using a receiver with top cable connection instead of side cable connection Install the receiver...
Page 13: ...tery connector should show thru the side of the main frame body as indicated in drawing Put touch fasterner tapes onto the bottom of main frame body for attaching battery Also put touch fastener on Ba...
Page 14: ...normal the deviation tilt is about 6 degrees see drawing Main Frame Assembly Use the Spinner bullet shaped part to install the propeller on the propeller adaptor threaded Tighten the propeller set on...
Page 15: ...is not connected to receiver Bypassed The GU 344 will change the Command Value of control sticks into the figure on the rightbelow for beginners Control Stick Movement Command Value Command Value Cont...
Page 16: ...or will come up with 5 corresponding tones move the throttle stick to the lowest position the motor will comeup with 3 acknowledge tones simply disconnect the battery from the 500X setting is complete...
Page 17: ...eller on the ground first to make sure the 500X is able to be controlled correctly by the transmitter Set the transmitter functions properly if it did not come with correct response figure shown is th...
Page 18: ...tilts right as shown in figure below figure indicates the AIL control stick of MODE 1 transmitter After checking that all movements of the 500X are controlled correctly by control sticks move the THR...
Page 19: ...e changed after setting Nose Direction 1 Due to the neutral point variations of sensor elements in GU 344 calibration with transmitter control is necessary 2 It is recommended not to set throttle outp...
Page 20: ...de 2 Select programmable items After entering program mode you will hear 8 tones in a loop with the following sequence If you move the throttle stick to bottom within 3 seconds after one kind of tones...
Page 21: ...GAUI TAI SHIH HOBBY CORPORATION P 18 Un tighten the four screws to move to flight or storage positions Remember to Re tighten the screws when the positions are set Remove the propellers to store 500X...
Page 22: ...3mm Use the aluminum tubes platic connectors and 3mm glass fiber stick to form the protective frame refer to drawing below Item 222241 Remove the VCP cap and insert the aluminum tubes into its base to...
Page 23: ...on Install Camera transmitter and battery onto the FPV platform lens should line up with the canopy gap Affix the platform to the main frame body Option Item 210705 One Axis Camera Mount Item 210910 1...
Page 24: ...e flight arms boom and affix with double sided tape Item 222180 Option Drill four 4mm holes into the canopy to install platform Item 222202 Option Payload Mount Set 4mm drill Install the LED control b...
Page 25: ...of battery the weight of 500X itself is about 670g CAUTION The Power Consumption Table is calculated based on cruising the ESC output current may increase 3 or 4 times more for flying mode other than...
Page 26: ...330X power system 222175 222180 2 White LED 2 Red LED 4 transparent covers 222183 GUEC GE 183 18A ESC For BL Motor 222200 222201 System platform FPV platform 222202 222203 222229 500X Canopy 222230 Mo...
Page 27: ...GAUI TAI SHIH HOBBY CORPORATION 500X 500X 500X Parts 500X Aluminum Posts PM2x3 5x22 500X Decal 222500 222800 10 inch Propellers 10A and 10B 222830 210801 8 inch Propellers 8A and 8B 222850 500X Storag...
Page 28: ...GAUI TAI SHIH HOBBY CORPORATION TEL 886 2 86305567 FAX 886 2 26105567 Website www gaui com tw E mail gaui gaui com tw MADE IN TAIWAM ITEM NO 222001 ITEM NO 222002 ITEM NO 222003...