background image

Menu Settings 

Hold down the Menu/Mode button for 2 seconds and then release it to get into the menu settings. 
You can navigate the settings menu by using the Up/Down buttons. To change or edit a selected 
setting, press the Power/OK button. 
Hold down the Menu/Mode button for 2 seconds and then release it to get into the second tab. Do 
this again to get out of the settings menu 
 

USB Mode 

When connecting a USB cable with a PC, the DVR will present two options. ‘Mass Storage’ allows 
you to transfer your videos and photos to your PC. The ‘PC Camera’ option allows you to use your 
DVR as a webcam for your computer. 
 

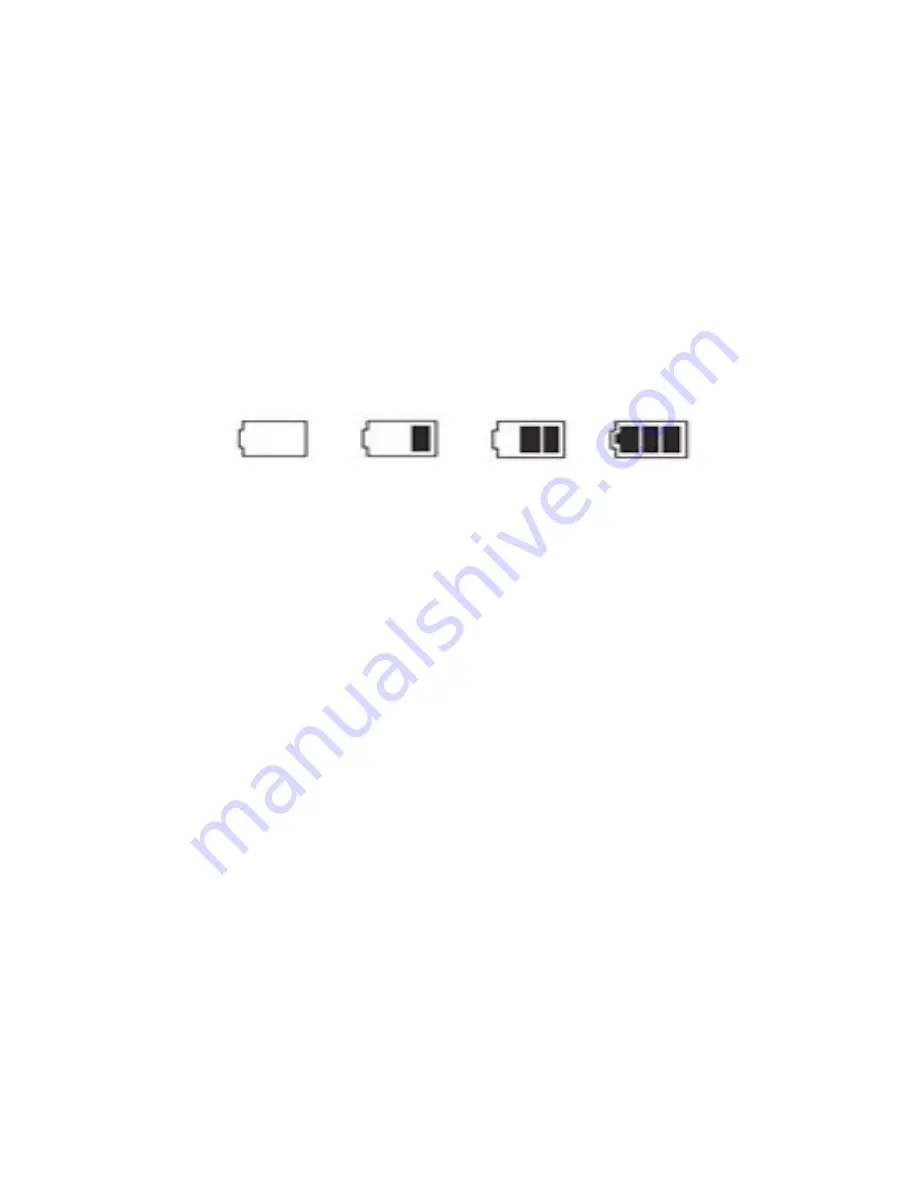
Battery Instructions 

Please see below illustration for battery the capacity indications. 


When the DVR is charging, a red indicator on the DVR glows red. The DVR takes about 3 hours to 
fully charge. When the DVR hits full charge, the red indicator will turn off. 
The DVR can be charged multiple ways: 

1.  Using the provided micro USB cable to connect to a USB interface for charging. 
2.  Using the provided car charger 


Menu setting features explained 

Resolution:  

The recommended resolution should be set at ‘720P 1280x720’ in order to get the best 

quality footage. 
 

Loop Recording:  

This feature allows you to set the size of the files your DVR will record before 

saving and creating a new file. We recommend the DVR to be set to ‘3’ minute files. 
 

Exposure:

  This feature will change the white input. We recommend it always be set at ‘+0.0’. 


Record Audio:

  This Feature will allow you to turn the DVRs recording sound on or off. If you want 

to stop the DVR recording sound in the cab of your vehicle, set this feature to ‘off’. 
 

Date Stamp:

 This feature will stamp the date and time on all your footage produced by your DVR. 


G Sensor:

  This feature allows you to set the sensitivity of the Gravity sensor in the DVR. We 

recommend this be set to ‘4G to help stop false or irrelevant readings. 
 

Parking Guard:

 When enabled, the DVR will automatically turn on and start recording when it 

detects a crash against the car. This is mainly used when the car is parked and someone else hits 
your vehicle. A ‘P’ icon on the right of the screen signifies it is turned on. 
 

Full Power 

Medium Power 

Low Power 

Critical Power 

Summary of Contents for GDVR190

Page 1: ...USER GUIDE GDVR190...

Page 2: ...and easy to carry ATTENTION Please charge the unit for 4 hours before installing Product Features 120 degree high definition wide angle lens 1280 720P HD resolution 1 5 inch 4 3 high resolution LCD sc...

Page 3: ...or HD DVR 190 Mounting Bracket USB to Mini USB Car Charger GDVR190 User Guide 4GB Class 6 Micro SDHC Card Optional Accessory Hard Wire DVR Cable Purchase Separately Part number GHWS Replaces Car Charg...

Page 4: ...nt Slot 2 Mini USB Port 3 Up 4 Menu Mode 5 Down 6 Speaker 7 Infra Red LEDs 8 Lens 9 Micro SD Card Slot 10 Mic 11 AV Port 12 Reset 13 LED Indicator Lights 14 LCD Screen 15 Power OK Button 1 2 3 4 5 7 8...

Page 5: ...deo photo and playback modes by simply pressing the button Pressing the Menu Mode button while recording will activate the file protection A key will be present on the top of the screen if activated U...

Page 6: ...t by determining the gravitational acceleration 1g 9 8 meters second 2 When this function activates the DVR will save the accident footage in a non delectable file in order to protect the footage The...

Page 7: ...matically turn off once the battery hits critically low levels Video Mode Press Menu Mode button to switch to video mode if not already To start recording in video mode press the OK Power button to st...

Page 8: ...oto settings Video Photo Playback Press Menu Mode button to switch to playback mode after photo mode Using the arrow buttons you can choose between all your recorded videos or photos The protected fil...

Page 9: ...ing the provided car charger Menu setting features explained Resolution The recommended resolution should be set at 720P 1280x720 in order to get the best quality footage Loop Recording This feature a...

Page 10: ...o PAL as PAL is the Australian standard line frequency and will work on any TV when playing back your footage on TV via a AV cable Frequency This feature allows the best recording in conditions where...

Page 11: ...at AVI Video Resolution 720P 1280x720 WVGA 846x480 VGA 640x240 QVGA 320x240 Video Codec Audio AAC Loop Recording Recording with seamless Auto ignition turn on off while car power on off Supports turn...

Page 12: ...ustralian standard frequency The DVR is jammed or not responding Please reset the device by pushing in the reset button on the underside of the DVR Why does battery go flat in the DVR The DVRs battery...

Page 13: ...e If you need assistance setting up or using your Gator product now or in the future call Gator Support Australia TEL 03 8587 8898 FAX 03 8587 8866 Mon Fri 9am 5pm AEST Please retain this user guide f...

Reviews: