


User Manual
Page 9
DIA-250
Input
Standby
DIA-250
Input
Standby
DIA-250
Input
Standby
Home Theater direct
HOT warning
OFF warning
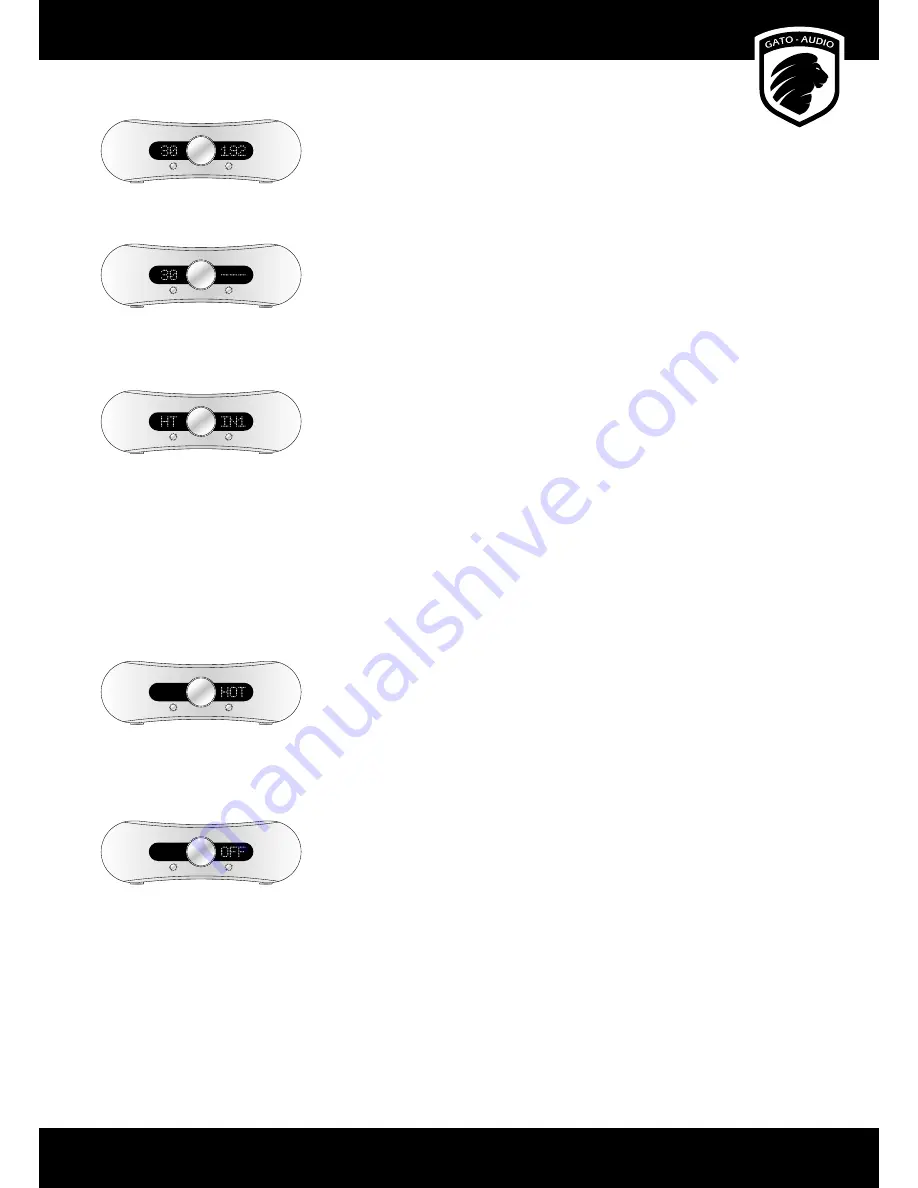
Sample rate read-out
The DIA-250/DIA-400 can read and display the sample rate of the USB, RCA and OPT digital input
channels. The DIA-250/DIA-400 can be set to display this in two diff erent ways:
1.
The display on the right shows the selected input channel, eg. USB. Press the USB button on
the RC-2 remote control, and the sample rate will be shown in kHz instead of selected input
channel name for 4 seconds.
2.
The display on the right only shows the sample rate. When changing input channels the
channel name will be shown for 4 seconds, and then return to display the sample rate.
To toggle between the two read-out modes, press and hold the Dim button on the back of the
amplifi er for 2 seconds.
Direct
The Direct function bypasses the volume control turning this amplifi er into a fi xed gain power
amplifi er. This can be very useful in surround setups. To activate this mode, select input IN1 and
press and hold the Input button on the front panel of the amplifi er for 4 seconds. The left display
will read HT.
To disable the function, press and hold the Input button on the front panel of the amplifi er for 4
seconds. The amplifi er remembers this setting in standby mode and when the DIA-250/DIA-400
is switched off .
Protection warnings
The DIA-250/DIA-400 is equiped with a sophisticated protection circuit to protect the amplifi er
and/or the connected equipment in case of failure. The DIA-250/DIA-400 features two warning
signals:
A
HOT
sign will blink in the right display due to temperature problems:
If this happens, turn off the amplifi er mains switch and wait about 10 minutes for the heat sinks
cool down before turning on the mains again. If a lot of heat is generated within a short period of
time, please check the following:
• The ventilation around the amplifi er
• The speaker cable and cable connections
• The
specifi cations of the connected loudspeakers
An
OFF
sign will blink in the right display:
Turn off the amplifi er mains switch and please check the following before turning the mains on
again:
• The speaker cable and cable connections
• The connected equipment
• That you are not playing above the clipping area of the amplifi er
If the amplifi er keeps blinking after the powering up routine, please turn off the amplifi er and
contact your dealer or the national distributor.
DIA-250
Input
Standby
DIA-250
Input
Standby
Sample rate read-out
No sample rate available


