


27
www.gateway.com
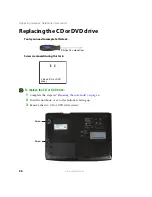
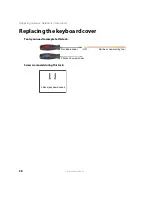
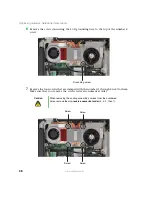
Replacing the CD or DVD drive
4
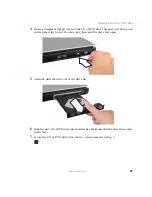
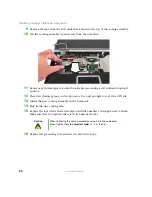
Insert a straightened paper clip into the CD or DVD drive’s manual eject hole, push
in the paper clip to eject the drive tray, then pull the drive tray open.
5
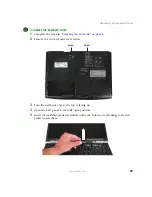
Carefully slide the drive out of the drive bay.
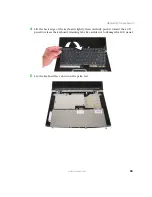
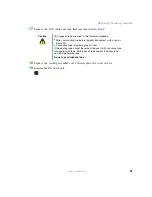
6
Slide the new CD or DVD drive into the drive bay. Make sure that the drive fits securely
in the bay.
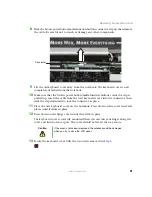
7
Secure the CD or DVD drive with the two screws removed in
.
Summary of Contents for MX7120
Page 1: ......
Page 2: ......
Page 4: ...ii www gateway com...
Page 13: ...9 www gateway com Replacing the memory module in the memory bay Memory bay...
Page 18: ...14 www gateway com Replacing Gateway Notebook Components Mini PCI bay...
Page 96: ...92 www gateway com Replacing Gateway Notebook Components...
Page 97: ......