CHAPTER 3: Maintaining and Upgrading Your Notebook
www.gateway.com
38
11
Secure the DVD drive with the two screws removed in
.
12
Insert the battery, then turn your notebook over.
13
Connect the power adapter, modem cable, and network cable, then turn
on your notebook.
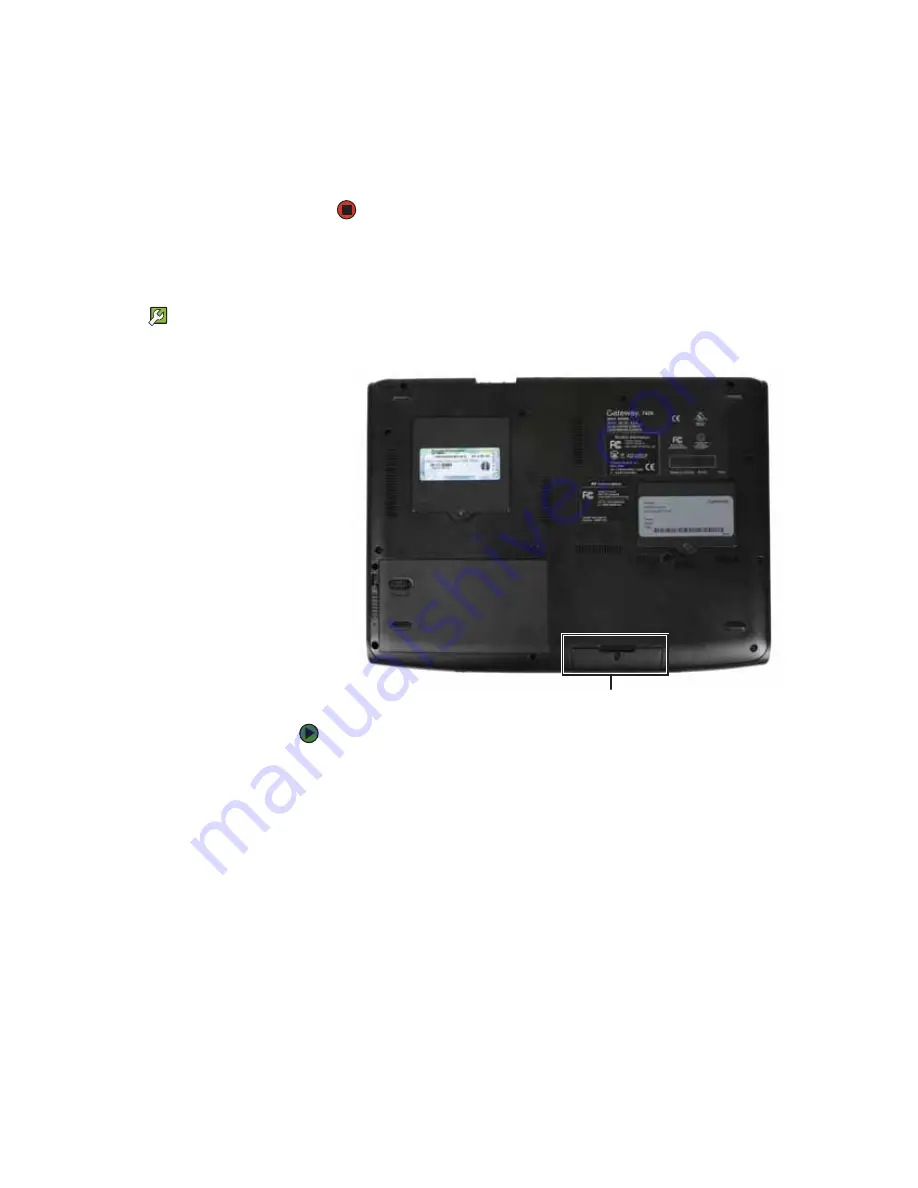
Replacing the hard drive kit
Tools Required
You need a small Phillips screwdriver to
replace the hard drive kit.
If you would like more hard drive capacity, you can replace your original drive
with a higher-capacity drive.
To replace the hard drive kit:
1
Create a
Drivers and Applications Recovery
disc. For more information, see
“Creating Drivers and Applications Recovery discs” in the online
User
Guide
.
2
Print the “Recovering Your System” chapter from the online
User Guide
for
.
3
Back up any data you want to transfer to the new hard drive. For more
information, see “Backing up files” in the
User Guide
.
4
Follow the guidelines under
“Preventing static electricity discharge” on
.
5
Turn off your notebook.
6
Disconnect the AC adapter, modem cable, and network cable.
7
Disconnect all peripheral devices and remove any PC cards.
8
Turn your notebook over so the bottom is facing up, then remove the
battery. For more information, see
“Changing batteries” on page 29
.
Hard drive bay
Summary of Contents for MX7118
Page 1: ...HARDWARE REFERENCE Gateway Notebook...
Page 2: ......
Page 8: ...CHAPTER 1 About this reference www gateway com 4...
Page 62: ...APPENDIX A Safety Regulatory and Legal Information www gateway com 58...
Page 66: ...Index www gateway com 62...
Page 67: ......


